Are you ready to bring festive cheer into your home without the hassle? Assembling your Pre-Lit Full Hartford Pine Artificial Christmas Tree can seem tricky, but it doesn’t have to be.
With the right steps, you’ll have a beautifully lit tree standing tall in no time. This guide will walk you through each part of the process, making it simple and stress-free. Keep reading to discover how easy it is to create a warm, glowing centerpiece that will brighten your holiday season.
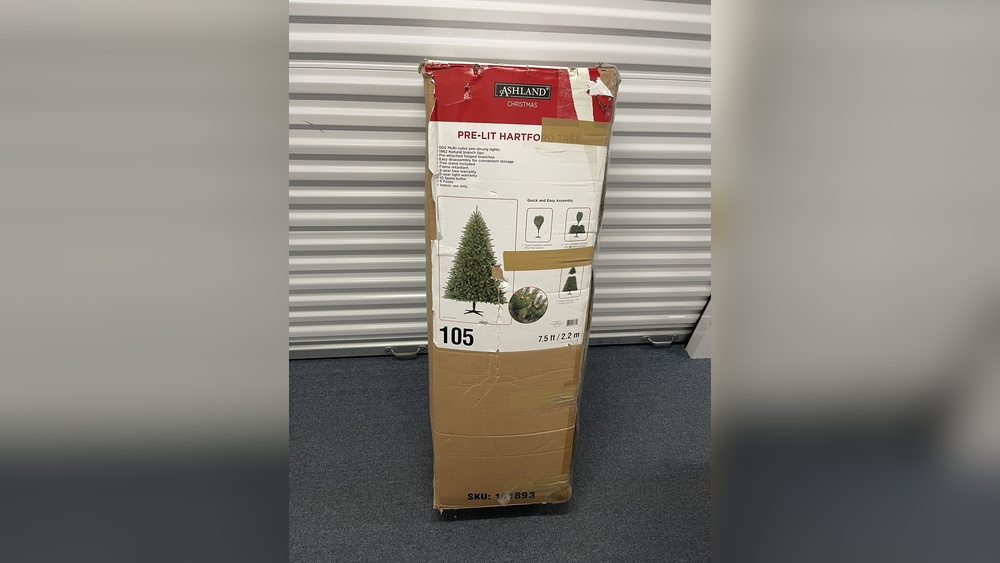
Credit: sesionline.in
Unpacking The Tree Components
Unpacking the components of your Pre-Lit Full Hartford Pine Artificial Christmas Tree is the first step. This phase sets the tone for smooth assembly. Taking time now saves effort later. Handling parts carefully avoids damage and frustration.
Checking The Parts List
Start by locating the parts list included in the box. It shows every piece you should have. Compare the list with the actual items one by one. Make sure the tree sections, stand, and lights are all present. Missing parts can delay assembly and cause confusion. Keep the list nearby for quick reference.
Preparing Your Workspace
Choose a spacious area with enough room to spread out all parts. A clean, flat surface works best. Clear away any obstacles or fragile items. Lay down a soft cloth or blanket to protect the tree pieces. Good lighting helps you see small parts and connectors clearly. Organizing tools like scissors or pliers within reach is helpful. This preparation makes the assembly faster and easier.

Credit: www.instacart.com
Assembling The Tree Stand
Assembling the tree stand is the first step to setting up your Pre-Lit Full Hartford Pine Artificial Christmas Tree. A stable stand ensures your tree stays upright and safe. It also provides a strong base for the tree’s sections. Taking time to set up the stand correctly prevents wobbling or tipping during the holiday season.
Setting Up The Base
Start by unpacking the tree stand parts from the box. Place the base on a flat, clear surface. Position the stand so the opening faces up. This is where the tree trunk will fit. Make sure the base is level to avoid any lean.
Securing The Stand
Next, insert the tree trunk into the stand’s center opening. Push it down firmly until it sits tight. Use the screws or bolts provided with the stand. Tighten them evenly on all sides to hold the trunk in place. Check that the trunk does not move or tilt. A secure stand keeps the tree steady and safe for decorations.
Connecting The Tree Sections
Connecting the sections of your Pre-Lit Full Hartford Pine Artificial Christmas Tree is simple. This step brings the tree parts together, making it sturdy and ready for decorating. Each section fits perfectly with the next. Taking time here ensures your tree looks full and balanced.
Follow the instructions carefully to avoid any gaps or loose parts. A well-connected tree will stand firm and light up beautifully. Let’s explore how to align and lock the sections properly.
Aligning The Sections
Start by placing the bottom section on a flat surface. Take the middle section and line it up above the bottom one. Look for the center poles on each part. These poles must match to fit snugly.
Hold the sections steady as you lower the middle part onto the bottom. Make sure the branches do not get caught between the sections. The tree’s shape depends on correct alignment. Repeat this step for the top section. Check each connection before moving to the next.
Locking Mechanisms Explained
The Pre-Lit Full Hartford Pine tree uses simple locks to keep sections secure. These locks prevent the parts from wobbling or falling apart. Find the locking clips or pins on each pole.
Push the sections together firmly until you hear a click. This sound means the lock is in place. Pull gently on the sections to test the connection. If it moves, re-lock the parts. Proper locking keeps the tree stable and safe.
Fluffing The Branches
Fluffing the branches is the key step in making your Pre-Lit Full Hartford Pine Artificial Christmas Tree look natural and full. This process helps spread out the needles and branches, giving the tree a lush and inviting shape. Taking your time with fluffing can make a big difference in the tree’s appearance.
Shaping The Branches
Start by gently pulling each branch away from the tree’s center. Open the needles carefully to avoid damage. Shape the branches by bending them slightly upward or outward. This creates a fuller, more natural look. Work on one branch at a time for even results.
Creating A Full Look
Check the tree from all sides as you fluff the branches. Fill in any gaps by spreading branches wider or adjusting their angle. Ensure the lights are visible but not too crowded by needles. A well-fluffed tree looks balanced and welcoming from every angle.
Testing The Pre-lit Lights
Testing the pre-lit lights on your Full Hartford Pine artificial Christmas tree is an important step. It ensures all lights work before you finish assembling. This saves time and avoids frustration later. Check each bulb carefully to enjoy a bright, festive tree.
Plugging In And Inspecting
Start by plugging the tree’s power cord into an outlet. Watch the lights closely. Look for bulbs that do not light up or flicker. Check for any loose connections along the cord and branches. Make sure the lights shine evenly across the tree.
Replacing Faulty Bulbs
Identify bulbs that are burnt out or broken. Use the replacement bulbs that came with your tree. Gently remove the faulty bulb and insert the new one. Press it in firmly to secure a good connection. Test the lights again to confirm all bulbs glow brightly.
Final Touches And Placement
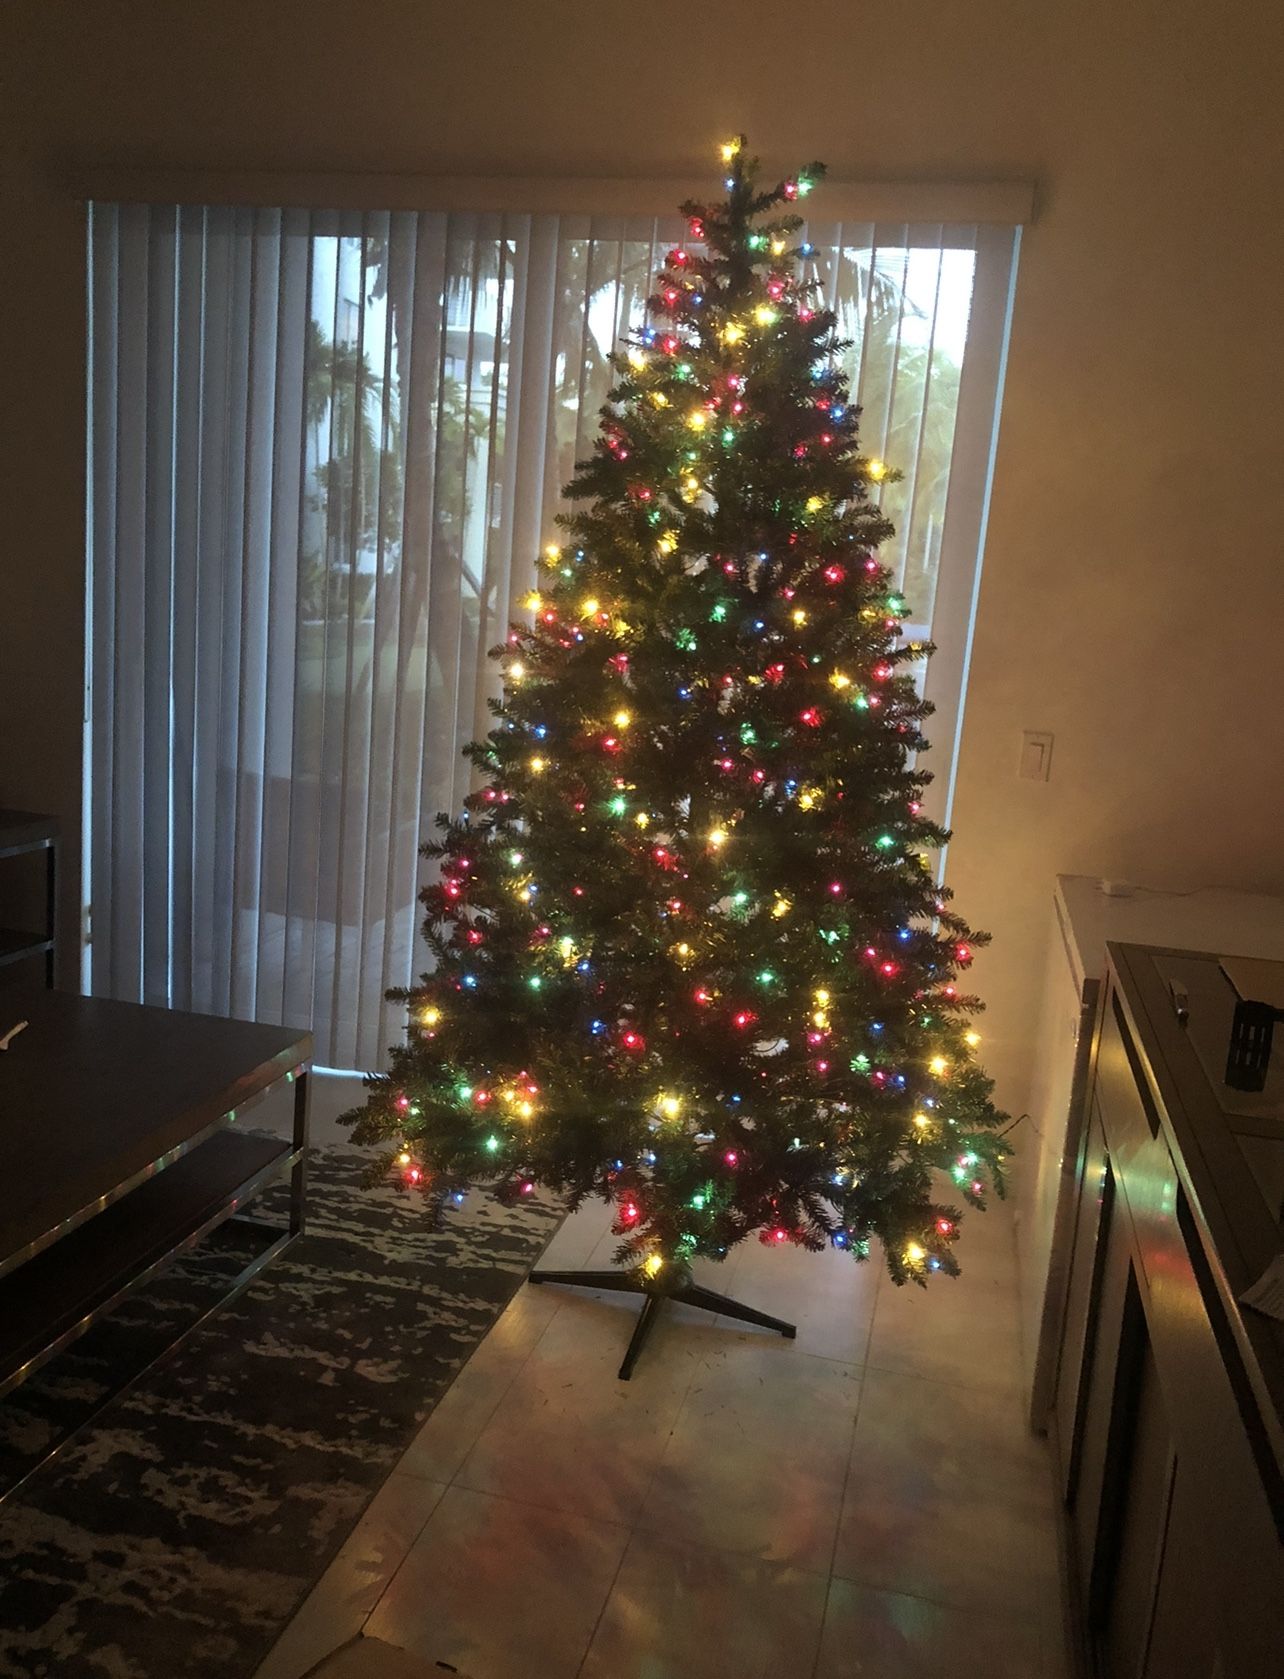
The final touches and placement of your Pre-Lit Full Hartford Pine Artificial Christmas Tree bring the whole look together. This step makes your tree ready to shine and spread holiday cheer. Proper positioning enhances the room’s atmosphere and highlights the tree’s beauty.
Positioning The Tree
Choose a spot away from direct sunlight and heat sources. This prevents fading and damage to the tree. Place the tree near a power outlet to easily plug in the lights. Ensure there is enough space around the tree for easy movement. Check that the tree stands straight and stable on the base. Adjust the branches slightly to create a full, even shape.
Adding Decorations
Start with the larger ornaments to fill the main branches. Space them evenly for balance and harmony. Use smaller decorations to fill gaps and add detail. Hang ornaments at different depths to create a three-dimensional look. Add a tree topper that matches your style and theme. Finish by draping garlands or ribbons for extra charm. Turn on the lights and enjoy the warm glow of your decorated tree.
Storing The Tree After The Season
Storing your Pre-Lit Full Hartford Pine Artificial Christmas Tree properly protects it for many seasons. Careful storage keeps branches neat and lights safe. It also saves space in your home. Follow simple steps to disassemble and store the tree correctly.
Disassembling Tips
Start by unplugging the tree from power. Remove ornaments and decorations first. Gently separate each section of the tree. Avoid forcing branches apart to prevent damage. Keep branches facing up to protect lights. Wrap cords around the base to avoid tangles. Handle all parts with care to preserve the tree’s shape.
Proper Storage Methods
Store the tree in a cool, dry place. Use the original box or a tree storage bag. Cover branches to keep dust and moisture away. Avoid placing heavy items on top of the stored tree. Label the box for easy identification next year. Keep the storage area free from pests and humidity. Proper storage extends the life of your tree and lights.

Credit: www.instacart.com
Frequently Asked Questions
How Do I Start Assembling The Hartford Pine Tree?
Begin by unpacking all parts carefully. Connect the base sections first. Attach the tree trunk securely before adding branches. This ensures stability and ease of assembly.
How Do I Connect The Pre-lit Branches Safely?
Align each branch’s plug with the corresponding socket. Push firmly but gently until it clicks. Check all light connections before plugging in to avoid electrical issues.
Can I Customize The Tree’s Branch Arrangement?
Yes, gently bend branches to shape the tree. Spread them evenly for a full look. This helps achieve a natural appearance and better light distribution.
What Maintenance Is Needed For This Artificial Tree?
Dust branches regularly with a soft cloth. Check light bulbs before each use. Store in a cool, dry place after the season to maintain quality.
Conclusion
Assembling your Pre-Lit Full Hartford Pine Christmas tree can be simple and fun. Follow each step with care to avoid mistakes. Make sure all branches are secure and lights work well. Take your time to fluff the branches for a full look.
Enjoy the warm glow and festive feel it brings to your home. This tree will brighten your holiday season with ease and style. Ready for decorating? Let the holiday spirit shine!