Are you ready to make your Ashland artificial Christmas tree look fuller and more beautiful than ever? Fluffing your tree might seem simple, but doing it the right way can transform your holiday centerpiece from flat to fabulous.
In this guide, you’ll discover easy, step-by-step tips to bring out the best in your tree’s branches and create that perfect, lush look everyone admires. Keep reading—your tree deserves to shine this season!

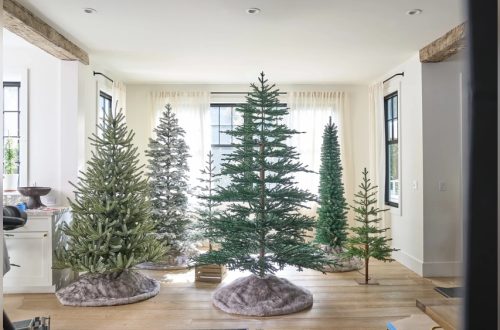
Credit: www.amazon.com
Prepare Your Workspace
Preparing your workspace is the first step to fluff your Ashland artificial Christmas tree with ease. A well-organized space makes the process smooth and enjoyable. It helps you avoid frustration and keeps the tree safe from damage. Taking time to prepare ensures a beautiful, full tree ready for decoration.
Choose A Spacious Area
Select a large, open space with enough room to spread out the tree parts. Avoid cramped corners or cluttered rooms. A spacious area lets you move freely and see all tree sections clearly. It also prevents accidental bending or breaking of branches while fluffing.
Good lighting is important too. Bright light helps you notice gaps and shape the branches evenly. Near a window or under a ceiling light works well. The goal is to have a clear view of the whole tree.
Gather Necessary Tools
Keep all tools close by before starting. You will need gloves to protect your hands from sharp branch tips. A small step stool can help reach higher branches easily and safely. A soft cloth or brush helps dust off the tree if needed.
Having everything ready avoids interruptions. It keeps your focus on fluffing each branch perfectly. This simple preparation speeds up the whole process.
Assemble The Tree Base
Assembling the base of your Ashland artificial Christmas tree is the first step to a full, beautiful tree. A steady base keeps the tree safe and upright. Take your time to set it up right. This ensures your tree stays balanced as you fluff the branches.
Set Up The Stand
Start by spreading the tree stand’s legs wide on a flat surface. Make sure the stand is stable and level. Place the bottom section of the tree into the center of the stand. Tighten the screws or bolts firmly to hold the tree in place. Check that the stand does not wobble before moving on.
Secure The Tree Sections
Next, connect each tree section carefully. Align the metal connectors and slide the sections together. Push down until you hear a click or feel a secure fit. Tighten any screws or clamps that keep the sections from moving. Double-check each joint to avoid a shaky tree.
Fluff Branches Step-by-step
Fluffing the branches of your Ashland artificial Christmas tree brings it to life. This step-by-step guide helps you make the tree look full and natural. Taking time to fluff each branch creates a beautiful shape and a festive feel.
Start From The Bottom
Begin fluffing at the lowest branches. This helps balance the tree’s look from the ground up. Gently pull each branch away from the center pole. Avoid bending the branch too much. It keeps the branch strong and in place.
Work Your Way Up
Move up one section at a time. Fluff each branch by lifting and spreading the needles. Check the tree from different angles. This ensures the tree looks full all around. Take breaks if needed to keep steady hands.
Separate And Spread Branches
Look closely at the branches. Separate the tips and spread them evenly. This makes the tree appear dense and natural. Avoid clumping branches together. Even spacing helps the lights and ornaments shine.

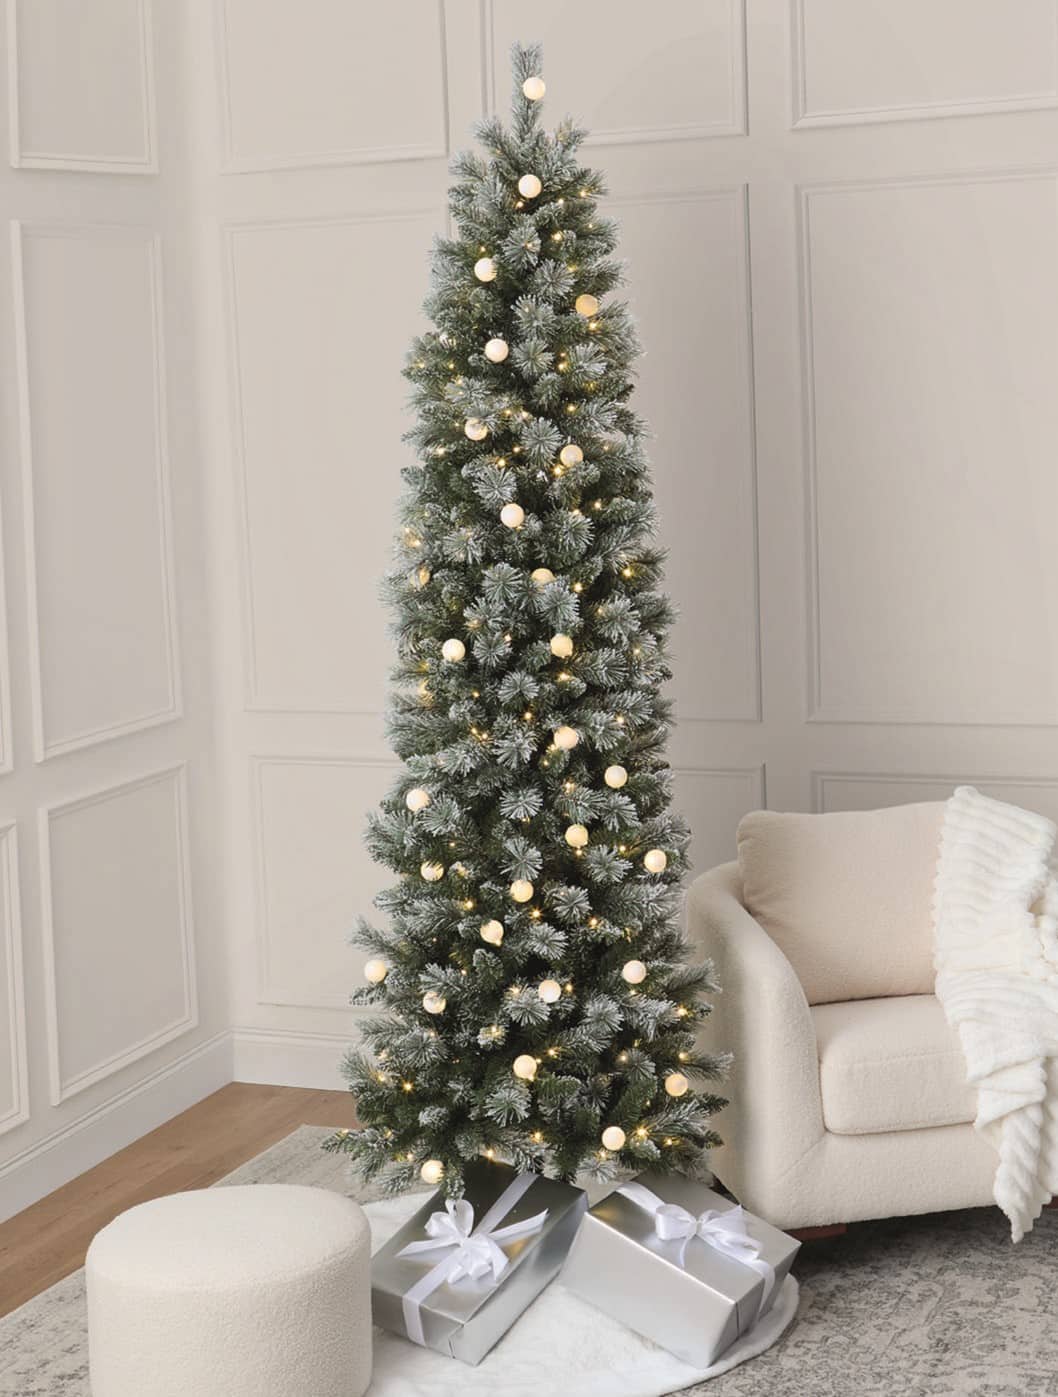
Credit: www.amazon.com
Shape The Tree For Fullness
Shaping your Ashland artificial Christmas tree is key to making it look full and beautiful. Proper shaping gives the tree a natural and lush look. It helps the tree stand out in any room. This section will guide you on how to shape your tree for the best fullness.
Adjust Branch Angles
Start by bending each branch slightly upwards. This opens the branches and creates space. Avoid bending branches too far; keep them natural. Look at the tree from different sides to check balance. Adjust the angles to fill gaps and create a rounded shape. This simple step makes the tree appear wider and fuller.
Fill In Sparse Areas
Look closely at your tree for thin spots. Gently pull out needles or smaller branches in those areas. Spread them evenly to cover empty spaces. Use extra branch tips if your tree has them. This fills gaps and gives the tree a dense look. Filling sparse areas makes the tree look healthy and inviting.
Add Lights And Decorations
Adding lights and decorations brings life to your Ashland artificial Christmas tree. Lights create a warm, festive glow. Decorations add color and personality. Together, they transform the tree into a holiday centerpiece. Follow simple steps to make your tree shine beautifully.
Position Lights Evenly
Start by wrapping lights around the tree trunk. Work your way outward to the tips of the branches. Space the lights evenly for a balanced look. Avoid clustering too many lights in one spot. Check the tree from different angles. Adjust lights to cover dark areas. Use warm white lights for a classic feel. Colored lights add a playful touch.
Place Ornaments Strategically
Hang larger ornaments near the bottom for stability. Place medium-sized decorations in the middle sections. Use smaller ornaments near the top and branch tips. Spread ornaments evenly to avoid crowding. Mix shiny and matte finishes for texture. Add variety with different shapes and colors. Leave some space so each ornament stands out. Step back often to review your work.
Maintain Tree Appearance
Maintaining the appearance of your Ashland artificial Christmas tree keeps it looking fresh year after year. Proper care preserves its fullness and vibrant look. Small daily habits help avoid wear and tear on the branches and needles.
Cleanliness also plays a role. Dust and dirt can settle on the tree, dulling its shine. Gently wiping the branches keeps the tree bright and inviting. Treat your tree with care to enjoy its beauty every holiday season.
Store Properly After Holidays
Disassemble the tree carefully after the holidays. Avoid crushing the branches when packing. Use the original box or a sturdy storage bag. Store in a dry, cool place away from sunlight. Proper storage prevents damage and keeps the branches in shape.
Refresh Fluffing Next Season
Before setting up next year, take time to fluff the branches again. Gently separate each branch to restore fullness. Adjust the tips to fill any gaps. Lightly shake the tree to settle the branches naturally. This simple step revives the tree’s lush appearance quickly.
Credit: canada.michaels.com
Frequently Asked Questions
How Do I Fluff An Ashland Artificial Christmas Tree?
Start by gently separating each branch from the trunk. Spread out the tips evenly to create a fuller look. Adjust branches to fill gaps for a natural shape. Fluffing enhances the tree’s volume and overall appearance.
How Long Does It Take To Fluff The Tree?
Fluffing usually takes about 20 to 30 minutes. It depends on the tree size and your attention to detail. Taking time ensures a fuller, more natural-looking tree for holiday decorating.
Can Fluffing Prevent The Tree From Looking Sparse?
Yes, fluffing separates branches and spreads out needles. This fills gaps and prevents a sparse appearance. Proper fluffing makes the Ashland tree look lush and inviting.
Should I Fluff The Tree Before Or After Assembly?
Fluff branches after assembly for easier handling. Assemble the tree first, then fluff each section. This ensures branches stay securely in place while fluffing.
Conclusion
Fluffing your Ashland artificial Christmas tree takes a little time and care. Gently spread out each branch to give the tree a full look. Take breaks to step back and see the overall shape. Remember, patience makes your tree look better and more natural.
Enjoy decorating a tree that feels lively and bright. A well-fluffed tree brings holiday cheer to any room. Keep these tips in mind for easy setup every year. Your festive space will shine with a beautifully fluffed tree.