Have you ever wanted to create a beautiful glass candle lamp that adds a warm glow to your space? Making one yourself is easier than you think, and it gives you a unique piece that reflects your style.
Imagine lighting a candle inside a lamp you crafted with your own hands—how satisfying would that feel? In this guide, you’ll discover simple steps to turn ordinary glass into a stunning candle lamp. Ready to bring light and charm to your home?
Let’s get started!
Materials Needed
Making a glass candle lamp requires a few simple materials. Choosing the right items helps create a safe and beautiful lamp. Gather everything before starting the project. This saves time and avoids mistakes.
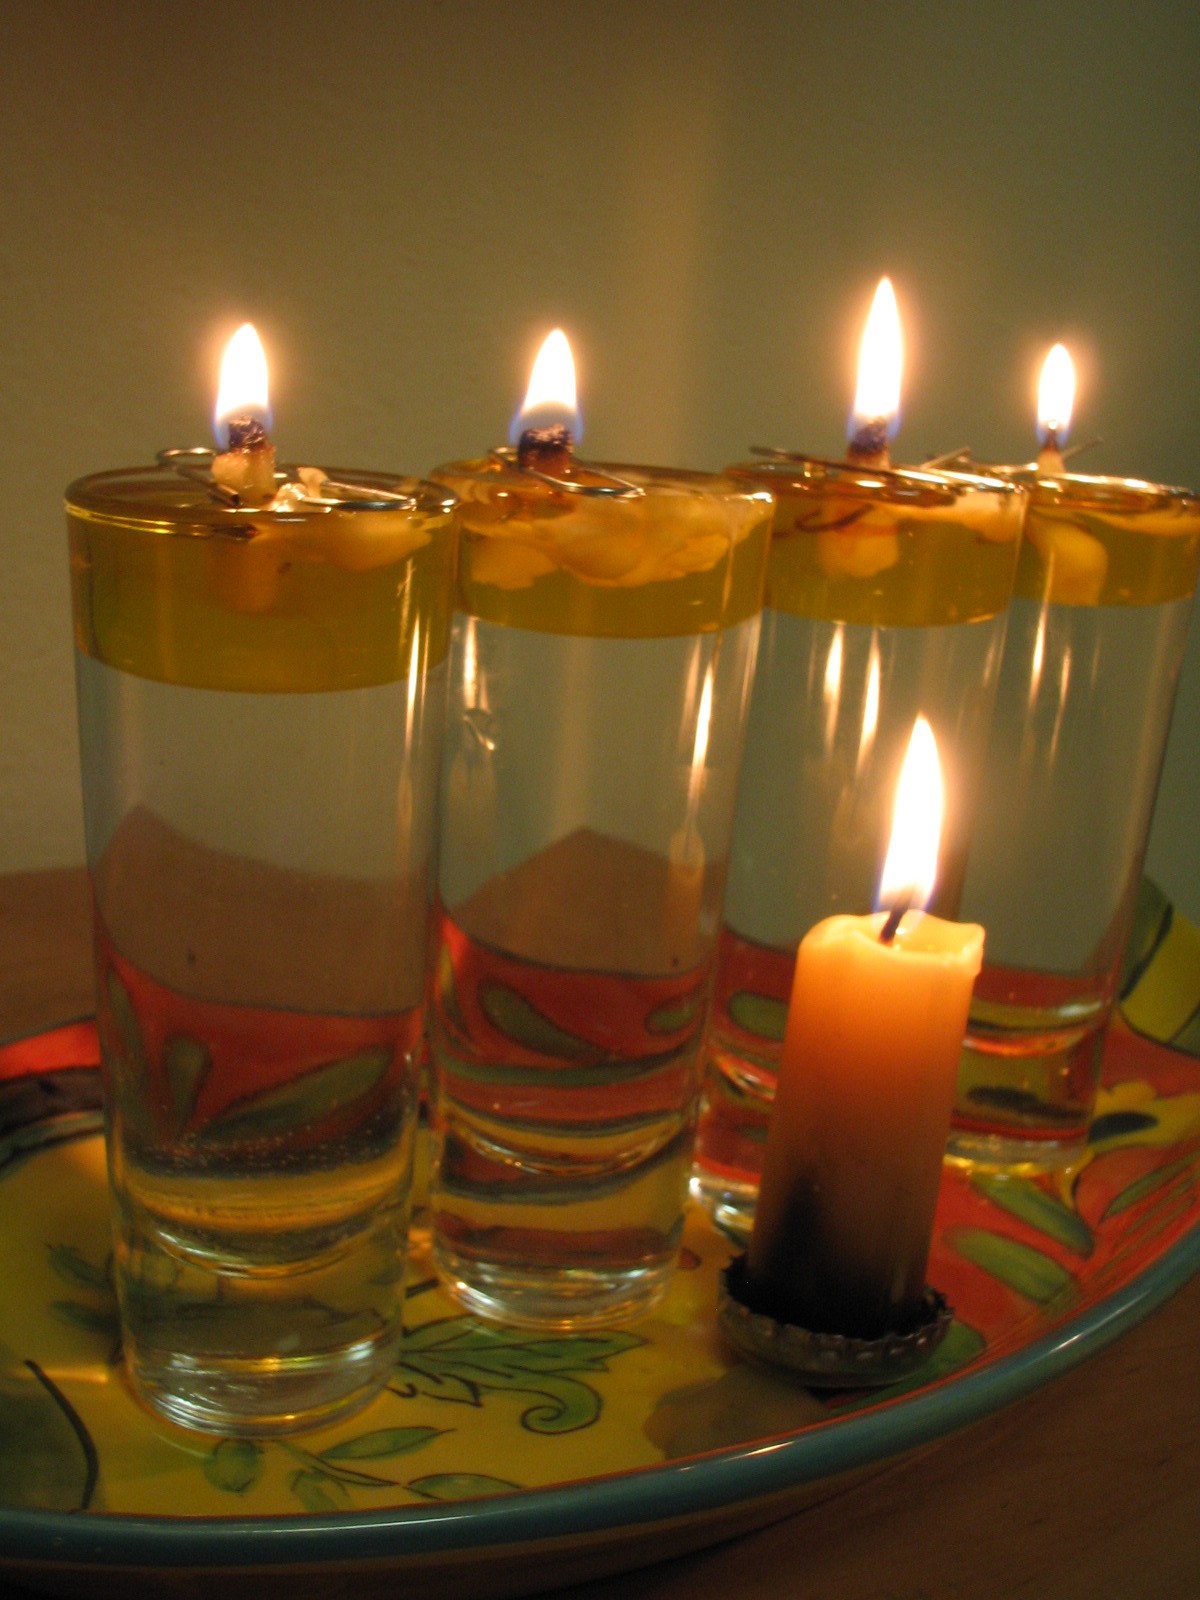
Glass Container Options
Select a glass container that can hold melted wax safely. Mason jars, old candle jars, or small glass bowls work well. The container should be heat-resistant and not crack easily. Clear glass lets the candlelight shine through beautifully.
Types Of Wax And Wicks
Choose wax that melts evenly and burns cleanly. Soy wax, beeswax, and paraffin wax are popular choices. Pick a wick size that fits your container. Cotton wicks are common and easy to use. The wick must stand straight for a steady flame.
Additional Tools And Supplies
You need a double boiler or microwave-safe container to melt wax. A thermometer helps keep the right temperature. Use a stirring stick to mix scents or colors. Scissors trim the wick to the right length. Keep a glue dot or wick sticker to fix the wick in place.

Credit: jarslidsbottles.co.uk
Preparing The Glass Container
Preparing the glass container is an important step in making a glass candle lamp. A clean and dry container helps the candle burn safely and evenly. Decorating the glass adds a personal touch and makes the lamp beautiful. Follow these steps to get your glass container ready.
Cleaning And Drying
Start by washing the glass container with warm water and soap. Remove all dirt, dust, and labels. Use a soft cloth or sponge to avoid scratches. Rinse the container well to remove soap residue.
Dry the glass completely using a clean towel or let it air dry. Any moisture inside can cause the candle to burn unevenly or create smoke. Make sure the glass is spotless and dry before moving to the next step.
Decorating The Glass
Choose simple decorations like paint, stickers, or ribbons. Keep designs away from the rim where the candle will burn. Use heat-resistant materials to avoid safety hazards. Let any paint or glue dry fully before adding wax.
Decorations make your candle lamp unique and attractive. They also match your home style or gifts. Keep decorations neat and minimal for the best look and safety.
Melting The Wax
Melting the wax is a key step in making a glass candle lamp. The wax must be melted carefully for a smooth, even candle. This process turns solid wax into liquid, ready to pour into the glass container. Proper melting keeps the wax clean and safe to use.
Safe Melting Techniques
Use a double boiler to melt wax safely. Place wax in a heatproof container. Put the container in a pot of hot water. Heat the water slowly on low to medium heat. Stir wax gently as it melts. Avoid direct heat to stop burning. Keep a thermometer nearby. Do not heat wax above 185°F (85°C). Turn off heat when wax fully melts. Never leave melting wax unattended.
Adding Colors And Scents
Add color chips or dye to melted wax for bright shades. Stir the color well until fully mixed. Use candle-safe dyes only. Add fragrance oils once wax reaches 170°F (77°C). Stir carefully to spread scent evenly. Avoid adding too much fragrance. Too much scent can cause poor burning. Mix colors and scents before pouring wax into glass.
Setting The Wick
Setting the wick is a key step in making a glass candle lamp. The wick controls how the candle burns. A well-set wick helps the candle burn evenly and safely. This step needs care and attention to create a beautiful candle lamp.
Choosing The Right Wick Size
Pick a wick size that matches your glass container. A wick too small will burn slowly and unevenly. A wick too large causes a high flame and smoke. Check the container’s diameter to find the best wick size. Cotton wicks work well for most glass candle lamps. Use a wick size chart to guide your choice. The right wick size ensures a steady, bright flame.
Securing The Wick In Place
Keep the wick centered in the glass container. Use a wick sticker or glue dot to fix the wick base at the bottom. Hold the wick straight with a wick holder or pencil across the top. This prevents the wick from moving while pouring wax. Let the glue dry well before adding wax. A secure wick creates a safe and even burning candle lamp.
Pouring The Wax
Pouring the wax is a key step in making a glass candle lamp. This step shapes the candle and sets the base for a smooth finish. Careful pouring helps the wax cool evenly and prevents flaws. Paying attention here ensures a beautiful final product.
Optimal Pouring Temperature
Pour wax at the right temperature for best results. Usually, the ideal range is between 130°F and 150°F (54°C to 65°C). Pouring too hot can cause cracks or discoloration. Too cool wax can harden too fast and create uneven surfaces. Check the wax temperature using a thermometer before pouring.
Avoiding Air Bubbles
Air bubbles spoil the look of your candle. Pour the wax slowly and steadily to reduce bubbles. Avoid shaking or stirring the wax too much. Tap the container gently after pouring to release trapped air. Using a heat gun or warm cloth over the wax surface can also smooth out bubbles.
Cooling And Finishing Touches
After pouring the wax into your glass candle lamp, the final steps are crucial. Cooling and finishing touches give your candle a clean, polished look. These steps help the candle last longer and burn safely.
Proper Cooling Time
Let the candle cool at room temperature. Do not move or touch it during this time. Cooling usually takes several hours. This allows the wax to harden evenly. Avoid cooling in cold places to stop cracks. A smooth, solid surface means the candle is ready.
Trimming The Wick
Trim the wick to about 1/4 inch before lighting. A shorter wick creates a cleaner burn. It reduces smoke and soot. Use sharp scissors for a neat cut. Trimming also helps the flame stay steady. Always check the wick before each use.
Adding Decorative Elements
Decorate your glass lamp after cooling. Use ribbons, stickers, or twine around the glass. Small stones or dried flowers add charm. Avoid placing decorations near the flame. Keep safety in mind to prevent fire hazards. Simple decorations enhance the candle’s look and style.
Safety Tips
Safety is the top priority when making a glass candle lamp. Taking the right steps protects you and your home from accidents. Small mistakes can cause big problems. Follow these safety tips to enjoy your craft safely.
Fire Safety Precautions
Keep a fire extinguisher nearby before lighting the candle. Always place the glass lamp on a flat, heat-resistant surface. Avoid placing it near curtains or flammable materials. Never leave a burning candle unattended. Trim the candle wick to ¼ inch to prevent high flames. Extinguish the flame completely before leaving the room.
Handling Hot Wax
Hot wax can cause burns if not handled carefully. Use heat-resistant gloves when pouring melted wax. Pour wax slowly to avoid splashing. Keep children and pets away during the process. Allow wax to cool fully before touching or moving the lamp. Clean spills immediately to prevent slips and stains.
Credit: www.networx.com
Creative Ideas
Creative ideas make your glass candle lamp unique and special. These ideas let you add personality and style. Small changes create big visual effects. Experiment with colors, shapes, and materials. Your lamp can reflect your taste and mood.
Personalizing Your Candle Lamp
Choose colors that match your room. Paint the glass with glass-safe markers or paint. Add small decorations like beads or ribbons around the base. Write a favorite quote or word on the glass. Use stickers or decals for easy customization. Personal touches make the lamp feel yours.
Using Recycled Glass
Old jars and bottles work well as candle lamps. Clean them thoroughly before use. Broken glass pieces can be melted or glued creatively. Recycled glass adds a rustic, eco-friendly look. It saves money and helps the environment. Try mixing glass types for a unique effect.
Seasonal Decor Themes
Change your candle lamp decorations by season. Use autumn leaves or small pine cones for fall. Add seashells and sand for a summer theme. Use red and green ribbons during winter holidays. Spring can have floral designs or pastel colors. Seasonal themes keep your lamp fresh and festive.

Credit: www.youtube.com
Frequently Asked Questions
What Materials Are Needed To Make A Glass Candle Lamp?
To make a glass candle lamp, you need a glass container, candle wax, wick, fragrance oil (optional), and a double boiler. These materials help create a safe, beautiful, and functional candle lamp suitable for home decor or gifts.
How Do You Prepare The Glass For Candle Making?
Clean the glass container thoroughly to remove dust and oil. Dry it completely before adding wax. This ensures better candle adhesion and prevents impurities from affecting the candle’s burn quality.
What Is The Best Wax Type For Glass Candle Lamps?
Soy wax is ideal for glass candle lamps. It burns cleanly, has a longer burn time, and is eco-friendly. Soy wax also holds fragrance well, making your candle lamp both attractive and aromatic.
How Do You Safely Melt Wax For Candle Lamps?
Use a double boiler to melt wax safely. Heat the wax slowly to avoid burning or overheating. Stir gently and monitor the temperature to ensure a smooth, even melt.
Conclusion
Making a glass candle lamp is simple and fun. You only need a few materials and some patience. The steps are easy to follow, even for beginners. This project lets you create a unique light for your home. You can try different glass shapes and candle types.
Each lamp will have its own style and charm. Give it a try and enjoy the warm glow it brings. Small efforts can bring big comfort and beauty. Why not start making your glass candle lamp today?