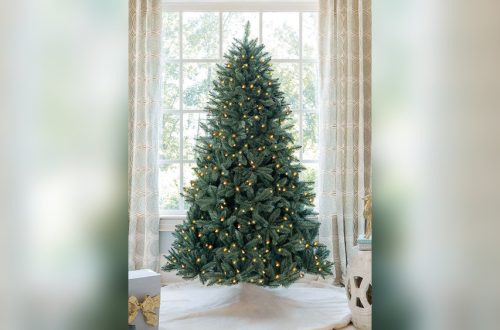
Is your artificial Christmas tree looking a little flat or lifeless this year? You’re not alone.
Over time, those once-full branches can lose their shape, making your tree look less festive and inviting. But don’t worry—refluffing your tree is easier than you think. With a few simple steps, you can bring back that lush, full look that makes your holiday decorations truly shine.
Ready to transform your tree and impress your guests? Keep reading, and let’s get your tree looking its best!
Gather Your Supplies
Gathering the right supplies makes re-fluffing your artificial Christmas tree easier. Having everything ready saves time and effort. It helps you focus on giving the tree a fresh, full look.
Prepare your workspace with care. A clean area lets you spread out branches without damage. Now, let’s see what supplies you need to start.
Soft Gloves
Soft gloves protect your hands from sharp branch tips. They also keep the tree clean from oils and dirt on your skin. Choose gloves that fit well and allow finger movement.
Step Ladder Or Stool
A step ladder helps reach the top branches safely. Use a sturdy stool if your tree is small. This tool makes fluffing every part of the tree simple.
Spray Bottle With Water
Lightly misting branches can help reshape them. Use a spray bottle filled with water for this task. It makes the needles more flexible and easier to fluff.
Soft Brush Or Cloth
A soft brush removes dust from the tree’s branches. A microfiber cloth also works well for cleaning. Clean branches look brighter and improve the tree’s overall appearance.
Trash Bag Or Box
Use a trash bag or box to hold removed decorations. Keeping ornaments safe prevents loss or damage during fluffing. It also keeps your workspace tidy.

Credit: www.youtube.com
Set Up The Tree
Setting up your artificial Christmas tree correctly makes fluffing easier. A well-set tree looks full and natural. Take your time and prepare the area before assembling the tree. This step helps your tree stand firm and ready for fluffing.
Choose A Stable Location
Pick a flat, stable spot for the tree. Avoid uneven floors to prevent tipping. Near a power outlet is best for lights. Keep away from heaters or open windows.
Assemble The Tree Base
Open the tree stand and place it on the floor. Tighten the screws or clamps to secure it. Make sure the base is steady and level. This foundation supports the whole tree.
Attach The Tree Sections
Start with the bottom section and place it in the stand. Connect the middle section on top of the bottom one. Finish by adding the top section. Align each part carefully for a straight tree.
Secure The Tree
Check the tree’s balance after assembly. Adjust the base screws if the tree leans. Push the sections down firmly to lock them in place. A secure tree stands tall during fluffing.
Start From The Bottom
Starting from the bottom is the best way to re fluff an artificial Christmas tree. This method helps keep the tree stable and makes the process easier. The branches at the bottom support the whole tree, so fluffing them first builds a strong base.
Working from the bottom up also prevents already fluffed branches from getting squashed. It saves time and effort. You get a fuller look as you move upward. Plus, it feels less overwhelming to handle smaller sections step by step.
Remove Outer Branches Carefully
Begin by taking out the lower branches gently. Do not pull hard to avoid damage. Hold the branch near the base and wiggle it to loosen. Set aside the branches for fluffing on a flat surface.
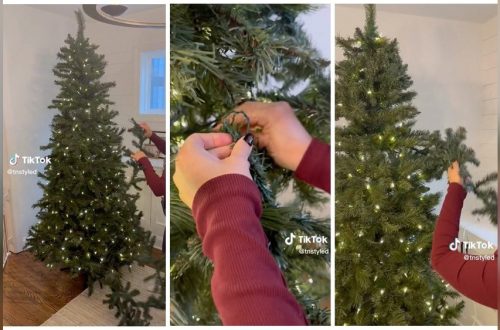
Fluff Each Branch Individually
Take one branch at a time. Separate each needle cluster with your fingers. Spread them out evenly to create volume. Pay attention to gaps and fill them by adjusting needles.
Reattach Branches Securely
After fluffing, put branches back on the tree. Push the base firmly into the slot. Make sure each branch locks into place. This keeps the tree sturdy and neat.
Check For Gaps And Adjust
Look at the bottom section from different angles. Fill any empty spaces by moving needles or adding small branches. A well-fluffed bottom creates a natural and full appearance.

Credit: www.reddit.com
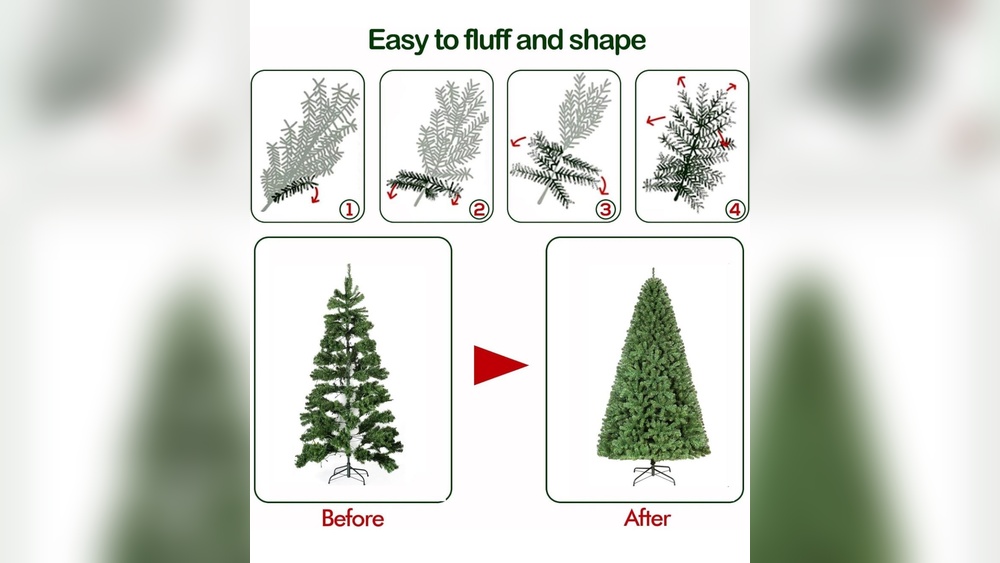
Fluff Each Branch
Fluffing each branch gives your artificial Christmas tree a full, natural look. It takes time but makes a big difference. Focus on every branch to bring out the best shape. This step helps the tree look fresh and ready for decorations.
Separate Branches
Start by gently pulling apart the branches. Spread them away from the trunk evenly. This creates space between branches for a fuller appearance. Work from the bottom to the top for best results.
Spread Needle Tips
Next, spread out the needle tips on each branch. Use your fingers to loosen tight clusters. Make sure the needles stand out in all directions. This makes the tree look more like a real pine.
Adjust Branch Angles
Finally, adjust the angle of each branch. Bend them slightly upward or downward. Avoid flat or stiff positions. This adds depth and natural shape to the tree.
Fill Empty Spots
Empty spots on an artificial Christmas tree can make it look thin and less festive. Filling these gaps gives the tree a full, lush appearance. It also helps the tree hold ornaments better and look more natural. This section explains easy ways to fill empty spots and boost the tree’s charm.
Add Extra Branches
Extra branches bring fullness to bare areas. Many artificial trees come with spare branches. Insert these into the empty spots carefully. Use the same style and color as the original branches. This keeps the tree looking even and natural. If no spare branches are available, buy small clip-on branches. They attach easily and blend well.
Use Pine Sprigs Or Decorations
Pine sprigs add texture and cover gaps nicely. You can find artificial pine sprigs at craft stores. Place them in empty spots by tucking their stems into the tree’s frame. Small decorations like pine cones or berries work well too. They hide bare areas and add holiday charm. Choose colors that match the tree for the best effect.
Shape The Tree
Shaping the tree is a key step to make your artificial Christmas tree look full and natural. It helps to give the tree a neat, attractive form. Proper shaping also allows your decorations to stand out better. Take your time and adjust each branch carefully. This process brings the tree to life.
Create A Balanced Look
Start by pulling out the branches gently. Spread them evenly around the tree. Avoid bunching branches too close. This creates a balanced, full shape. Fluff the tips of each branch to add volume. Make sure no area looks empty or crowded. A balanced tree looks inviting and beautiful.
Check Tree Symmetry
Step back and look at the tree from all sides. Check if both sides have equal fullness. Adjust branches that stick out too far or look flat. Symmetry makes the tree appear tidy and well-shaped. Fix uneven spots by bending branches slightly. A symmetrical tree creates a pleasant view from every angle.
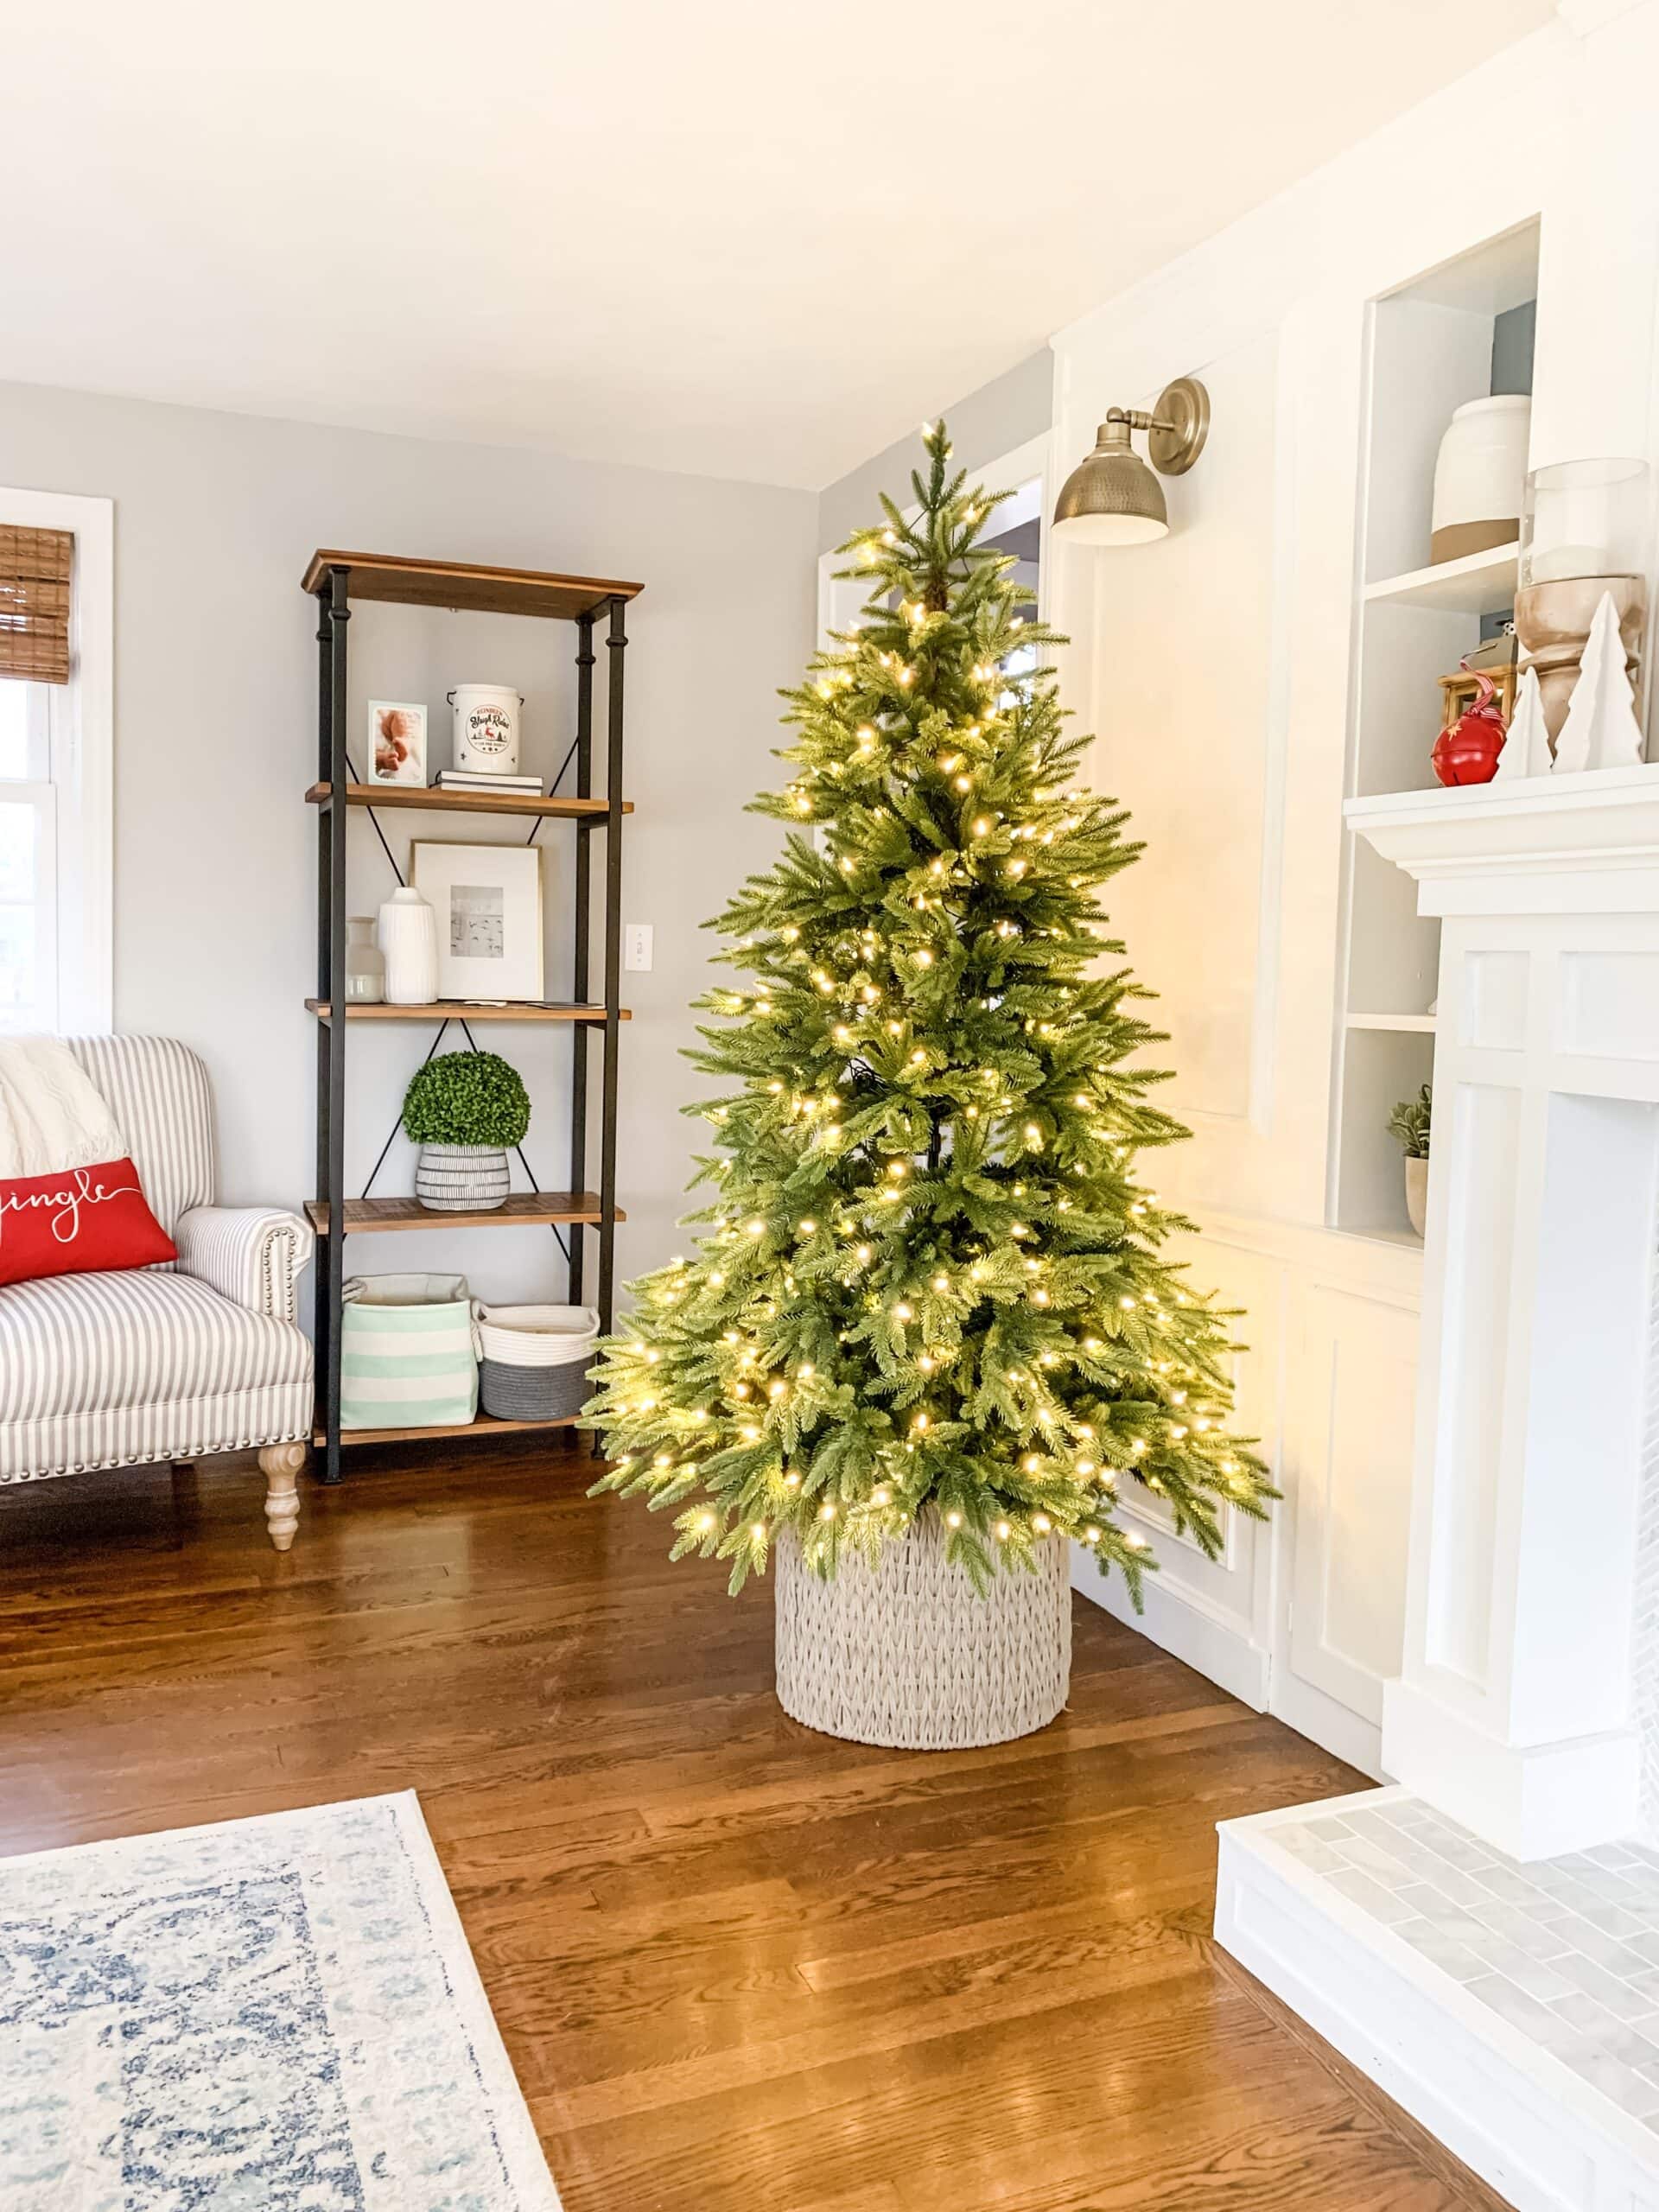
Light The Tree
Lighting an artificial Christmas tree brings it to life. The right lights add warmth and sparkle. Proper lighting makes your tree look full and bright. It also highlights the shape and decorations beautifully.
Take time to arrange the lights carefully. This step helps your tree shine evenly and look inviting. Follow simple tips to get the best glow.
Test Lights Before Placing
Check all light strands before hanging. Plug them in to see if they work. Replace bulbs or strands that do not light up. Testing saves time and avoids dark spots later.
Make sure the lights are untangled and in good condition. This prevents damage and keeps your tree safe. Testing lights first helps your decorating go smoothly.
Wrap Lights Evenly
Start wrapping lights from the bottom or base of the tree. Move upward in a spiral pattern. Keep the lights close to the branches for a natural look. Space the lights evenly for balance.
Push some lights deeper into the branches. This adds depth and a glowing effect inside the tree. Avoid clustering all lights on the outer tips. Even wrapping creates a beautiful, glowing tree.
Credit: jennakateathome.com
Maintain Fullness Throughout Season
Keeping your artificial Christmas tree full and lush all season is important. A well-fluffed tree looks fresh and inviting. It brightens your home and lifts holiday spirits. Maintaining fullness needs small, regular efforts. Simple steps can keep branches spread out and needles looking thick. A bit of care helps your tree stay beautiful from the first decoration to the last day of the season.
Regular Fluffing Tips
Fluff your tree branches at least once a week. Gently pull each branch apart and lift the needles. Use your fingers to spread out the tips for a natural look. Avoid pressing too hard to keep the branches from bending. Rotate the tree slowly while fluffing to reach all sides. Step back often to check for empty spots. Fluff those areas more until the tree looks full. This habit stops the tree from looking flat or thin as days pass.
Storage Advice For Next Year
Proper storage keeps your tree full for years. Remove all decorations before packing the tree. Collapse branches carefully to avoid bending. Store the tree in its original box or a sturdy bag. Keep it in a dry, cool place away from sunlight. Avoid heavy items on top of the tree box. This prevents needles from bending or breaking. Label the storage box for easy finding next season. Good storage protects your tree’s shape and fullness for next Christmas.
Frequently Asked Questions
How Do I Re Fluff An Artificial Christmas Tree?
To re fluff, gently separate branches and spread out needles evenly. Start from the bottom and work upwards. Use your hands to shape each branch for a fuller look.
Why Should I Re Fluff My Artificial Christmas Tree?
Re fluffing restores the tree’s original fullness and shape. It removes flattened branches from storage. This process makes your tree look fresh and vibrant for the holidays.
How Often Should I Re Fluff The Tree?
Re fluff your tree each year before decorating. This keeps it looking natural and full. It also helps prevent damage to the branches and maintains its beauty.
Can I Use Tools To Re Fluff The Tree?
Using your hands is best for re fluffing. Avoid sharp tools that may damage branches or needles. Gentle shaping ensures a natural and long-lasting appearance.
Conclusion
Refluffing your artificial Christmas tree brings it back to life. It makes the tree look full and fresh. Take your time to spread out each branch gently. This simple step improves the tree’s overall appearance. A well-fluffed tree creates a warm and festive feel at home.
Enjoy decorating a tree that looks natural and bright. Keep these tips in mind every holiday season. Your efforts will make your Christmas tree stand out beautifully.