Is your artificial Lucas Pine Christmas tree looking a bit flat or uneven this year? You’re not alone.
Over time, these trees can lose their shape, making your holiday decoration feel less magical. But don’t worry—you can easily bring your tree back to life. In this guide, you’ll discover simple steps to reshape your Lucas Pine tree so it looks full, natural, and ready to impress your guests.
Keep reading, and you’ll have your tree looking perfect in no time.
Prepare Your Workspace
Preparing your workspace is the first step to reshape an artificial Lucas pine Christmas tree. A clean and organized area helps you work safely and efficiently. It also protects your tree and decorations from damage. Getting ready takes just a few minutes but saves time later.
Clear A Spacious Area
Find a place with enough room to spread out the tree parts. Remove furniture and clutter from the space. A large floor space near an electrical outlet is best. This space allows you to move branches freely. Keep the area well-lit to see every detail clearly.
Gather Necessary Tools
Collect all tools before starting the reshaping process. You may need gloves to protect your hands. Use a soft brush to clean dust from branches. Have scissors or pruning shears ready for trimming. Keep a step stool nearby if the tree is tall. Having tools at hand avoids interruptions during work.

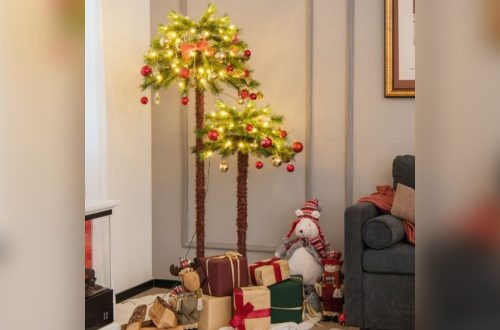
Credit: www.amazon.com
Unpack The Tree Carefully
Unpacking your artificial Lucas pine Christmas tree needs care. It protects the tree’s shape and quality. Taking time here helps you avoid damage and makes reshaping easier. Follow these steps to handle your tree properly.
Remove Packaging Materials
Start by placing the box on a flat surface. Open it slowly to avoid tearing branches. Take out all packaging materials gently. Cardboard, plastic ties, or foam pieces hold the tree in place. Remove them one by one. This prevents sudden movements that could bend branches.
Inspect For Damage
After removing packaging, check the tree carefully. Look for broken branches or bent tips. Notice any loose parts or missing pieces. Early spotting of damage saves time later. Fix small issues before you start reshaping. This keeps your tree looking full and natural.
Assemble The Tree Base
Assembling the base of your artificial Lucas Pine Christmas tree is the first step. It sets the foundation for a sturdy and well-shaped tree. Take your time to prepare the stand and connect the tree sections properly. This ensures the tree stands firm and looks great.
Secure The Stand
Start by placing the tree stand on a flat surface. Check that all screws or bolts are ready to use. Insert the bottom pole of the tree into the stand. Tighten the screws to hold the pole tightly. Make sure the stand does not wobble. A stable base keeps the tree safe during decoration.
Attach The Tree Sections
Next, connect the tree sections from bottom to top. Each piece should fit snugly into the one below it. Push each section firmly until it clicks or locks in place. Double-check that all connections are tight. This keeps the tree straight and balanced. Take care with each section to avoid damage.

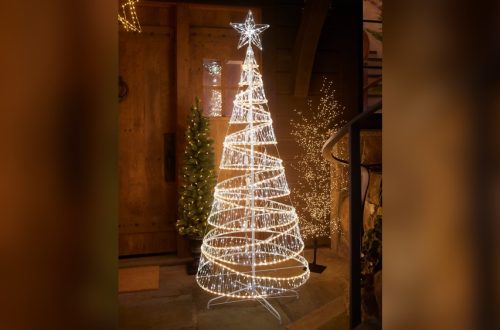
Credit: www.amazon.com
Fluff The Branches
Fluffing the branches brings an artificial Lucas Pine Christmas tree to life. It creates a full, natural look that makes the tree inviting. The process takes time but is simple and satisfying. Each branch needs attention to look its best. Follow these steps for a beautifully shaped tree.
Start From The Bottom
Begin fluffing at the tree’s bottom branches. These are the widest and hold the tree’s shape. Gently pull each branch outward from the center. This opens up space and prevents a flat look. Work around the tree to keep branches even. The bottom sets the base for the whole tree.
Work Upwards
Move up to the middle and upper branches next. These parts need fluffing to keep balance. Pull branches outward and spread them evenly. Check from all sides to avoid gaps. The top branches are thinner, so be gentle. Fluffing upwards keeps the tree looking tall and full.
Separate Branch Tips
Focus on the tips of each branch last. Separate the small needles and tips carefully. This adds depth and a natural feel. Avoid clumping the tips together. Use your fingers to spread needles in different directions. This step creates the tree’s lush, full appearance.
Adjust Branch Angles
Adjusting the branch angles of your Artificial Lucas Pine Christmas Tree helps it look fuller and more natural. Branches often arrive bent or flat. Straightening and spreading them changes the tree’s shape. This step is key to a beautiful holiday centerpiece.
Create A Natural Shape
Start by gently pulling each branch outward. Open the branches at different heights to avoid a uniform look. Bend the tips slightly upward or downward. This mimics the way real pine trees grow. Avoid sharp angles; smooth curves look more natural. Take your time to shape each branch carefully.
Fill In Sparse Areas
Look for gaps where the tree seems thin. Adjust nearby branches to cover those empty spots. Twist or spread smaller branches to fill holes. Use your fingers to fluff needles for extra volume. Rotate the tree as you work to spot missing areas. This step makes the tree look dense and lush.
Shape The Tree Top
Shaping the top of your artificial Lucas Pine Christmas tree is important. It sets the look for the entire tree. The top should appear full and natural. Small adjustments can make a big difference. Take your time to position the branches carefully. This part of the tree often draws the most attention.
Position The Top Branch
Start by placing the top branch straight up. Gently bend it to give a natural shape. Avoid bending it too much. The top branch should be firm and upright. This branch supports the tree topper later on. Make sure it is steady and not loose.
Ensure Symmetry
Look at the top from all sides. The branches should spread evenly around the tip. Pull out any branches that are too close together. Fill gaps with smaller branches if needed. Symmetry makes the tree look balanced and neat. Step back often to check the shape.
Final Touches
Final touches are the last step in reshaping your artificial Lucas pine Christmas tree. These details make your tree look full and natural. Take time to carefully check and adjust the branches. This ensures your tree stands out beautifully in your home.
Step Back And Review
Step back and look at the tree from different angles. Notice any gaps or uneven spots. Check how the light hits the branches. This helps you see where the tree needs more shaping. Look closely at the top and bottom for balance. A quick review makes a big difference.
Make Minor Adjustments
Use your hands to gently bend or spread branches. Fill in empty spaces with smaller branch tips. Adjust the branch tips to face outward for a fuller look. Fix any bent or squished parts carefully. Small moves improve the tree’s overall shape and fullness. Take your time to get it just right.
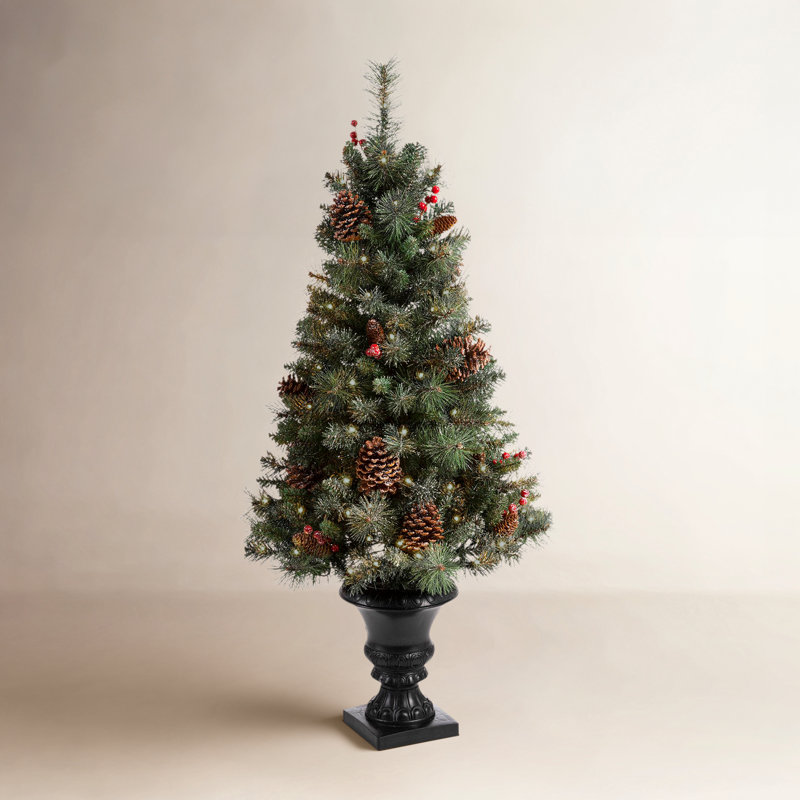
Credit: www.birchlane.com
Maintain The Shape Over Time
Maintaining the shape of your artificial Lucas Pine Christmas tree keeps it looking fresh year after year. Proper care stops branches from bending or flattening. Small efforts can extend the tree’s life and beauty. Follow simple steps to keep your tree full and natural.
Regular Fluffing Tips
Fluff the branches gently to restore their volume. Start from the bottom and move upward. Separate each branch tip carefully with your fingers. Avoid pulling too hard to prevent damage. Fluffing helps the tree look full and real. Do this before decorating and throughout the holiday season.
Proper Storage Advice
Store the tree in a cool, dry place after use. Use the original box or a sturdy storage bag. Wrap the tree loosely to avoid crushing branches. Keep it away from heavy items that could bend it. Store the tree upright if possible. Proper storage protects the tree’s shape for the next year.
Frequently Asked Questions
How Do I Reshape Artificial Lucas Pine Branches?
Gently bend each branch upward or outward to restore its natural shape. Use your hands carefully to avoid damage. Fluff the needles by separating them to add fullness and dimension.
Can Hot Water Help Reshape Lucas Pine Trees?
Yes, dipping branches briefly in warm water softens them, making reshaping easier. Avoid hot water as it may damage needles. Let branches air dry after shaping to maintain form.
How To Fix Bent Or Flattened Lucas Pine Needles?
Use your fingers to gently separate and fluff flattened needles. For bent needles, lightly steam them to regain shape. Avoid harsh bending to prevent breakage.
What Tools Help In Reshaping Lucas Pine Christmas Trees?
Use your hands, a soft cloth, and warm water. Needle-nose pliers help with stubborn branches. Avoid sharp tools that could damage needles or branches.
Conclusion
Reshaping your Lucas Pine Christmas tree takes patience and care. Gently bend branches to fill empty spots. Fluff needles to bring back fullness and life. Keep checking from different angles for balance. This simple effort makes your tree look fresh and beautiful.
Enjoy decorating a tree that feels like new each year. Small steps create big holiday cheer and warmth. Your tree will shine in your home, ready for festive moments.