Looking for a perfect workspace right at home? Building your own office desk can be easier than you think.
Imagine having a desk tailored just for your needs—one that fits your space, style, and budget perfectly. You don’t need fancy tools or expert skills to get started. With simple materials and clear steps, you’ll create a sturdy, stylish desk that makes working from home more comfortable and productive.
Ready to transform your room and boost your focus? Let’s dive into how you can build your ideal office desk right at home!
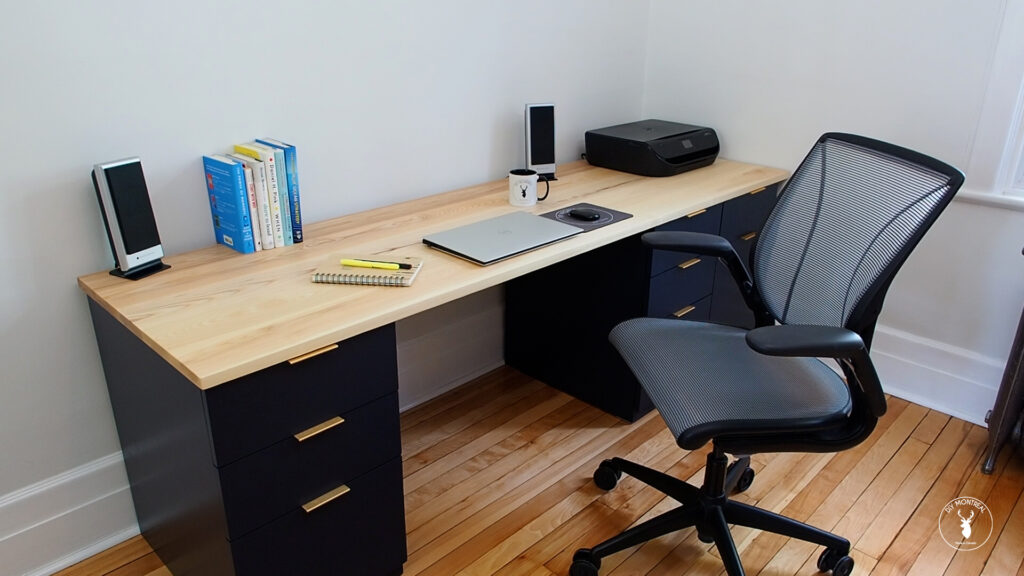
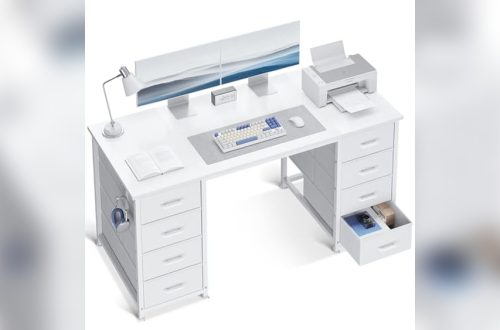
Credit: www.diymontreal.com
Choosing Desk Materials
Choosing the right materials is key for a sturdy home office desk. The material affects durability, look, and cost. Good materials offer strength and style, lasting through daily use.
Understanding different wood types helps you pick what fits your needs and budget. Below are common choices for building a desk at home.
Hardwood Options
Hardwoods like oak, maple, and walnut offer great strength. They resist dents and scratches well. Oak has a classic look and lasts long. Maple is smooth and light-colored. Walnut provides a rich, dark tone for a stylish desk. These woods tend to cost more but give a quality finish.
Budget-friendly Woods
Pine and fir are good budget options. These softwoods are easy to work with and light. Pine has a warm color and can be stained or painted. These woods may dent easier but can still last with care. They suit simple, affordable desk builds.
Engineered Wood Choices
Engineered woods include plywood, MDF, and particleboard. Plywood is strong and stable, made by layering thin wood sheets. MDF has a smooth surface, perfect for painting. Particleboard is the cheapest but less durable. These materials work well for desktops and shelves when covered or sealed properly.
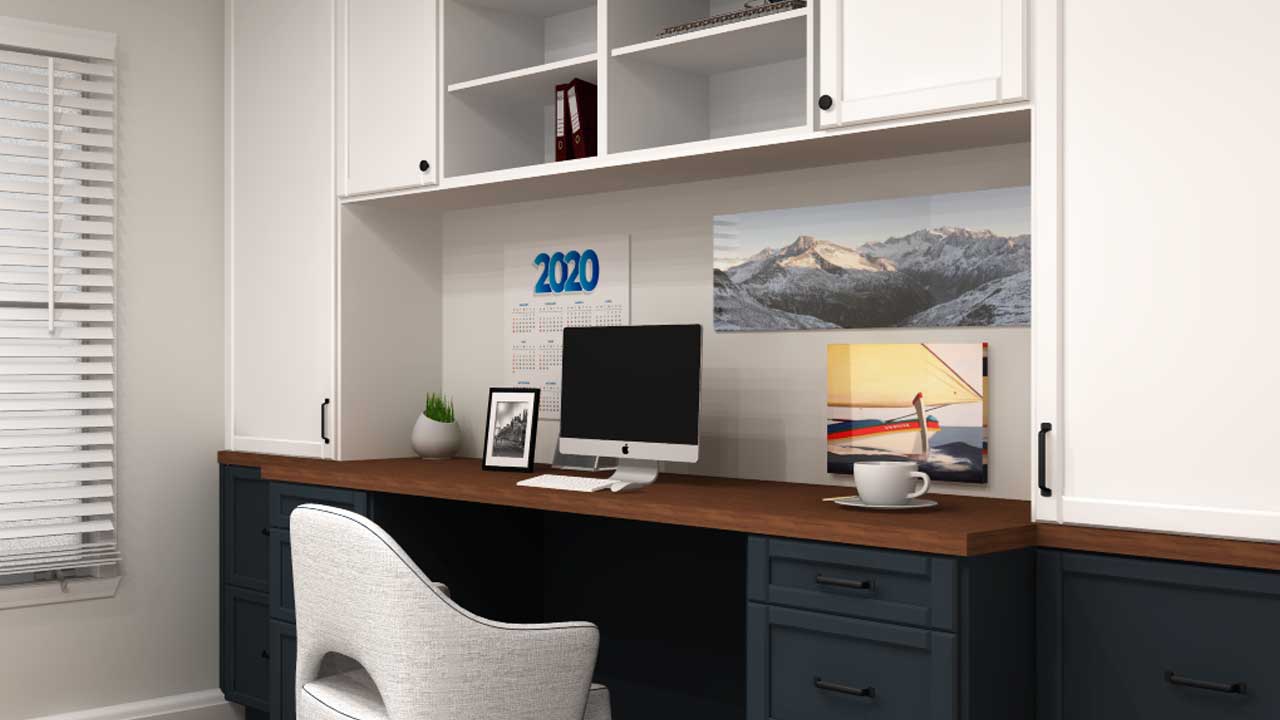
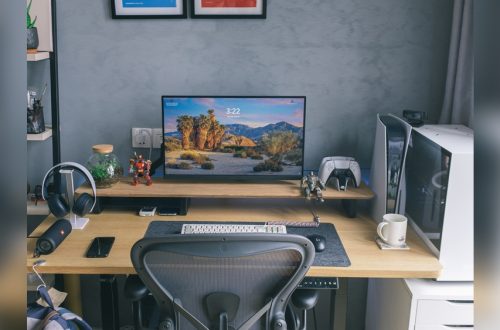
Credit: inspiredkitchendesign.com
Gathering Tools And Supplies
Gathering the right tools and supplies is the first step in building your office desk at home. Having everything ready helps you work smoothly and saves time. It also keeps your project safe and efficient.
Choose tools and materials based on your desk design and size. Quality tools make cutting, drilling, and assembling easier. Prepare safety gear to protect yourself during the build.
Essential Power Tools
Power tools speed up the building process and improve accuracy. A circular saw or jigsaw helps cut wood pieces to size. A drill and screwdriver set is needed for assembling parts. A sander smooths edges and surfaces for a clean finish. Clamps hold pieces steady while you work. Make sure tools are in good condition and fully charged.
Safety Gear
Protect yourself with proper safety gear. Safety glasses shield your eyes from dust and debris. Ear protection reduces noise from power tools. Work gloves protect your hands from splinters and sharp edges. A dust mask prevents inhaling sawdust. Wear sturdy shoes to protect your feet. Keep a first aid kit nearby just in case.
Additional Materials
Besides tools, gather all materials before starting. Choose quality wood like plywood or hardwood boards. Get screws, nails, and wood glue for strong joints. Sandpaper helps smooth rough surfaces. Paint or wood stain adds color and protection. Have measuring tape, pencil, and square for precise marking. Organize your workspace to keep materials handy.
Planning Your Desk Design
Planning your desk design is a key step before building your office desk at home. A clear plan saves time and avoids mistakes. It helps create a desk that fits your needs and space perfectly. This section guides you through measuring your space, selecting desk dimensions, and sketching your layout.
Measuring Your Space
Start by measuring the area where you want to place your desk. Use a tape measure to get the width, depth, and height of the space. Note any obstacles like power outlets, windows, or vents. Measure carefully to ensure the desk will fit without crowding the room.
Keep in mind the space needed for your chair and movement. Allow at least 30 inches of width for comfortable seating. Check the height clearance if you plan to add shelves above the desk. Accurate measurements help avoid surprises during construction.
Selecting Desk Dimensions
Choose desk dimensions based on your work habits and available space. A common desk height is about 29 to 30 inches. The width depends on how much surface area you need for your computer, paperwork, and other items.
Standard desk depth ranges from 20 to 30 inches. Pick a size that fits your room but also offers enough space to work comfortably. Consider if you want extra features like drawers or keyboard trays. Make sure the desk size matches your chair and allows good posture.
Sketching The Layout
Create a simple sketch of your desk design before building. Draw the top view and side view to visualize the shape and size. Mark key elements such as legs, drawers, and cable holes. Use graph paper or a digital tool for accuracy.
This sketch acts as a blueprint during construction. It helps you plan the materials and tools needed. Adjust the layout until you find the best balance of function and style. A clear plan makes the building process smoother and faster.

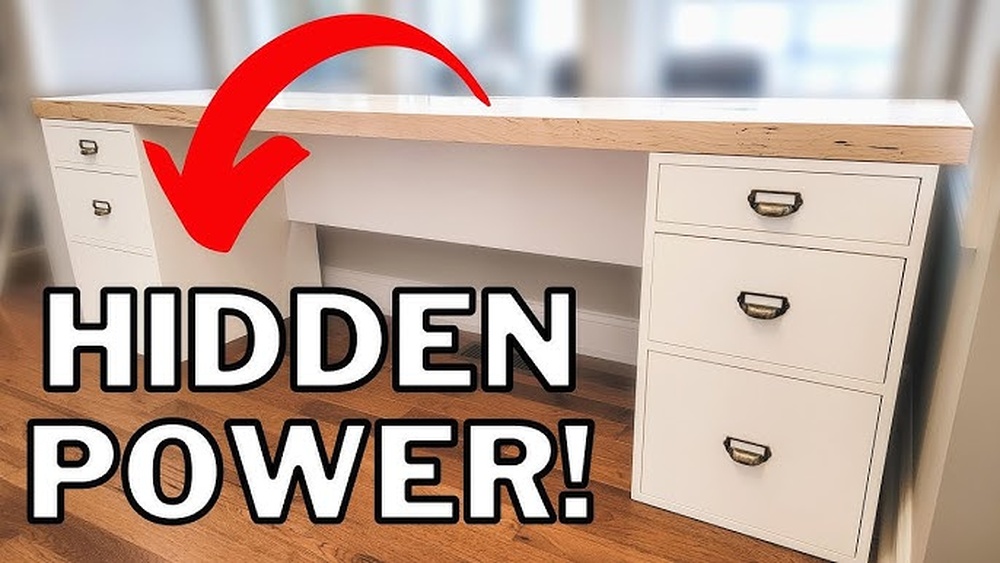
Credit: www.youtube.com
Cutting And Preparing Wood
Cutting and preparing wood is a key step in building your office desk at home. It sets the foundation for a sturdy and polished desk. Proper preparation ensures the wood pieces fit perfectly and look smooth.
Start by measuring and marking your wood carefully. Precision here saves time and prevents mistakes. Next, use a circular saw to cut the wood along the marked lines. This tool offers clean and straight cuts.
Finally, sanding the surfaces removes rough edges and splinters. It gives your desk a smooth finish and prepares it for painting or staining.
Marking Cut Lines
Use a pencil and measuring tape to mark cut lines. Measure twice to avoid errors. Draw clear straight lines on the wood surface. Use a square tool for perfect right angles. These marks guide your saw for accurate cuts.
Using A Circular Saw
Wear safety goggles and ear protection before cutting. Clamp the wood to keep it steady. Align the saw blade with your marked line. Cut slowly and steadily, following the line closely. Let the saw do the work without forcing it. Clean cuts improve the desk’s fit and look.
Sanding Surfaces
Start with coarse sandpaper to smooth rough spots. Move to finer grits for a polished finish. Sand along the wood grain to avoid scratches. Check edges and corners carefully. Wipe off dust with a dry cloth before assembling or finishing.
Assembling The Desk Frame
Assembling the desk frame is the first key step in building your office desk at home. This step sets the foundation for the entire desk. A strong and well-built frame ensures the desk will hold up under daily use. Follow simple steps to join the parts and create a sturdy base for your workspace.
Joining Legs And Supports
Start by aligning the desk legs with the support beams. Make sure each leg fits snugly into the slots or holes provided. Use a rubber mallet to gently tap legs into place if needed. Check that all parts are square and level before tightening any fasteners. Proper alignment here prevents wobbling later.
Ensuring Stability
Stability comes from a solid connection between legs and supports. Use cross braces or corner blocks to add strength. These pieces reduce side-to-side movement. Place them where the legs meet the desk frame. Confirm the frame does not rock or shift by applying light pressure. Adjust braces or leg positions as necessary.
Using Screws And Brackets
Secure the frame with screws and metal brackets. Choose screws that match the wood thickness and type. Pre-drill holes to avoid splitting the wood. Attach brackets at corners and joints for extra support. Tighten screws firmly but avoid over-tightening. Proper use of screws and brackets locks the frame together tightly.
Installing The Desktop
Installing the desktop is a key step in building your office desk at home. This step sets the foundation for a sturdy and functional workspace. A properly installed desktop ensures comfort and durability. Focus on careful alignment, secure attachment, and smooth finishing. These tasks help create a professional look and lasting quality.
Aligning The Surface
Start by placing the desktop on the desk frame. Check that all edges match the frame evenly. Use a level tool to ensure the surface is flat. Adjust the desktop until it sits without wobbling. Proper alignment prevents future issues and keeps your desk stable.
Securing The Top
Attach the desktop firmly using screws or brackets. Drill pilot holes to avoid wood splitting. Place screws evenly along the edges for balanced support. Tighten screws just enough to hold the desktop firmly. Over-tightening can damage the wood or warp the surface.
Finishing Edges
Smooth the edges with sandpaper for a clean finish. Round off sharp corners to avoid injury. Apply edge banding or wood trim for a polished look. This step improves both safety and appearance. A neat edge also protects the desktop from damage.
Finishing Touches
Finishing touches give your office desk a polished and professional look. These final steps protect the wood and improve its appearance. A well-finished desk lasts longer and stays beautiful through daily use. Focus on stain or paint, protective coatings, and useful accessories to complete your build.
Applying Stain Or Paint
Choose a stain to highlight the wood’s natural grain. Stains come in many shades to match your style. Use a brush or cloth to apply evenly. Paint offers a solid color and can brighten your workspace. Sand lightly before painting for a smooth finish. Allow each coat to dry fully before adding another.
Adding Protective Coating
Protect your desk with a clear coat after staining or painting. Polyurethane is a popular choice for durability. It guards against scratches and water damage. Apply thin, even layers with a clean brush. Let each layer dry and sand lightly between coats. This step keeps your desk looking new for years.
Attaching Accessories
Add practical touches like cable organizers or drawer handles. These small additions improve desk function and keep your area tidy. Use screws or strong adhesive to attach accessories securely. Consider adding a keyboard tray or monitor stand for comfort. Choose items that fit your workspace and needs.
Maintaining Your Desk
Maintaining your office desk is key to keeping it functional and looking good. Proper care prevents damage and extends its lifespan. Simple habits can protect your investment and keep your workspace neat and tidy.
Cleaning Tips
Dust your desk regularly with a soft cloth. Use a mild cleaner for stains and spills. Avoid harsh chemicals that damage the finish. Wipe spills immediately to prevent water marks. Clean under the desk to avoid dust buildup.
Repairing Scratches
Small scratches can be fixed with a wood touch-up marker. For deeper scratches, use wood filler or putty. Sand gently after filling and apply matching stain. Avoid using sharp tools that can worsen damage. Regular inspection helps catch scratches early.
Extending Desk Life
Use coasters to protect from water rings and heat. Avoid placing heavy items that can warp the surface. Tighten screws and bolts periodically to keep the desk stable. Place your desk away from direct sunlight to prevent fading. Adding a desk mat can reduce wear from daily use.
Frequently Asked Questions
Can I Build A Desk By Myself?
Yes, you can build a desk yourself using basic tools and materials like plywood. It’s beginner-friendly with patience and effort.
Is Plywood Strong Enough For A Desk?
Plywood is strong and durable enough for a desk. Its layered construction provides excellent rigidity and support. Choose quality plywood for better stability and longevity.
What Is The Best Wood To Use For A Desk?
The best wood for a desk includes durable hardwoods like oak, maple, and walnut. Oak offers strength and scratch resistance. Maple is hard with a smooth grain. Walnut provides a rich color but scratches easier. Bamboo and pine are budget-friendly, with bamboo being sustainable.
How To Create An Office Desk?
Choose sturdy wood like oak or maple for the desk surface. Cut wood to size, assemble with screws and brackets. Sand edges smooth and apply finish. Attach legs or support frames securely. Add cable management or drawers as needed for functionality.
Conclusion
Building your own office desk at home saves money and fits your space. Choose sturdy wood like oak or maple for durability. Simple tools and clear steps make the process easy. Personal touches help create a desk you enjoy using daily.
With patience and care, anyone can build a functional workspace. Start small, learn as you go, and enjoy the satisfaction of your DIY desk.