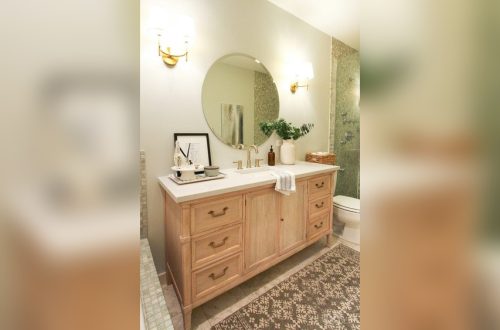
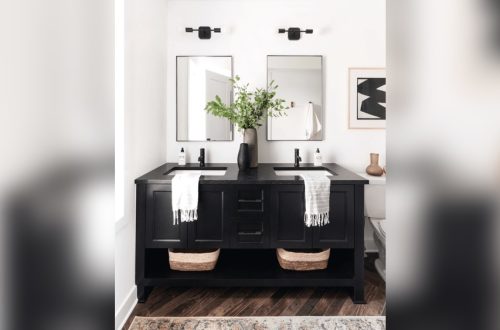
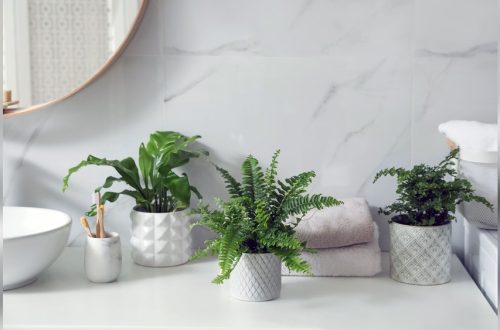
Looking to add a personal touch to your bathroom without spending a fortune? Creating your own bathroom rug is easier than you think, and it lets you bring your style right into the heart of your home.
Imagine stepping out of the shower onto a soft, cozy rug that you made yourself—designed exactly how you want it. In this guide, you’ll discover simple steps and creative ideas to craft a bathroom rug that’s both beautiful and functional.
Ready to transform your space and enjoy a unique, handmade accessory? Let’s dive in and make your bathroom feel truly yours.
Choosing The Right Materials
Choosing the right materials for your DIY bathroom rug is important. The materials affect comfort, durability, and appearance. Some fabrics absorb water well. Others dry quickly and resist mold. Selecting the proper tools and supplies makes crafting easier. These choices help create a rug that fits your style and needs perfectly.
Fabric Options
Cotton is soft and absorbent. It feels nice underfoot and cleans easily. Microfiber dries fast and resists mildew. It is lightweight and durable. Chenille offers a plush texture and good absorbency. It adds a cozy look to your bathroom. Memory foam provides extra comfort and support. It molds to your feet and stays in place. Choose a fabric that suits your bathroom’s moisture level and style.
Tools And Supplies Needed
Basic tools include scissors, a measuring tape, and a needle. Fabric glue or a sewing machine helps join pieces. Non-slip rug pads keep the rug steady on tile floors. Markers or chalk make cutting easier and more precise. You may need pins to hold fabric before sewing. Having these supplies ready saves time and effort during the project.
Measuring And Planning
Measuring and planning are the first steps in making a bathroom rug. This process helps you create a rug that fits perfectly and looks great in your space. Careful planning saves time and materials. It also ensures your rug matches your bathroom style and needs.
Determining Size And Shape
Start by measuring the area where the rug will go. Use a tape measure to get the width and length. Consider the space in front of the sink, shower, or bathtub. Choose a rug size that fits comfortably without blocking doors or cabinets.
Think about the shape too. Rectangles fit most bathrooms well. Round or oval rugs add softness to the space. Your choice depends on the bathroom layout and personal taste.
Design And Color Choices
Select colors that match your bathroom walls, tiles, or accessories. Light colors make the room feel bigger and brighter. Dark colors can hide dirt and stains better.
Patterns add interest and personality. Simple designs work well in small spaces. Bold patterns suit larger bathrooms. Plan your rug’s design to blend with your bathroom style.
Cutting And Preparing Fabric
Cutting and preparing fabric is the first key step in making a DIY bathroom rug. This process shapes the fabric and sets the base for your rug’s design. Careful preparation helps avoid mistakes and saves time.
Choosing the right fabric size and shape ensures your rug fits well. Taking time to mark and cut fabric correctly creates clean edges and a neat finish.
Marking Patterns
Start by drawing your rug shape on the fabric. Use a fabric chalk or a pencil for clear, easy-to-see lines. Mark lines lightly to avoid permanent marks.
Use a ruler or measuring tape to keep shapes even and straight. For curved shapes, try a flexible curve ruler or trace a round object. Mark all sides clearly before cutting.
Cutting Techniques
Use sharp fabric scissors to cut along your marked lines. Dull scissors can cause jagged edges and frayed fabric. Cut slowly and steadily for smooth lines.
Place the fabric on a flat surface to avoid shifting. Hold the fabric firmly but do not stretch it while cutting. Trim any loose threads for a tidy look.
Sewing And Assembly
Sewing and assembling your own bathroom rug is a fun and creative process. It lets you choose the fabric, size, and design that fit your space perfectly. You only need a few basic sewing skills to start. Small steps add up to a beautiful, custom rug.
Start by cutting your fabric pieces to the desired shape. Then, use simple stitches to join them. After sewing, adding a non-slip backing makes the rug safer and more durable. This section covers easy stitching methods and how to add the backing.
Basic Stitching Methods
Use straight stitches to join fabric pieces neatly. They hold the fabric well and look clean. For edges, use a zigzag stitch to prevent fraying. It keeps the rug strong and tidy.
A running stitch works well for hand sewing. It is simple and quick. Backstitching adds extra strength to seams. Take small, even stitches for the best results.
Adding Non-slip Backing
Non-slip backing keeps your rug from sliding on wet floors. Cut a piece of non-slip material the same size as your rug. Attach it by sewing or using fabric glue.
Make sure the backing covers the entire rug bottom. This improves safety and extends the rug’s life. Press the edges firmly to secure the backing well.
Finishing Touches
Finishing touches give your DIY bathroom rug a polished look. These small steps complete the project and make your rug look neat and stylish. Careful attention to detail helps your rug last longer and feel more comfortable.
Trimming And Edging
Trim any excess fabric or yarn to keep the edges clean. Use sharp scissors for a smooth cut. Adding an edge finish stops fraying and keeps the rug strong.
Try sewing a simple stitch around the rug’s edge. You can also use fabric glue or binding tape. These methods protect the rug and give it a tidy appearance.
Decorative Enhancements
Decorate your rug with small touches to match your bathroom style. Sew or glue on buttons, beads, or small patches for a fun look.
Use fabric paint to add patterns or shapes. Choose colors that brighten the room or blend with your decor. These enhancements make your rug unique and inviting.
Maintenance And Care Tips
Taking care of your DIY bathroom rug keeps it fresh and lasting longer. Proper maintenance helps avoid stains and damage. A clean rug adds comfort and style to your bathroom space.
Simple care steps prevent dirt build-up and keep fibers soft. Regular cleaning and attention protect your investment. These tips make your rug look new for many months.
Cleaning Instructions
Shake the rug outside to remove loose dirt. Use a vacuum cleaner on low power to avoid damage. For stains, spot clean with mild soap and warm water. Avoid harsh chemicals that can ruin fabric colors. Let the rug dry fully before placing it back.
Extending Rug Lifespan
Rotate your rug often to spread wear evenly. Keep the bathroom well-ventilated to reduce moisture build-up. Avoid standing water on the rug to prevent mold. Use a rug pad underneath to reduce slipping and friction. Store the rug flat or rolled to keep its shape.
Frequently Asked Questions
What Materials Are Best For A Diy Bathroom Rug?
Natural fibers like cotton and bamboo are ideal for DIY bathroom rugs. They absorb water well and dry quickly. These materials also feel soft and provide good traction to prevent slipping in wet areas.
How Do I Make A Non-slip Bathroom Rug?
Add a non-slip backing or use a rubber mat underneath your rug. This prevents slipping and enhances safety. You can buy adhesive non-slip pads or spray for easy application.
Can I Wash A Homemade Bathroom Rug In A Machine?
Yes, most DIY bathroom rugs made from cotton or bamboo are machine washable. Use gentle cycles and mild detergent to preserve fabric quality. Always air dry to avoid shrinkage and maintain softness.
How Often Should I Clean A Diy Bathroom Rug?
Clean your bathroom rug weekly to prevent mold and bacteria buildup. Regular washing keeps it fresh and hygienic. Spot clean spills immediately to maintain its appearance and durability.
Conclusion
Creating your own bathroom rug saves money and adds personal style. Choose colors and materials that suit your space. The project is simple and fun to do at home. You can make rugs in different shapes and sizes. It also feels good to use something made by yourself.
Start with basic tools and take your time. This DIY idea brings warmth and comfort to your bathroom. Try it and enjoy a fresh, cozy look today.