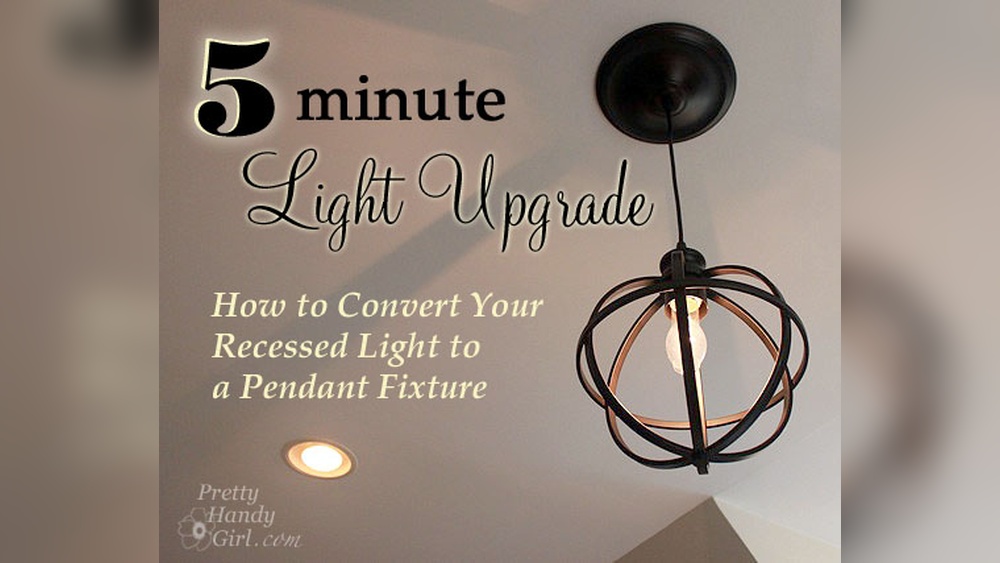
Are you tired of the plain, boring look of your recessed lights? Imagine transforming that dull ceiling spot into a stylish pendant light that adds personality and warmth to your space.
Converting a recessed light to a pendant is easier than you think, and it can completely change the vibe of your room. You’ll discover simple steps and expert tips to make this upgrade happen quickly and safely. Ready to give your lighting a fresh, eye-catching makeover?
Let’s dive in!
Tools And Materials Needed
Before starting your project to convert a recessed light to a pendant, gather all necessary tools and materials. Having everything ready saves time and helps keep the work smooth. It also ensures safety and accuracy during installation.
Basic Tools
- Voltage tester to check power is off
- Wire stripper for removing insulation
- Screwdriver set for removing and attaching screws
- Drill for making holes if needed
- Measuring tape to measure lengths
- Utility knife for cutting wires or materials
- Pliers for gripping and bending wires
Pendant Light Components
- Pendant light fixture with socket and shade
- Mounting bracket to attach the fixture to the ceiling
- Electrical wire matching your home’s wiring
- Wire connectors (wire nuts) to join wires safely
- Canopy cover to hide wiring and mounting hardware
- Chain or cord to adjust the pendant height
Safety Gear
- Insulated gloves to protect from electric shock
- Safety goggles to shield your eyes
- Dust mask if drilling creates dust
- Non-slip shoes to prevent falls
- Flashlight for better visibility in dim areas

Credit: www.anikasdiylife.com
Preparing The Work Area
Preparing the work area is the first step in converting a recessed light to a pendant. A clean and safe space helps the project go smoothly. Taking time to get ready avoids mistakes and accidents. Follow these simple steps to prepare well before starting.
Turn Off Power
Safety is very important. Switch off the power at the circuit breaker. Double-check by flipping the light switch to confirm no electricity flows. Use a voltage tester on the light fixture to be sure the power is off. Never work on electrical parts with power on.
Clear The Space
Remove furniture and items under the light. Keep the area clear for easy movement. Place a drop cloth or old sheet on the floor to catch debris or dust. Good lighting helps you see clearly. Use a ladder that is stable and tall enough to reach the ceiling.
Gather Materials Nearby
Collect all tools and supplies before starting. You will need screwdrivers, wire strippers, electrical tape, and a pendant light kit. Keep everything within arm’s reach. This saves time and keeps you focused on the task. Check that the pendant matches your room’s style and size.
Removing The Recessed Light
Removing a recessed light is the first step to install a pendant light. This process requires careful handling to avoid damage or injury. The recessed light has three main parts to remove: the trim and bulb, the wiring, and the housing. Each part must be taken out in the right order.
Detach Trim And Bulb
Start by turning off the power from the circuit breaker. This stops any electrical accidents. Next, gently pull down the trim, the outer ring that holds the bulb. Some trims have clips or springs; press or squeeze them to release the trim. Remove the bulb by twisting it counterclockwise. Set the trim and bulb aside safely.
Disconnect Wiring
Look inside the recessed can for the wiring. Use a voltage tester to confirm power is off. Then, loosen the wire nuts connecting the light wires to the home wires. Carefully separate the wires and tuck them back into the ceiling box. This step prepares the space for the new pendant light wiring.
Remove Housing
The housing is the metal can inside the ceiling. It may be attached with screws or clips. Unscrew or unclip the housing from the ceiling joists. Pull it down gently through the ceiling hole. Some housings are large; support the can with one hand while removing it. Clear the hole to prepare for your pendant light installation.
Installing The Pendant Light Mount
Installing the pendant light mount is a key step in converting recessed lights. This stage ensures your new light hangs safely and looks great. Proper mounting keeps the fixture secure and steady over time.
Attach Mounting Bracket
Start by attaching the mounting bracket to the electrical box. Use screws that fit tightly to avoid any wobble. The bracket holds the pendant light firmly in place. Check that the bracket is level before tightening screws fully.
Secure Electrical Box
Next, secure the electrical box inside the ceiling cavity. It must support the weight of the pendant light. Use box supports or braces if needed for extra strength. A loose box can cause the light to hang unevenly or fall.
Check Wiring Compatibility
Finally, check that the existing wiring matches the pendant light’s requirements. Confirm voltage and wire types are suitable. Use a voltage tester for safety before connecting wires. Proper wiring prevents electrical problems and ensures smooth operation.
Wiring The Pendant Light
Wiring the pendant light is a key step in converting a recessed light. It ensures the new fixture works safely and properly. This part needs care and attention to avoid electrical issues. Follow each step closely to make a secure connection.
Connect Wires Safely
Turn off the power at the circuit breaker first. Identify the wires: usually black (live), white (neutral), and green or copper (ground). Match the wires from the pendant to the house wires by color. Twist the ends together firmly to ensure a solid connection.
Use Wire Connectors
Cover each wire connection with a wire connector (wire nut). Twist the connector until it feels tight and secure. This prevents wires from touching or coming loose inside the box. Wrap electrical tape around the connectors for extra safety.
Test Connections
Turn the power back on at the breaker. Use a voltage tester to check if the pendant light gets power. Switch the light on to confirm it works. If the light does not turn on, switch off power and check connections again.

Credit: www.thestonybrookhouse.com
Attaching The Pendant Fixture
Attaching the pendant fixture is a key step in converting a recessed light. This part brings style and function together. It changes the look of the room and adds charm. Follow clear steps to ensure the fixture hangs safely and looks great.
Adjust Cord Length
Start by adjusting the cord length. Measure how low you want the pendant to hang. Shorten the cord by pulling it through the canopy. Use wire cutters to trim any excess cord. Leave a little extra cord inside the ceiling for safety.
Secure Fixture
Next, secure the fixture to the ceiling. Attach the mounting bracket to the electrical box. Connect the wires from the pendant to the house wires. Use wire nuts to join them safely. Finally, screw the canopy to the mounting bracket to hold the fixture tight.
Install Bulb
Last, install the light bulb. Choose a bulb that fits the pendant style and wattage limit. Screw the bulb gently into the socket. Turn the power back on and test the light. The pendant should glow warmly and brighten your space.
Final Checks And Power Restoration
After installing your new pendant light, take time to complete final checks. These steps ensure your light works safely and looks great. Correct inspection and careful power restoration are key. Follow the steps below to finish the process smoothly.
Inspect Installation
Check all connections for tightness and security. Look for exposed wires or loose screws. Make sure the pendant hangs straight and at the right height. Verify the mounting bracket is firmly attached. Confirm no parts are missing or damaged.
Restore Power
Turn the circuit breaker back on. Avoid switching power on before inspection is complete. Use the wall switch to control the pendant light. Ensure no sparks or unusual sounds appear when restoring power. Safety first.
Test Pendant Light
Switch the pendant light on and off several times. Look for steady, bright light without flickering. Listen for buzzing or humming sounds. Confirm the pendant light illuminates the space as planned. Adjust height or angle if needed.
Troubleshooting Common Issues
Changing a recessed light to a pendant light can bring fresh style to any room. Sometimes, small problems arise during or after the switch. These issues can stop the light from working right. Knowing how to fix common problems saves time and stress. Below are easy steps to solve frequent troubles.
Light Not Turning On
First, check the power switch. Make sure it is on. Next, test the bulb. Use a new or working bulb to see if the issue is the bulb. Check the wiring connections. Loose wires can stop the light from working. Turn off the power before touching wires. Tighten any loose connections carefully. If the problem stays, test the circuit breaker. Sometimes it trips and cuts power. Reset it if needed.
Flickering Light
Flickering can mean the bulb is loose. Turn off the light and tighten the bulb gently. If flickering continues, the bulb might be faulty. Replace it with a new one. Another cause is a bad connection. Inspect the wires for damage or looseness. Secure any loose wires after turning off power. Sometimes the switch is the issue. Try replacing the switch if the flicker stays.
Loose Fixture
A pendant light must hang securely. If it feels loose or wobbly, check the mounting bracket. Tighten screws that hold the fixture in place. The ceiling box must support the fixture weight. Use a box rated for heavy fixtures if needed. Make sure all parts fit well. Loose parts can cause noise or damage. Secure everything firmly for safety and stability.
Safety Tips For Diy Electrical Work
Working with electricity can be risky. Safety is the top priority in any electrical project. This guide shares key safety tips to keep you safe while converting recessed lights to pendants. Follow these tips to avoid accidents and damage. Stay alert and prepared before starting your work.
When To Hire A Professional
Some electrical tasks need expert skills. Complex wiring or unknown circuits require professional help. Call a licensed electrician if unsure about any step. This avoids serious injury or fire risks. Professionals have the right tools and training for safe work.
Avoiding Electrical Hazards
Always turn off power at the breaker box before starting. Use a voltage tester to confirm power is off. Never touch wires with wet hands or metal tools. Keep the work area dry and clear of clutter. Avoid working alone so someone can help in emergencies.
Proper Tool Usage
Use insulated tools made for electrical work. Check tools for damage before use. Avoid makeshift tools or damaged equipment. Follow instructions for wire strippers, pliers, and screwdrivers. Proper tools make tasks easier and reduce injury risks.
Credit: www.amazon.com
Frequently Asked Questions
How Do I Convert Recessed Lighting To A Pendant?
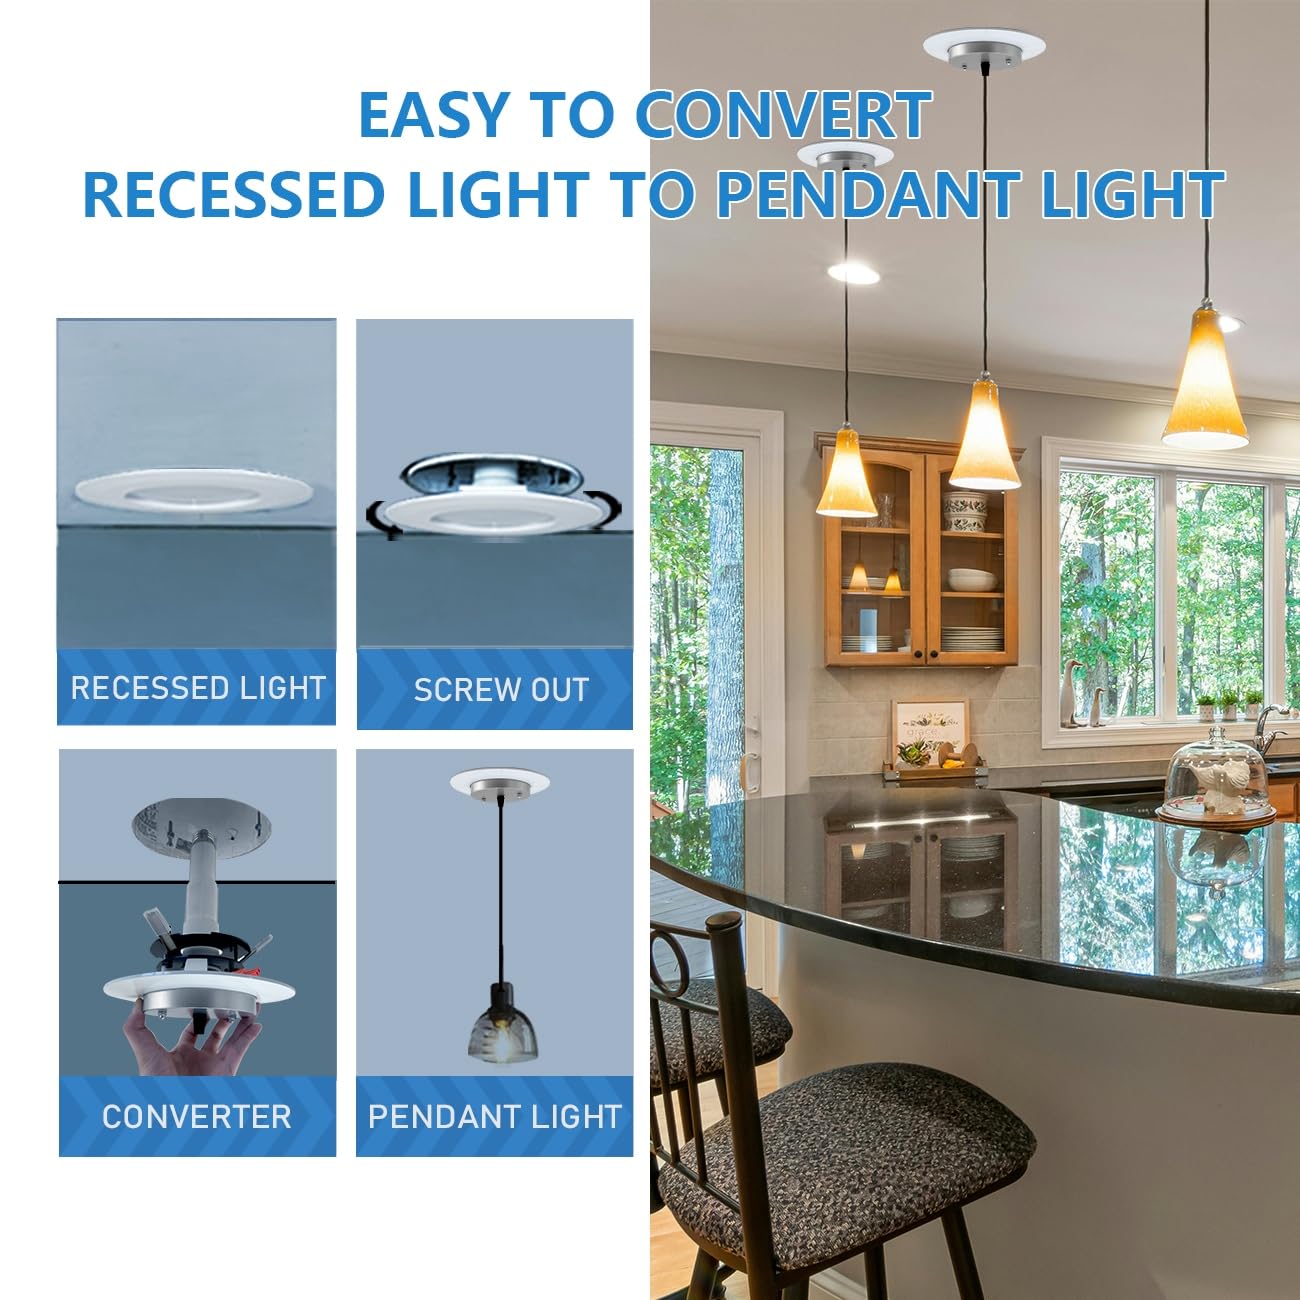
To convert recessed lighting to a pendant, first turn off power. Remove the recessed fixture and install a ceiling box. Attach the pendant light mounting bracket, connect wiring, and secure the pendant. Restore power and test the light for proper operation.
What Tools Are Needed For This Lighting Conversion?
You will need a screwdriver, wire stripper, voltage tester, pliers, and a drill. Also, use a ceiling box and pendant light kit. Safety gear like gloves and goggles is recommended for protection during installation.
Can I Convert Recessed Lights To Pendants Myself?
Yes, if you have basic electrical skills and follow safety guidelines. Ensure power is off before starting. If unsure, consult a licensed electrician to avoid hazards and ensure code compliance.
How Much Does It Cost To Convert Recessed To Pendant?
Costs vary but typically range from $50 to $200 for materials. Hiring an electrician may add $100 to $300 for labor. DIY saves labor costs but requires the right tools and skills.
Conclusion
Converting a recessed light to a pendant can change your room’s look. It adds style and creates a warm glow. The steps are simple and safe when you follow instructions. Choose a pendant that fits your space and taste. Take your time and enjoy the process.
Brighten your home with this easy lighting update. You will love the new feel it brings. Try this change to make your room stand out.