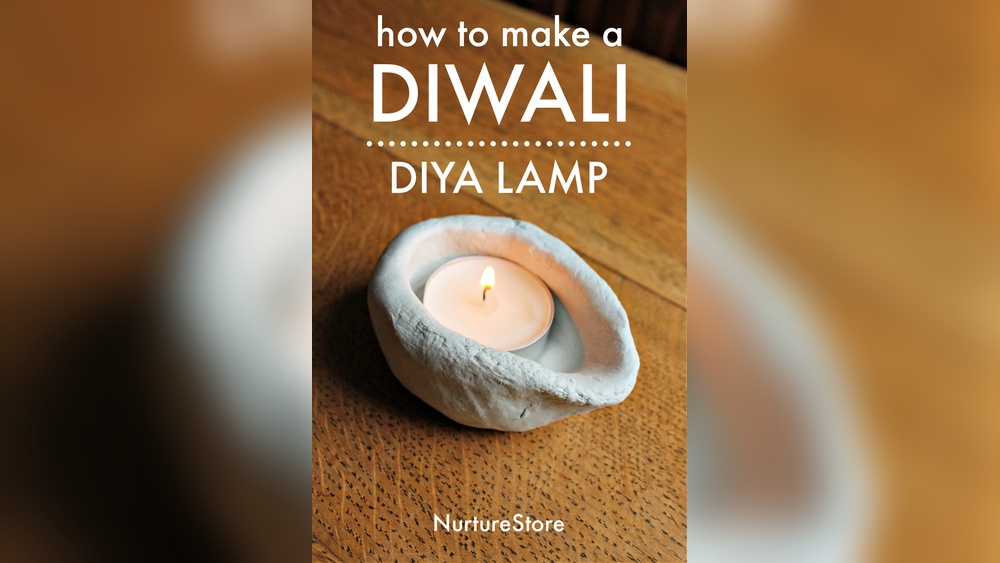
Are you looking for a simple, creative way to brighten up your space? Making a clay lamp candle is a fun and rewarding project that anyone can try.
Imagine lighting a beautiful, handmade lamp that adds warmth and charm to your home. In this guide, you’ll learn easy steps to create your own clay lamp candle, even if you’ve never worked with clay before. Ready to discover how a few basic materials can turn into a glowing piece of art?
Keep reading, and let’s get started!
Materials Needed
Creating a clay lamp candle is a fun and rewarding project. Having the right materials makes the process easy and enjoyable. This section covers all you need to start your clay lamp candle.
Choosing The Right Clay
Use air-dry clay or natural clay for the lamp base. Air-dry clay is easy to shape and does not need a kiln. Natural clay offers a traditional feel but needs firing. Pick a clay type that suits your tools and workspace. Smooth clay helps create a neat lamp surface.
Selecting Candles And Wicks
Choose small candles or tealights for your lamp candle. They fit well in the clay holder. Cotton wicks are best as they burn cleanly and safely. Make sure the wick size matches your candle size. This prevents uneven burning or smoke.
Additional Tools And Supplies
Gather simple tools like a rolling pin and sculpting tools. A small knife or toothpick helps with shaping details. Use a bowl of water to smooth the clay edges. Keep some sandpaper for light sanding after drying. These tools make crafting easier and neater.
Preparing The Clay
Preparing the clay is the first step in making a clay lamp candle. This step ensures the clay is soft, smooth, and easy to work with. Proper preparation helps avoid cracks and breaks in the final product. Take your time to get the clay ready for shaping.
Conditioning And Kneading
Start by breaking the clay into small pieces. This makes it easier to knead. Use your hands to press and fold the clay repeatedly. Warmth from your hands softens the clay. Knead the clay until it feels smooth and pliable. Check for lumps or dry spots. Remove or re-knead any hard parts. Well-conditioned clay improves the lamp’s strength.
Shaping Techniques
After kneading, shape the clay into the base form. Use your fingers to pinch and mold the clay. Create a hollow space for the candle wick. Smooth the surface with your palms or a damp sponge. Keep the walls even and not too thin. Thin walls may crack while drying. Use simple tools like a wooden stick for details. A steady hand helps keep the shape neat and balanced.
Crafting The Lamp Base
Crafting the lamp base is the first step to make a beautiful clay lamp candle. This part holds the candle and gives the lamp its shape and style. A strong and well-made base keeps the candle safe and steady. It also sets the tone for the whole lamp.
Work with soft clay that is easy to shape. Keep your hands clean and smooth the clay often. This helps the lamp look neat and ready for baking or drying.
Forming The Lamp Shape
Start by rolling a ball of clay in your hands. Press it down gently to make a flat base. Shape the sides by pinching and pulling the clay up. Keep the walls even and smooth. The shape can be round, oval, or any design you like.
Creating The Candle Holder
Make a small hole in the center of the lamp base. This hole will hold the candle safely. Use your fingers or a small tool to shape the holder. Make sure it fits the candle snugly and stands firm. The holder should be deep enough to catch any wax drips.
Adding Decorative Details
Use simple tools like sticks or toothpicks to add patterns. Carve lines, dots, or shapes on the surface. You can also press leaves or stamps to create designs. Keep decorations light so the base stays strong. Let your creativity shine but keep the lamp stable.

Credit: www.youtube.com
Drying And Firing
Drying and firing are crucial steps in making a clay lamp candle. This process turns soft clay into a hard, durable piece. Proper drying prevents cracks and damage. Firing strengthens the lamp and prepares it for use with candles.
Air Dry Vs Kiln Firing
Air drying is simple and does not need special tools. Clay dries naturally by losing water. This method suits clay types made to dry without heat. Air-dried lamps are fragile and not waterproof.
Kiln firing uses high heat to harden clay. It makes the lamp strong and long-lasting. Kiln-fired lamps resist water and heat better. This method needs access to a kiln or pottery studio.
Tips For Avoiding Cracks
Dry clay slowly to avoid cracks. Cover the lamp with plastic to slow drying. Turn the lamp regularly for even drying. Keep it away from direct sunlight or heat sources.
Use thin, even clay layers when shaping. Thick parts dry slower and may crack. Smooth the surface to remove air bubbles. Air bubbles can cause cracks during firing.
Painting And Finishing
Painting and finishing bring your clay lamp candle to life. This step adds color, style, and protects your creation. A well-painted lamp stands out and lasts longer. Choose the right paints and sealants carefully. This ensures your lamp stays beautiful and safe to use.
Choosing Paints And Sealants
Use acrylic paints for bright and lasting colors. They dry fast and stick well to clay. Avoid watercolors; they may fade or wash off. For a smooth finish, apply thin paint layers. Let each layer dry before adding the next.
Seal your painted lamp to protect it from heat and moisture. Use a clear acrylic sealant or varnish. Spray sealants work well for even coverage. Brush-on sealants give more control over the finish. Make sure the sealant is safe for candle use.
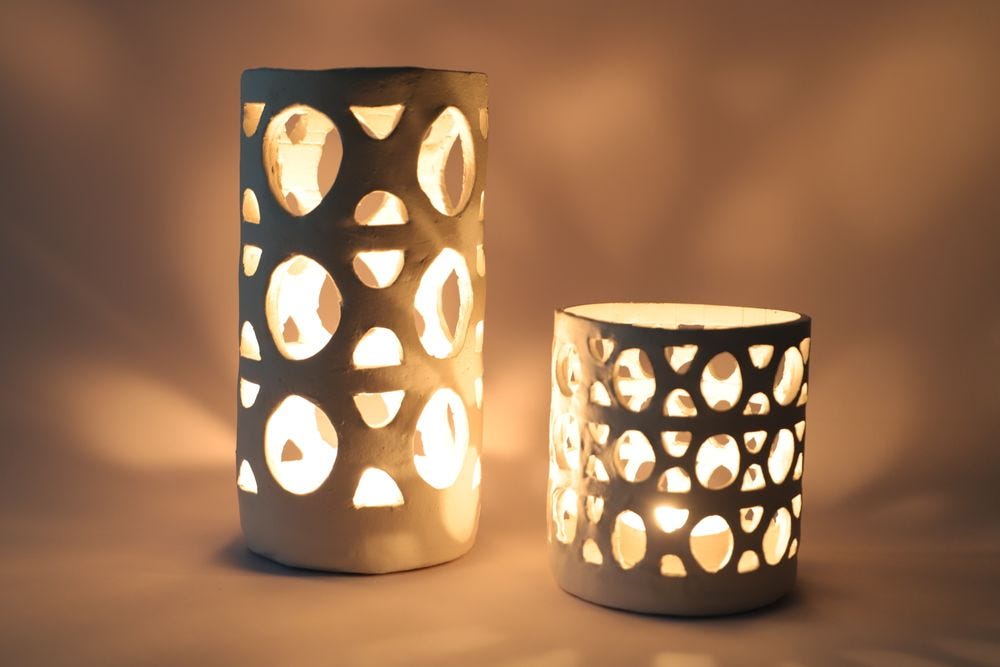
Design Ideas For Stunning Decor
Try simple geometric shapes for a modern look. Circles, triangles, and stripes create clean designs. Use contrasting colors to make designs pop. For a rustic style, paint with earthy tones like brown and green.
Floral patterns add charm and softness to your lamp. Small flowers or leaves make delicate details. Use a fine brush for detailed work. Experiment with dots and lines for unique textures. Your creativity will turn the lamp into a true decor piece.
Credit: www.montmarte.com
Assembling The Candle Lamp
Assembling the clay lamp candle is a key step in creating your handmade piece. This part brings together the candle and the clay base. Careful assembly ensures the lamp works well and looks beautiful.
Follow simple steps to place the wick and candle correctly. Safety is important during this process. Handle materials carefully to avoid accidents or damage.
Inserting The Wick And Candle
Start by placing the wick inside the clay lamp’s holder. Make sure the wick stands straight and fits snugly. Pour melted wax slowly around the wick. Fill the holder without spilling wax outside. Let the wax cool and harden fully before moving the lamp. This keeps the wick stable and ready for lighting.
Safety Precautions
Work in a well-ventilated area to avoid inhaling fumes. Use heat-resistant gloves when handling hot wax. Keep water and a fire extinguisher nearby. Avoid placing the lamp near flammable objects. Never leave a burning candle unattended. These steps reduce risk and keep your workspace safe.
Creative Variations
Creative variations make clay lamp candles more fun and unique. You can try different styles to fit your taste and mood. Changing materials and designs lets you craft a lamp candle that stands out. Experimenting with ideas adds a personal touch to your project.
Using Different Clay Types
Choose clay types to change the look and feel of your lamp candle. Air-dry clay is easy to shape and dries without baking. Polymer clay needs baking but offers bright colors and durability. Natural clay provides an earthy texture and works well for rustic designs. Try mixing clays for new effects and textures.
Incorporating Embellishments
Add small decorations to make your lamp candle special. Use beads, glitter, or tiny stones for sparkle. Press leaves or flowers into the clay for a natural look. Paint designs after drying for extra color. Embellishments give your lamp candle a unique style and charm.
Seasonal And Themed Designs
Create lamp candles that match holidays or seasons. Use warm colors and leaf shapes for autumn. Bright flowers and pastel colors suit spring themes. Red and green designs work well for Christmas. Themed candles make great gifts or decorations for special times.

Credit: www.gatheringbeauty.com
Frequently Asked Questions
How Do I Start Making A Clay Lamp Candle?
Begin by gathering clay, a wick, and candle wax. Shape the clay into a lamp form. Insert the wick and pour melted wax. Let it cool before use.
What Type Of Clay Is Best For Lamp Candles?
Air-dry clay or terracotta clay works best. They are easy to mold and durable. Avoid polymer clay as it may not withstand heat.
How Long Does It Take To Make A Clay Lamp Candle?
Shaping the clay takes about 30 minutes. Drying time varies from 24 hours to a few days. Wax pouring and setting take about 1 hour.
Can I Use Any Candle Wax For Clay Lamps?
Yes, soy wax or beeswax are ideal. They burn cleanly and are eco-friendly. Avoid paraffin wax for a safer, natural option.
Conclusion
Making a clay lamp candle is simple and fun. You only need a few materials and some patience. Each step helps you create a unique, beautiful lamp. This craft adds warmth and charm to any space. Enjoy the soft glow it brings to your home.
Try different shapes and colors to fit your style. Keep practicing to improve your skills. Handmade lamps also make thoughtful gifts. Start today and light up your space with creativity.