Are you ready to make your holiday decorating easier and more enjoyable? Raising an artificial Christmas tree might sound simple, but doing it the right way can save you time, stress, and even money.
Whether you’re a first-timer or want to improve your current setup, this guide will show you how to get your tree standing tall and looking beautiful in no time. Keep reading, and you’ll discover tips that make the whole process smooth and fun—so your home feels festive and cozy from the very first moment.
Choosing The Right Tree
Choosing the right artificial Christmas tree is the first step to a festive home. The perfect tree fits your space and style. It also lasts for many holidays. Consider size, shape, material, and budget. These factors make a big difference in your tree’s look and feel.
Tree Size And Shape
Measure your space before buying a tree. Think about the ceiling height and room width. A tall tree suits big rooms, but a small one fits cozy spaces. Choose a shape that matches your style. Slim trees save space. Full trees look lush and traditional.
Material And Quality
Look for trees made with strong, safe materials. PVC and PE are common options. PE branches feel more real but cost more. PVC trees are lighter and cheaper. Check for sturdy branches that hold ornaments well. Good quality means the tree lasts longer and looks better.
Budget Considerations
Set a budget before shopping. Artificial trees come in many prices. Higher prices often mean better quality and more features. Think about long-term use. A good tree can save money over time. Balance cost with what you want in size and look.

Credit: www.thescrapshoppeblog.com
Preparing The Setup Area
Preparing the setup area is the first step to raising an artificial Christmas tree. A good setup spot makes the process easier and safer. It helps keep your home clean and organized during decoration. Take time to get everything ready before unpacking the tree parts.
Selecting The Location
Choose a place with enough room for the tree’s height and width. Avoid spots near heaters or open flames to keep the tree safe. Pick an area where the tree can be seen and enjoyed by everyone. Consider a flat surface to keep the tree steady and balanced.
Clearing The Space
Remove furniture and items from the chosen spot. Clear the floor to avoid tripping over things while setting up. Make space to open the tree box and assemble parts comfortably. Clean the area to prevent dust or dirt from sticking to the tree.
Gathering Tools And Accessories
Collect all tools needed for assembly, like scissors or pliers. Have the tree stand, lights, and ornaments ready nearby. Keep extension cords and power strips within reach for easy setup. This preparation saves time and avoids searching for items later.
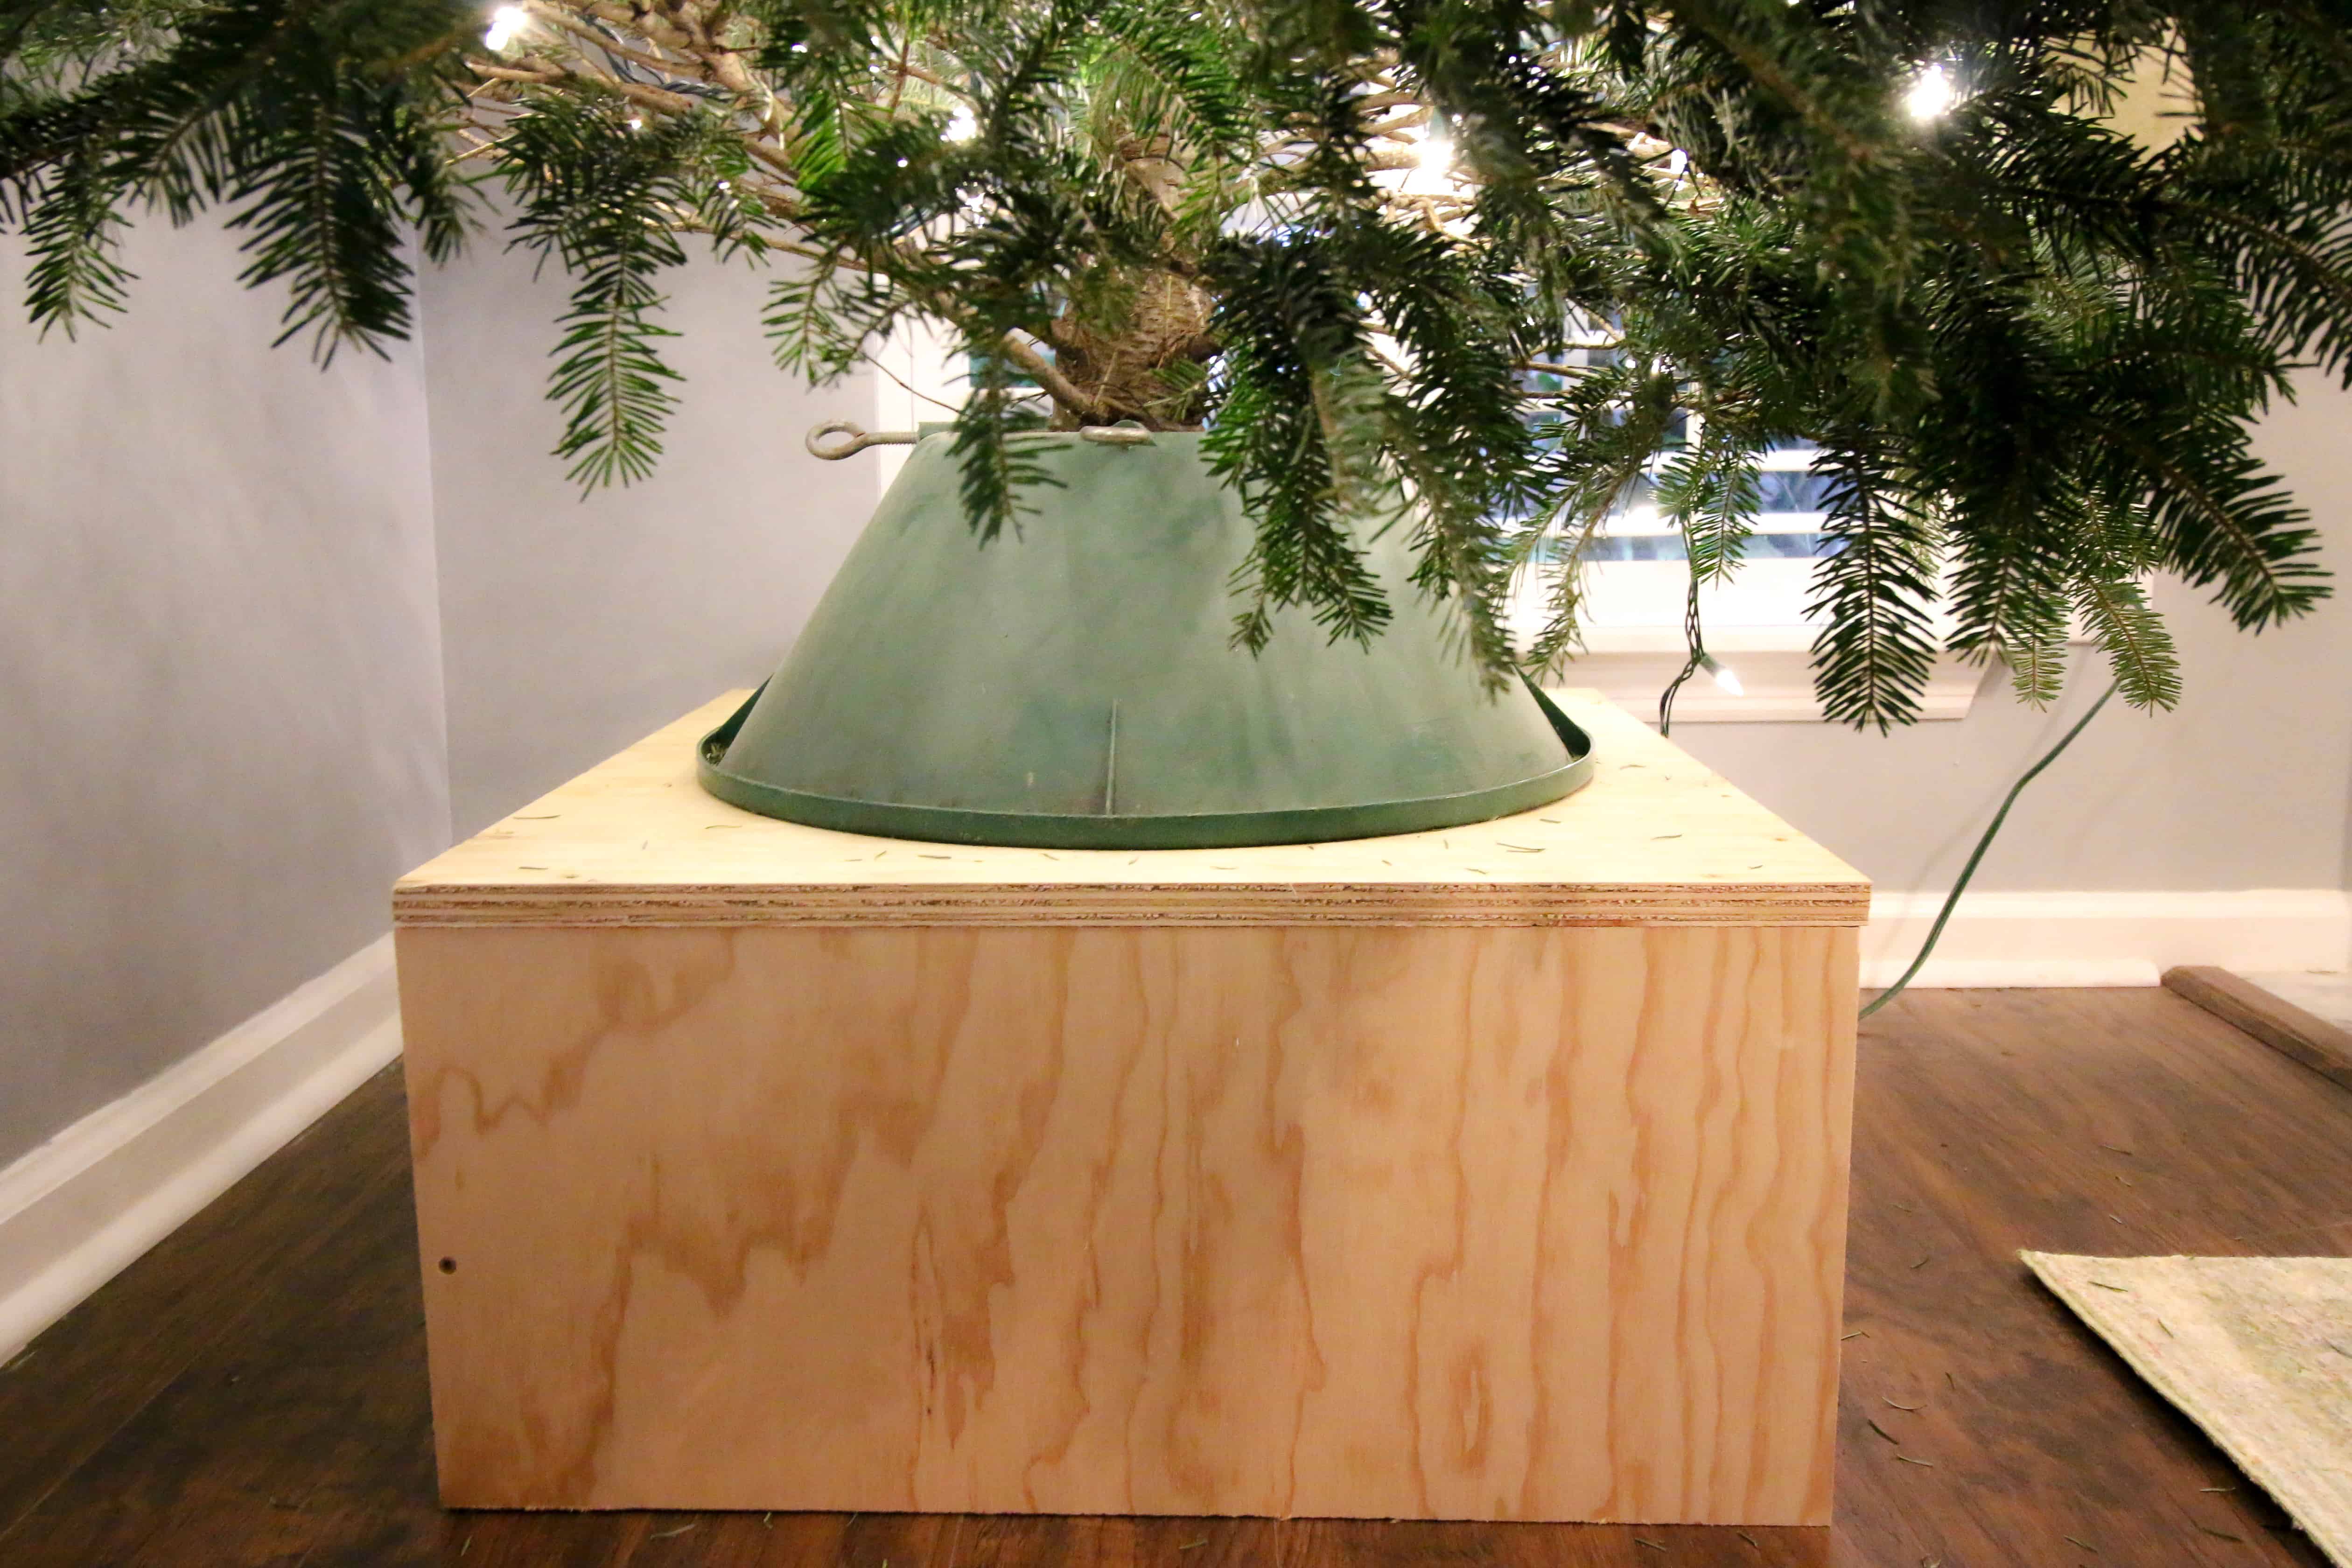
Assembling The Tree Stand
Assembling the tree stand is the first step in setting up your artificial Christmas tree. A solid stand holds the tree upright and safe. It keeps the tree steady throughout the holiday season. Taking time to set up the stand properly makes decorating easier and safer.
Types Of Stands
Artificial trees come with different types of stands. Some stands are metal with screws to tighten the trunk. Others are plastic with snap-in parts for quick assembly. Tripod stands have three legs that spread out for balance. Choose a stand that fits your tree size and floor space.
Securing The Stand
Place the stand on a flat surface. Insert the tree trunk straight into the center of the stand. Tighten the screws or clamps evenly around the trunk. Make sure the trunk is firmly held and does not move. Avoid over-tightening to prevent damage to the tree base.
Stability Checks
After securing the stand, gently shake the tree. The tree should not wobble or lean. Check that all screws or clamps are still tight. Adjust the legs or base if the tree feels unsteady. A stable stand prevents accidents and keeps your tree upright.
Unpacking And Sorting Tree Parts
Unpacking and sorting the parts of your artificial Christmas tree is the first step. This process helps you organize and prepare for easy assembly. Taking care with each piece ensures your tree looks full and balanced. Start by clearing space to lay out all parts before you begin.
Handling The Branches
Handle branches gently to avoid bending or breaking them. Most branches are attached to sections and fold inward for storage. Slowly unfold each branch to restore its shape. Avoid pulling too hard to keep needles intact. Take your time to make branches look natural and full.
Identifying Sections
Artificial trees come in multiple sections: usually base, middle, and top parts. Each section is different in size and shape. Look for labels or markings that help identify each part. This makes assembly faster and easier. Keep similar sections together to avoid confusion during setup.
Laying Out Components
Lay out all parts on the floor or a large table. Place the base first, then the middle and top sections nearby. Spread out branches to see all pieces clearly. This allows you to check for missing or damaged parts. Organizing parts this way prepares you for smooth assembly.
Building The Tree Frame
Building the frame of an artificial Christmas tree is the first step to a beautiful display. A strong frame holds the branches well. It also makes the tree look full and natural. Taking care during this stage helps the tree stand firm and last for years.
Follow these simple steps to build a solid tree frame quickly and easily.
Connecting The Sections
Most artificial trees come in parts. Start by fitting the bottom section into the base. Push it firmly to secure the connection. Then, stack the middle section on top. Make sure each piece fits tightly. The top section goes last. Check all connections for stability.
Aligning The Branches
Spread the branches out evenly around the frame. Start from the bottom and work upward. Bend each branch slightly to fill gaps. Avoid pressing branches too hard. This keeps them looking soft and natural. Adjust branches for a balanced shape.
Tightening Connections
Check all joints to ensure they are tight. Twist or lock parts as needed. Loose connections can cause the tree to wobble. Use gentle force to secure each part. Confirm the tree stands straight before decorating.

Credit: www.vecteezy.com
Fluffing The Branches
Fluffing the branches is a key step in setting up an artificial Christmas tree. It makes the tree look natural and full. Proper fluffing gives your tree a lively shape and fills empty spaces. This step turns a flat tree into a beautiful holiday centerpiece.
Shaping The Tree
Start by spreading each branch out carefully. Gently pull the tips of the branches away from the center pole. Move from the bottom to the top for an even shape. Twist and bend branches slightly to mimic natural tree growth. This creates a round, full look that feels real.
Filling Gaps
Look for spaces between branches where the background shows through. Adjust small twigs on each branch to cover these gaps. Push some branches closer together without squashing them. This makes the tree denser and hides the pole inside. A well-filled tree catches more light and looks better decorated.
Creating A Full Look
Fluff every branch tip for volume. Avoid flat or bent tips that look fake. Use your fingers to lift and separate needles on the branch ends. Check the tree from different sides to see if it looks balanced. A full tree adds warmth and charm to your holiday room.
Adding Lights
Adding lights to your artificial Christmas tree creates a warm and festive glow. Lights bring the tree to life and highlight its beauty. Choosing the right lights and placing them carefully makes all the difference.
Choosing The Right Lights
Select lights designed for indoor use to avoid hazards. LED lights work best because they use less energy and stay cool. Pick a color that matches your decor, such as white, multicolor, or soft yellow. Check the length of the light string to cover your entire tree evenly.
Wrapping Techniques
Start wrapping lights at the base of the tree trunk. Weave the lights gently through branches from inside out. Space the lights evenly, so no spots are too bright or dark. Avoid tangling by keeping the string loose. Test the lights before wrapping to fix any issues early.
Safety Tips
Use lights with a certification label to ensure safety standards. Do not overload electrical outlets to prevent fire risks. Turn off the lights when you leave the room or go to bed. Avoid using damaged or frayed cords. Keep the tree away from heat sources like heaters or fireplaces.
Credit: www.charlestoncrafted.com
Decorating The Tree
Decorating an artificial Christmas tree is a fun and creative part of the holiday season. This step brings your tree to life with colors and lights. It lets you show your style and make your home feel festive and warm.
Each decoration adds a special touch. Choosing where to place ornaments, garlands, and the tree topper helps create a balanced and beautiful look. Here are some tips to make your tree shine.
Ornament Placement
Start by placing larger ornaments near the bottom. This keeps the tree steady and balanced. Spread different sizes and colors evenly around the tree. Put some ornaments deep inside the branches. This adds depth and makes the tree look full.
Use hooks or strings to hang ornaments securely. Avoid crowding one area too much. Leave space for lights and garlands. Step back often to see how the tree looks from a distance.
Adding Garlands And Tinsel
Garlands add texture and color to your tree. Wrap them loosely around the branches. Start from the top and work your way down. Keep the garland even on all sides. Tinsel adds sparkle and catches the light.
Use tinsel sparingly to avoid a cluttered look. Drape it gently over branches for a soft shine. Mix garlands and tinsel that match your color theme. This creates a cohesive and festive design.
Tree Topper Tips
The tree topper is the final touch. Choose a topper that fits your tree size. Place it firmly on the highest branch. Stars, angels, and bows are popular choices.
Make sure the topper is straight and secure. A crooked topper can spoil the look. Use floral wire or ties if needed. Step back and adjust the topper for the best view.
Maintaining The Tree
Maintaining your artificial Christmas tree keeps it looking fresh year after year. Proper care prevents dust build-up and damage. Simple steps help preserve its shape and color. Follow these tips to keep your tree beautiful for many holidays.
Cleaning Tips
Start by dusting the tree with a soft cloth or feather duster. Use a vacuum cleaner with a brush attachment on low power to remove dirt gently. Avoid using water or harsh cleaners, as they may damage the branches. For stubborn dust, try a damp cloth lightly wiped on the needles. Clean the tree outside to avoid mess inside your home.
Storage Advice
Store the tree in a cool, dry place to prevent mold and fading. Use the original box or a special storage bag designed for artificial trees. Take the tree apart carefully and wrap sections in tissue paper or plastic wrap. Keep heavy items away from the storage area to avoid crushing the branches. Label the box for easy identification next season.
Handling Repairs
Check the tree for loose or bent branches before setting it up. Use wire or twist ties to fix branches that do not stay in place. Replace missing needles or decorations with similar ones from craft stores. Tighten screws or connectors that hold the tree parts together. Small repairs extend the life of your tree and keep it looking full.
Frequently Asked Questions
How Do I Assemble An Artificial Christmas Tree?
Start by unpacking all parts carefully. Connect the trunk sections securely. Attach branches evenly around the trunk. Fluff branches to give a full look. Finally, adjust the tree for balance before decorating.
What Is The Best Way To Fluff Artificial Tree Branches?
Gently separate and lift each branch tip. Spread needles evenly to fill gaps. Use your hands to shape branches naturally. This enhances the tree’s fullness and realism. Fluffing ensures the tree looks lush and vibrant.
How Can I Secure An Artificial Christmas Tree Safely?
Place the tree stand on a flat surface. Tighten screws or clamps firmly around the trunk. Ensure the tree stands upright without wobbling. Avoid overloading with heavy ornaments. Secure placement prevents tipping and accidents.
When Should I Decorate My Artificial Christmas Tree?
Decorate your tree after assembly and fluffing. Wait until branches are fully shaped. This ensures ornaments hang properly and look balanced. Early decoration can cause damage or uneven weight distribution. Timing helps create a beautiful, stable display.
Conclusion
Raising an artificial Christmas tree can be simple and fun. Start early to avoid stress. Follow each step carefully for a full, beautiful tree. Fluff the branches to make it look natural. Add lights and decorations that suit your style.
Take your time to enjoy the process. A well-set tree brings joy all season long. Keep it clean and store it properly after use. Ready for many holidays ahead. Celebrate the season with a tree you love.