Are you ready to give your room a stylish upgrade without calling an electrician? Hanging a plug-in pendant light is easier than you might think, and it can instantly transform the look and feel of your space.
Whether you want to brighten up a cozy corner or add a touch of charm above your dining table, this simple project puts you in control. Keep reading, and you’ll discover step-by-step how to hang your pendant light safely and beautifully—no special tools or skills needed.
By the end, you’ll have the confidence to light up your home exactly the way you want. Let’s get started!
Credit: www.etsy.com
Choosing The Right Pendant Light
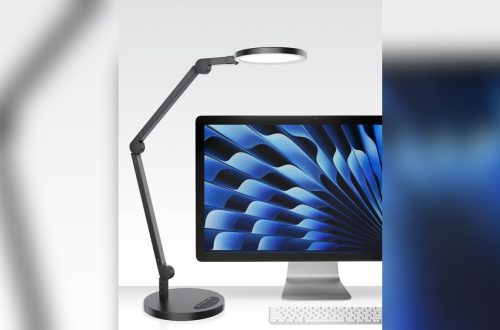
Choosing the right pendant light is key to enhancing any room. It affects both the look and the light quality. The perfect pendant adds charm and fits your needs. Consider the size, style, and how you want to use the light. Think about the space where you will hang it. This helps in picking the best option for your home.
Types Of Pendant Lights
Pendant lights come in many styles. Some hang low with a single bulb. Others have multiple bulbs for more light. Glass pendants add a modern touch. Metal ones bring a rustic or industrial feel. Fabric shades offer soft, warm light. Choose a style that fits your room’s mood and use.
Selecting The Correct Plug
Plug types vary by country and design. Make sure the plug matches your wall socket. Check the voltage and safety standards. Some pendants come with a simple plug. Others need special adapters or hard wiring. A good plug ensures easy installation and safe use.
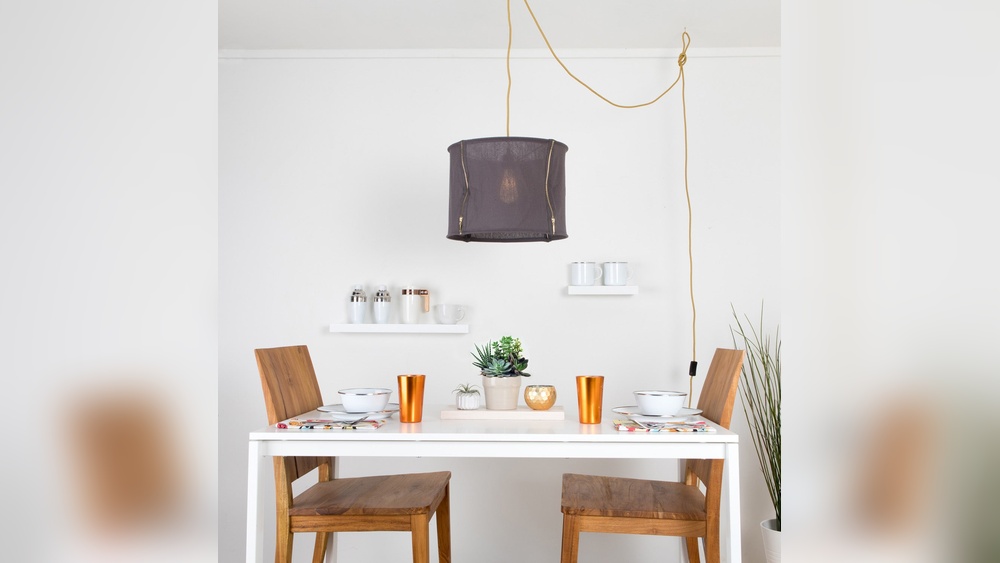
Matching Style And Function
The pendant light should look good and work well. Bright lights suit kitchens and workspaces. Soft lights create cozy atmospheres in living rooms. Match the pendant size to the room size. A small pendant may get lost in a big room. Large pendants can overwhelm small spaces. Balance style with how much light you need.
Tools And Materials Needed
Hanging a plug in pendant light requires the right tools and materials. Using proper equipment makes the job easier and safer. Gather everything before starting to save time and avoid frustration.
Essential Tools
You will need a few basic tools to hang your pendant light. A drill helps make holes for mounting. Screwdrivers tighten screws and secure parts. Wire strippers prepare electrical wires for connection. A tape measure ensures correct placement and length.
Safety Equipment
Protect yourself during installation. Wear safety glasses to guard your eyes from dust. Use insulated gloves to avoid electric shocks. A sturdy ladder helps you reach the ceiling safely. Turn off power at the breaker before starting work.
Additional Supplies
Some extra materials make the process smoother. Wire nuts connect wires safely. Electrical tape secures and insulates connections. A pencil helps mark drill spots. Anchors support the pendant if mounting on drywall.
Preparing The Installation Area
Preparing the installation area is an important step before hanging your plug in pendant light. It ensures safety and a smooth setup. Taking time here helps avoid common mistakes and makes the process easier.
Turning Off Power
Always turn off the power at the circuit breaker before starting. This prevents electric shocks. Use a voltage tester to confirm the power is off. Safety first.
Checking Ceiling Support
Check the ceiling where you want to hang the light. The spot must support the weight of the pendant. Use a stud finder to locate ceiling joists. If no joist is present, use a ceiling hook with anchors.
Measuring And Marking
Measure the desired height for your pendant light. Mark the spot on the ceiling clearly. Use a pencil and a level to keep marks straight. This step ensures the light hangs evenly and looks good.

Credit: www.amazon.com
Wiring The Pendant Light Plug
Wiring the pendant light plug is a key step in installing your new light fixture. Proper wiring ensures the light works safely and lasts longer. This part needs careful attention to avoid electrical hazards. Follow clear steps to connect the wires correctly and secure them well.
Identifying Wires
First, identify the wires in the pendant light plug. Usually, there are three wires: live, neutral, and ground. The live wire is often brown or black. The neutral wire is blue or white. The ground wire is green or bare copper. Check your light’s instructions for exact colors.
Use a tester to confirm the wires if unsure. Correct identification prevents mistakes during connection.
Connecting Wires Safely
Turn off the power at the circuit breaker before starting. Connect the live wire from the plug to the live wire in the pendant. Match the neutral wire to the neutral wire. Connect the ground wire to the metal part of the plug or the ground wire from the pendant.
Use wire nuts or connectors to join the wires. Twist wires together firmly before securing them. Loose connections can cause sparks or failure.
Securing Wire Connections
After connecting, wrap each wire nut with electrical tape. This adds extra safety against loosening. Place all wires neatly inside the plug housing. Avoid pinching or bending wires sharply.
Close the plug cover tightly. Check that no wires are exposed. Your pendant light plug is now wired safely and ready for use.
Hanging The Pendant Light
Hanging a plug in pendant light is a simple way to brighten any room. Follow clear steps to install it safely and correctly. This guide covers the key parts of the process.
Attaching The Mounting Bracket
Start by fixing the mounting bracket to the ceiling box. Use screws that came with the light. Make sure the bracket is tight and secure. This holds the whole light fixture in place.
Securing The Light Fixture
Next, connect the pendant light to the mounting bracket. Align the fixture’s holes with the bracket’s screws. Tighten the screws to keep the light stable. Check that it does not wobble or move.
Adjusting The Height
Set the pendant light at the right height for your space. Adjust the cord or chain by pulling or releasing it. Measure the distance to keep it even and safe. Lock the cord so it does not slip later.
Testing And Final Adjustments
After hanging your plug in pendant light, testing and making final adjustments is important. This step ensures the light works well and looks right. It helps catch any problems early. Follow these steps carefully for a safe and bright finish.
Restoring Power
First, turn the power back on at the circuit breaker. Check the switch that controls your pendant light. Make sure it is in the “on” position. This step allows electricity to flow to the light. Always be careful when handling electrical power.
Checking Light Functionality
Turn on the pendant light using the wall switch or plug. Watch the bulb closely. It should light up immediately without flickering. Test the light from different angles to check brightness. If the light does not turn on, do not force it.
Troubleshooting Common Issues
Check the bulb if the light does not work. Try replacing it with a new one. Ensure the plug is fully inserted into the socket. Inspect the wiring connections for any loose parts. Tighten screws gently if needed. If problems continue, consider consulting an electrician.
Safety Tips And Maintenance
Safety and maintenance are key to keeping your plug in pendant light working well. Proper care helps avoid accidents and extends the life of your light. Follow simple steps to keep your fixture safe and bright.
Regular Inspection
Check your pendant light often for any damage or loose parts. Look at the plug, cord, and socket for wear or cracks. Tighten screws or fittings if they are loose. Stop using the light if you see frayed wires or broken pieces.
Cleaning The Fixture
Turn off and unplug the light before cleaning. Use a dry or slightly damp cloth to wipe dust and dirt. Avoid harsh cleaners that can damage the finish or electrical parts. Clean the fixture regularly to keep it looking fresh and working well.
Replacing Bulbs Safely
Always unplug the light before changing bulbs. Let the bulb cool down to avoid burns. Use the correct bulb type and wattage suggested by the manufacturer. Secure the new bulb gently but firmly in the socket. Check the light works properly after replacement.

Credit: enjoyingthehouse.com
Frequently Asked Questions
How Do I Safely Hang A Plug-in Pendant Light?
Turn off the power before installation. Use a strong ceiling hook and secure the pendant light’s plug. Follow the manufacturer’s instructions carefully for safety and proper support.
What Tools Are Needed To Hang A Plug-in Pendant Light?
You need a drill, ceiling hook, screwdriver, and possibly a stud finder. Also, have a ladder and wire clips for cable management.
Can I Hang A Plug-in Pendant Light Without Ceiling Wiring?
Yes, plug-in pendants are designed for easy installation without wiring. They plug directly into a wall outlet, making them ideal for renters or temporary setups.
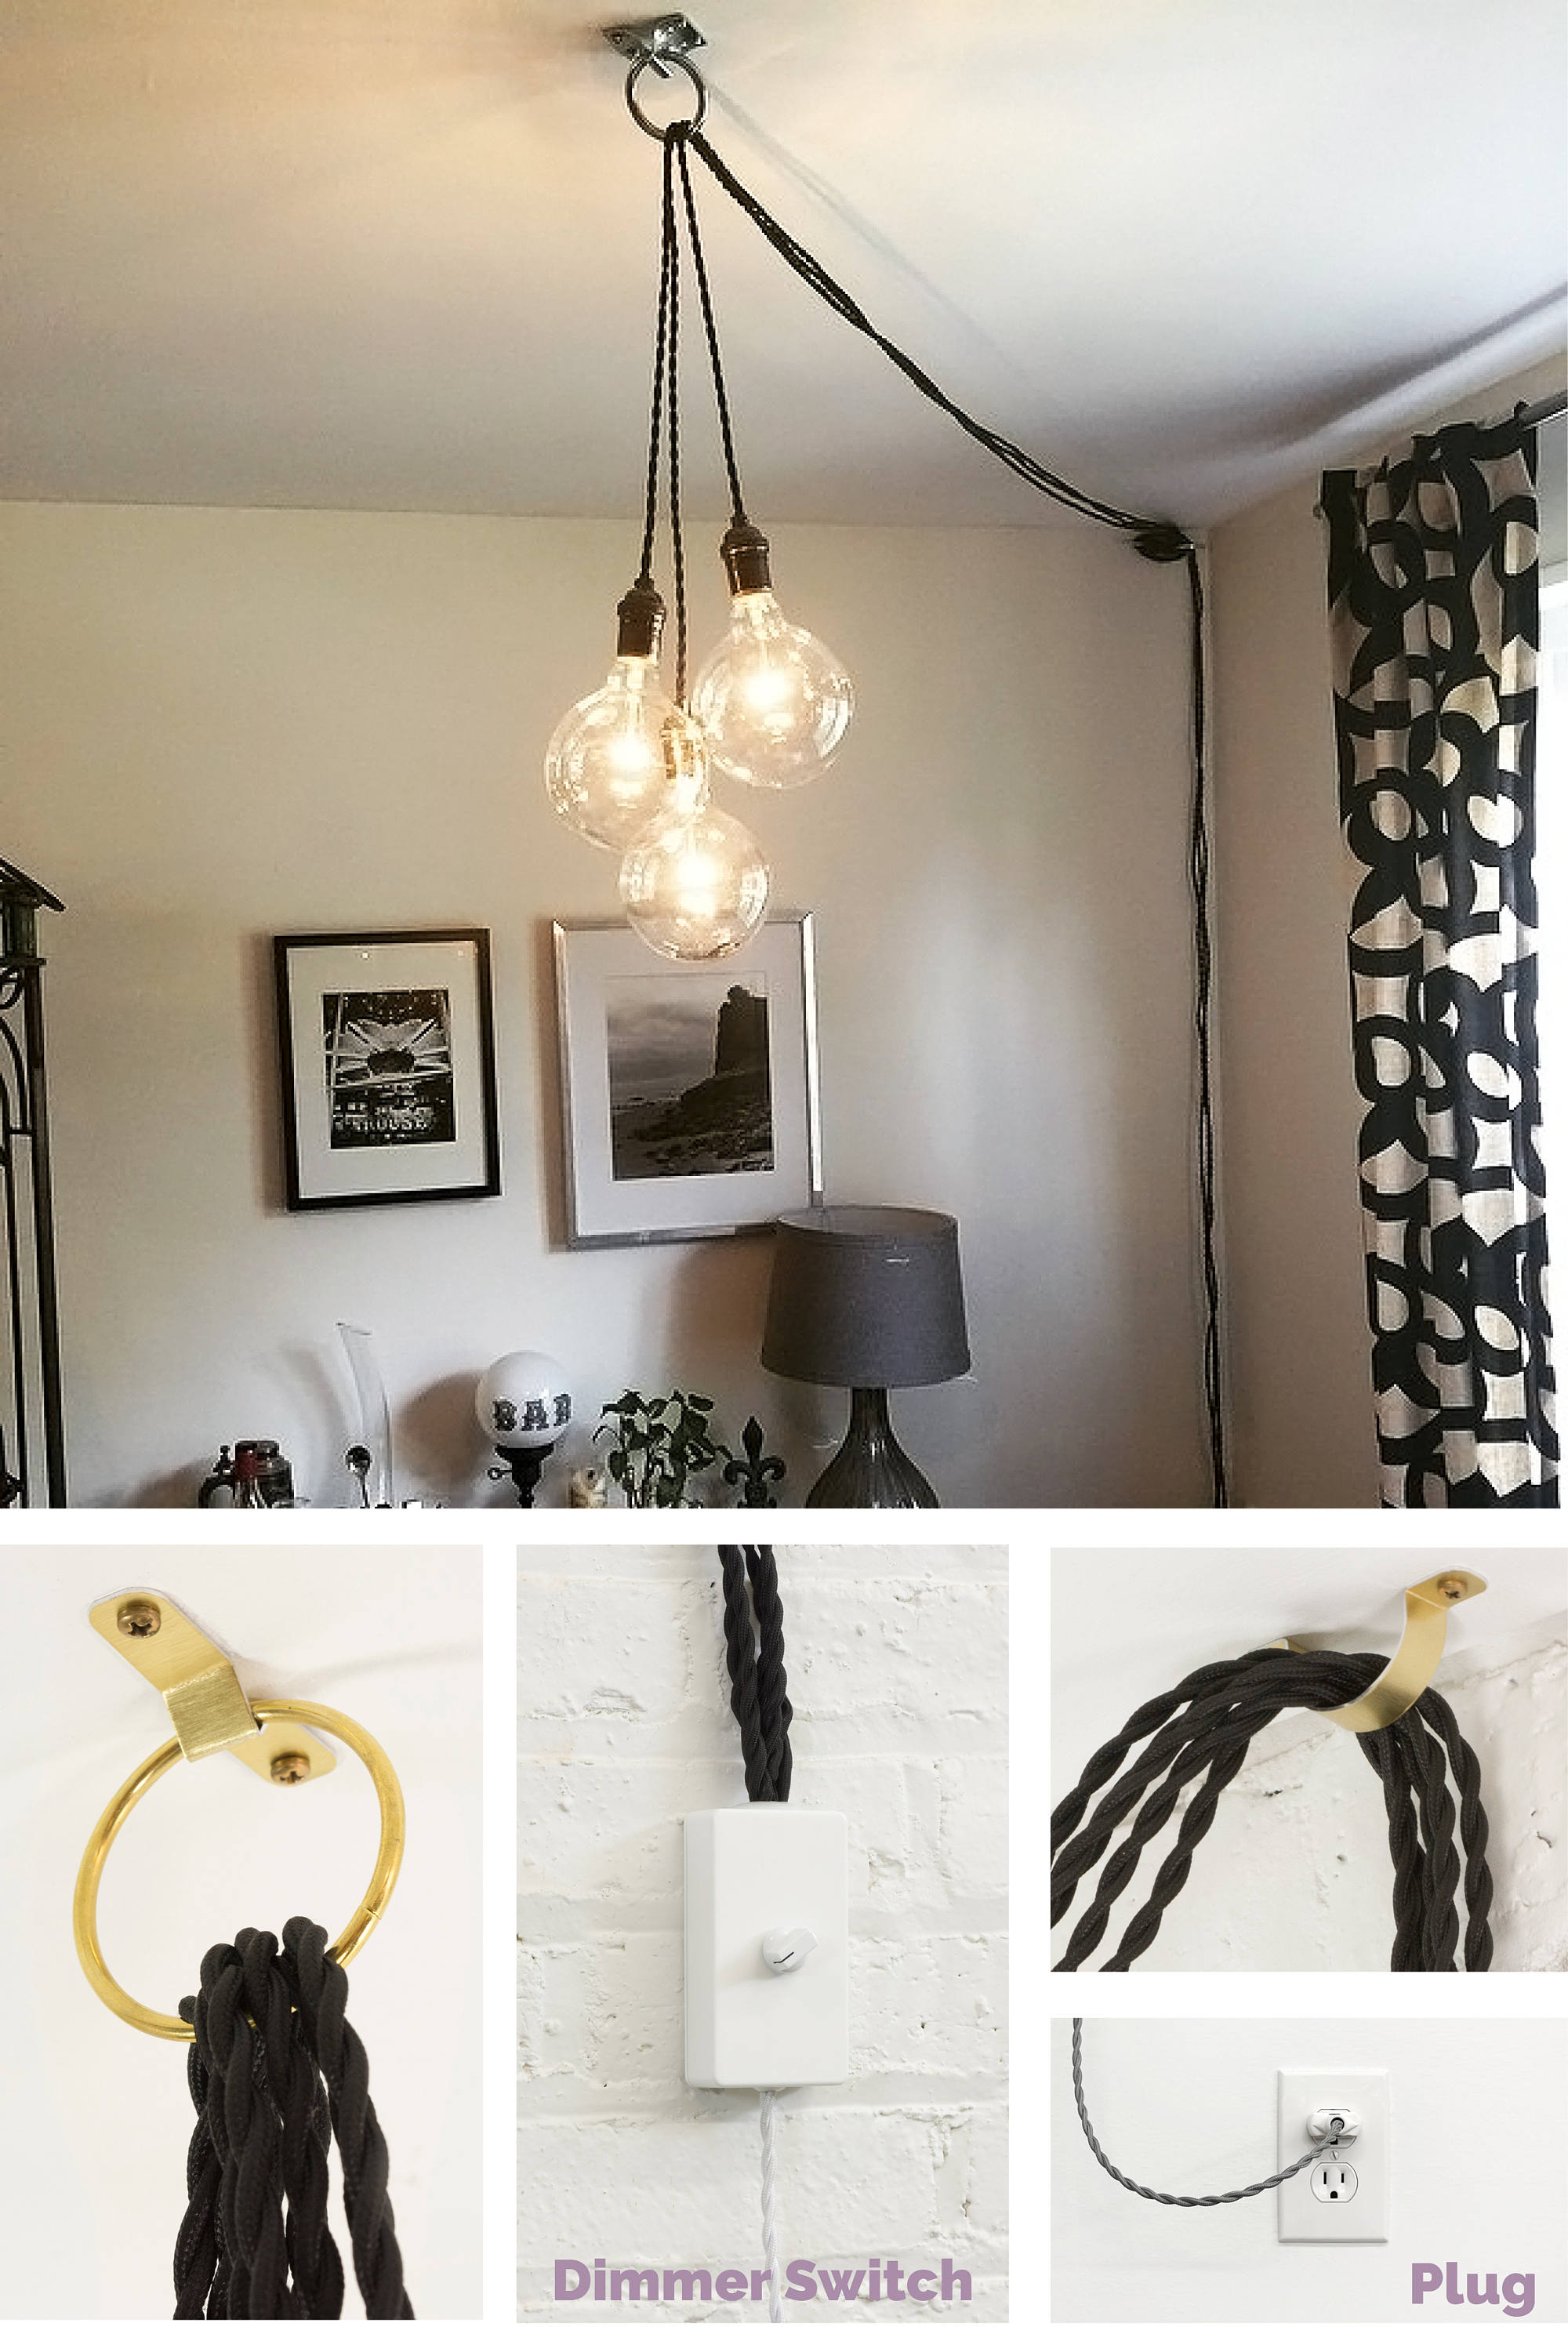
How Do I Hide The Cord Of A Plug-in Pendant Light?
Use cord covers or clips along the wall or ceiling. Paint covers to match the surface for a clean, professional look and prevent tripping hazards.
Conclusion
Hanging a plug-in pendant light is simple and practical. Choose the right spot, secure the hook, and connect the plug. Always check the cord length and safety before use. This small step can brighten your room with style. Enjoy the cozy light and easy setup anytime.
Keep these tips handy for a smooth installation next time. You can create a warm space without much effort. Try it today and see the difference yourself.