Are you tired of spending a fortune on artificial Christmas trees that don’t quite feel right? What if you could create your own tree, perfectly tailored to your style and space?
Making your own artificial Christmas tree is easier than you think, and it lets you add a personal touch that store-bought trees can’t match. In this guide, you’ll discover simple steps to build a beautiful, budget-friendly tree that will impress your family and friends.
Keep reading to unlock the secrets to crafting your very own festive masterpiece!
Materials Needed
Making your own artificial Christmas tree starts with gathering the right materials. Choosing good supplies helps you build a tree that looks great and lasts for years.
Focus on three main parts: the base, the foliage, and the tools. Each part plays an important role in your tree’s strength and appearance.
Choosing The Right Base
The base supports the entire tree. It must be strong and steady. You can use a wooden stand or a metal tripod. A solid base stops the tree from tipping over.
Pick a base size that fits your tree height. A wider base works better for taller trees. Also, think about weight. A heavy base keeps the tree stable on any floor.
Selecting Foliage Materials
Foliage gives your tree its full, green look. You can use plastic pine needles, fabric leaves, or even paper cutouts. Plastic is the most common and looks realistic.
Choose branches that are easy to shape. This helps you arrange the tree just right. Pick colors that match real pine trees for a natural feel. You might want some with a frosted or snowy effect too.
Gathering Tools And Accessories
Tools make the building process easier. You will need wire cutters, glue, and floral wire. These help attach branches firmly to the base.
Other useful items include scissors, pliers, and a measuring tape. Keep all tools close while you work. This saves time and keeps your project neat.
Planning Your Tree Design
Planning your artificial Christmas tree design helps you create a unique and festive decoration. It sets the foundation for your project and guides your choices. Careful planning saves time and effort while making your tree look beautiful and balanced.
Deciding On Size And Shape
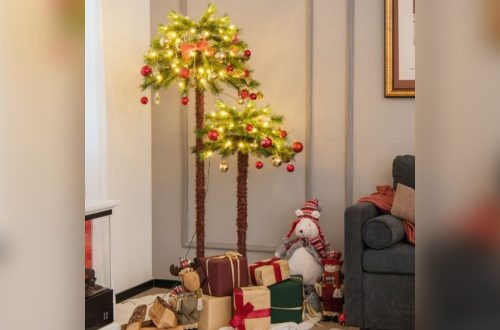
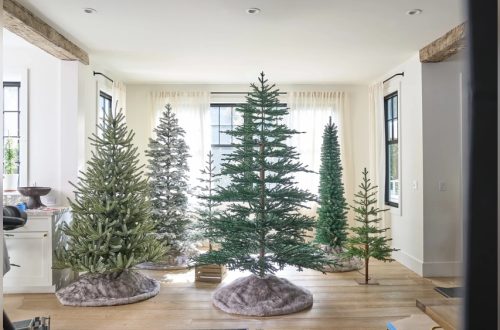
Choose a tree size that fits your space well. Measure the area where you want the tree. Pick a height that works with your ceiling and room size. The shape matters too. Traditional trees are cone-shaped, but you can try modern shapes like slim or bushy. Think about how wide the tree should be. A narrow tree fits tight spaces. A fuller tree gives a classic look.
Color And Decoration Ideas
Pick colors that match your room or holiday theme. Green is classic, but white or silver trees look fresh and bright. Use decorations that fit your style. Simple ornaments create an elegant feel. Colorful lights and baubles add fun. Mix textures like shiny, matte, or glittery for interest. Plan where to place lights and ornaments. Balance is key to a pretty tree.
Creating The Tree Frame
Creating the tree frame is the first big step in making your own artificial Christmas tree. This frame is the base that holds everything together. A strong frame means your tree will stand tall and last for many seasons.
Start with simple materials that are easy to shape and sturdy enough to support decorations. Focus on building a frame that looks like a real tree shape. This gives your tree a natural and full appearance.
Building The Support Structure
Begin by choosing a solid base. Wood or metal rods work well for support. Arrange the rods in a triangle or cone shape. Secure the rods tightly with screws or strong tape. This structure keeps the tree steady and upright.
Make sure the base is wide enough to stop the tree from tipping over. Add a crossbar or extra supports if needed. The stronger the frame, the safer your tree will be.
Shaping The Tree Outline
Use wire or flexible branches to create the tree’s outline. Bend and twist them around the support structure. Aim for a natural, tapered shape that narrows at the top. This gives the tree a classic Christmas tree look.
Attach the wire securely but leave some space for adding branches and decorations. Check the shape from all sides. Adjust the outline until the tree looks balanced and full.

Credit: www.visitfresnocounty.org
Attaching Foliage
Attaching foliage is a key step in making your own artificial Christmas tree. It brings the tree to life and creates a full, festive look. Careful placement of branches gives your tree a natural shape. The process takes time but is simple and fun.
Preparing Branch Materials
Start by selecting green plastic or silk branches for your tree. Cut them to various lengths to add depth. Remove any tags or labels from the branches. Fluff the tips by gently pulling apart needles. This makes the branches look fuller and more natural. Group branches by size to make attaching easier later.
Securing Branches To Frame
Attach branches starting from the bottom of the frame. Use floral wire or zip ties to fasten branches tightly. Wrap the wire around the branch base and the frame for a secure hold. Space branches evenly to avoid gaps. Bend branch tips slightly upward to mimic real tree growth. Work your way up, layering branches for a thick look. Check from all sides to ensure balance and fullness.
Adding Lights And Decorations
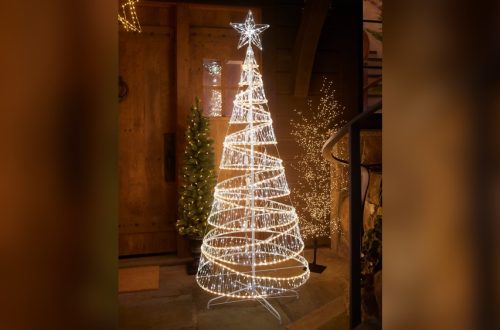
Adding lights and decorations brings your artificial Christmas tree to life. It creates warmth and joy in your home. The right lights and ornaments make your tree unique and festive. Simple steps can help you decorate like a pro. Follow these tips for a beautiful, glowing tree.
Installing Lighting
Choose LED lights for bright, energy-saving glow. Start from the base of the tree. Wrap lights around the trunk and branches. Space them evenly for a balanced look. Hide wires behind branches for a clean finish. Plug in the lights to check the effect before adding decorations. Adjust any dark spots by moving lights.
Applying Ornaments And Tinsel
Pick a color theme or mix bright colors. Hang larger ornaments near the bottom. Place smaller ones toward the top. Spread ornaments evenly for a full look. Add tinsel last for extra sparkle. Drape tinsel gently over branches. Avoid overloading one side to keep balance. Step back to see the overall effect often.
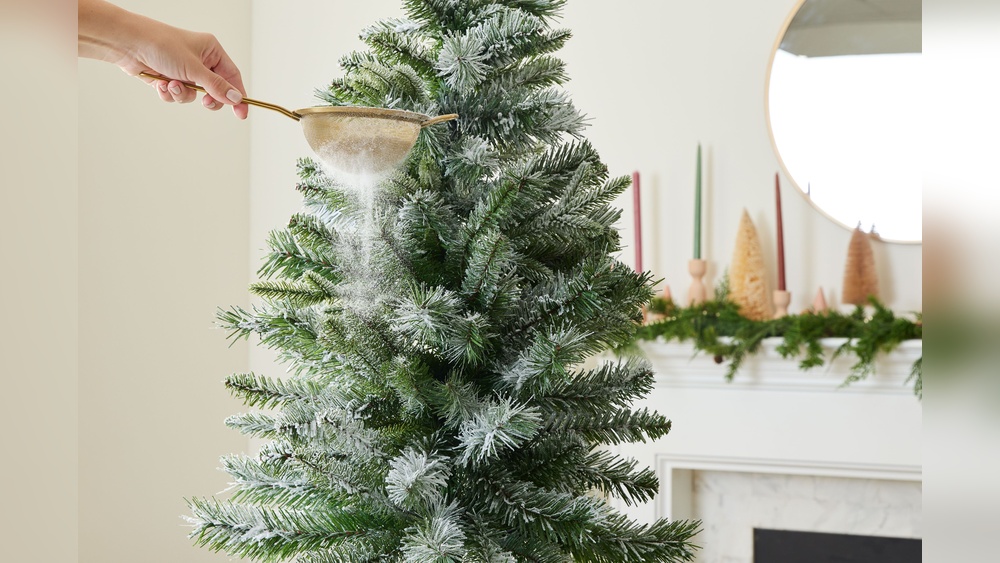
:strip_icc()/JF_How-to-Flock-a-Christmas-Tree-Spray-3039-Step-03-ce5bff0e7f0846d2ab132fd631e1bc68.jpg)
Credit: www.bhg.com
Finishing Touches
Finishing touches bring your artificial Christmas tree to life. They create a full, natural look and keep the tree safe. Spend time on these last steps for the best results.
Fluffing And Adjusting Branches
Start by fluffing each branch. Spread out the needles carefully. This makes the tree look thick and full.
Adjust the branches to fill any gaps. Bend them slightly to create a natural shape. Stand back often to check the tree’s look.
Ensuring Stability And Safety
Make sure the tree stands firm. Tighten the stand screws or bolts securely. This prevents the tree from tipping over.
Place the tree on a flat, even surface. Avoid spots near heaters or open flames. Check lights and cords for damage before use.
Maintenance And Storage Tips
Keeping your artificial Christmas tree clean and stored properly helps it last for years. Good care prevents dust build-up and damage. It also keeps the tree looking fresh for every holiday season.
Cleaning The Tree
Start by removing all decorations from the tree. Use a soft brush or cloth to gently dust the branches. Avoid using water or cleaning sprays as they can damage the tree’s material. For hard-to-reach spots, use a vacuum with a brush attachment on low power. Clean the tree before storing it to keep it fresh for next year.
Proper Storage Methods
Disassemble the tree carefully if it comes in parts. Store it in its original box or a sturdy container to protect it. Wrap branches in tissue paper or bubble wrap to avoid bending or breaking. Keep the storage box in a dry, cool place away from direct sunlight. Avoid placing heavy items on top of the tree box to prevent crushing.

Credit: www.downtownfresno.org
Frequently Asked Questions
How Do I Start Making An Artificial Christmas Tree?
Begin by gathering materials like wire, green tape, and craft branches. Next, create a sturdy frame using wire or PVC. Attach branches layer by layer and wrap with green tape for a natural look. Finish by shaping and decorating as desired.
What Materials Are Best For Diy Artificial Trees?
Use flexible wire for the frame, green floral tape for covering, and craft branches or pine needles. You can also recycle old tree parts or use paper and felt. These materials are affordable, easy to work with, and create a realistic appearance.
How Can I Make My Artificial Tree Look Natural?
Shape the branches irregularly and vary their length. Use different shades of green for the needles. Add texture by fluffing or bending branches slightly. Avoid uniform spacing to mimic real tree growth and enhance the tree’s authenticity.
Is It Cost-effective To Make Your Own Christmas Tree?
Yes, DIY trees save money compared to store-bought options. You can use recycled or inexpensive materials. Making your own also allows customization, reducing extra costs on decorations or specific sizes.
Conclusion
Making your own artificial Christmas tree is fun and rewarding. You choose the size, shape, and colors you like best. It saves money and lasts for many years. Plus, it lets you be creative and add a personal touch. Gather simple materials, follow easy steps, and enjoy the process.
Soon, you will have a unique tree to brighten your holidays. Start today and make your home festive with a special tree you built yourself.