Putting up an artificial Christmas tree can feel tricky if you’re not sure where to start. But imagine how great it will be to have your tree standing tall, full, and ready for decorations in no time.
You might worry about missing pieces or ending up with a lopsided tree. Don’t worry—this guide will walk you through each simple step, so you can enjoy the festive spirit without the stress. Ready to turn your space into a cozy holiday haven?
Let’s get your artificial Christmas tree set up perfectly.
Choosing The Right Tree
Choosing the right artificial Christmas tree sets the stage for a festive holiday. It affects the look and feel of your home. Picking the perfect tree means thinking about style, size, and quality. This helps create a cozy, joyful space. Here is what to consider before buying your tree.
Types Of Artificial Trees
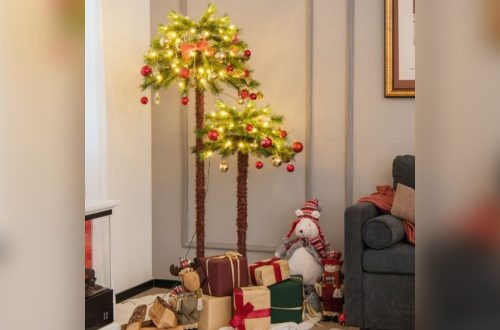
There are many types of artificial trees. Some look very real with soft needles. Others have a shiny, metallic look for a modern style. Some trees come pre-lit with lights attached. Others are plain and ready for your own decorations. Decide if you want a classic pine, a frosted tree, or a colorful option.
Size And Shape Options
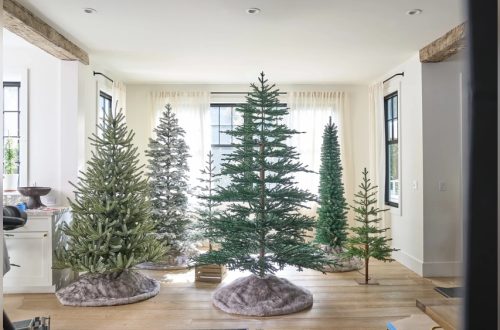
Choose a tree size that fits your room. Small trees work well in tight spaces. Tall trees fill large rooms with holiday cheer. Also, think about the tree’s shape. Some trees are full and wide. Others are slim and tall. Pick a shape that matches your space and style.
Material And Quality
Look at the material to find a sturdy tree. PVC needles are common and affordable. PE needles feel softer and look more real. Some trees mix both for better texture. Check the branches for strength. Strong branches hold heavy ornaments better. A good quality tree lasts many years.

Credit: bestchoiceproducts.com
Preparing The Space
Preparing the space before setting up your artificial Christmas tree makes the process smooth and safe. It helps avoid damage to furniture and gives your tree the perfect spot to shine. Taking a few simple steps can make a big difference in how your tree looks and fits in your home.
Selecting The Location
Choose a flat, stable spot for your tree. Avoid places near heaters or vents. These can dry out the tree or cause damage. Pick a location where the tree can be easily seen and enjoyed. Make sure there is enough room for decorations and lights.
Clearing The Area
Remove furniture and objects around the chosen spot. This gives you space to work and prevents accidents. Vacuum or sweep the floor to clear dust and dirt. Clear any cords or fragile items that might get in the way. A clean area helps the tree stand securely.
Gathering Supplies
Collect all materials needed before starting. This includes the tree parts, stand, lights, and decorations. Have tools like scissors or hooks ready. Keep everything close to avoid searching during setup. Being prepared saves time and reduces stress.
Assembling The Tree
Assembling an artificial Christmas tree is an easy and fun task. It sets the stage for your holiday decor. Follow clear steps to build a strong, beautiful tree. This section guides you through unpacking, connecting, and securing your tree.
Unpacking And Inspecting
Start by opening the box carefully. Remove each part gently to avoid damage. Check for any missing or broken pieces. Look closely at branches and tips. Make sure the tree looks complete and intact. This saves trouble later during assembly.
Connecting The Sections
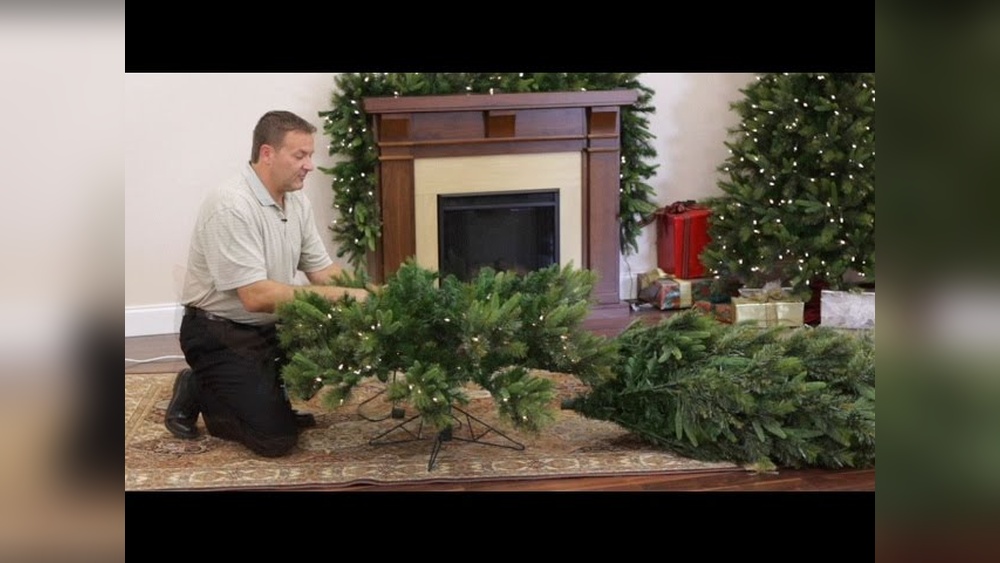
Most artificial trees come in three or more parts. Usually, the bottom section is the widest. Fit the middle section into the bottom one. Then, attach the top section to the middle. Push pieces firmly together until they lock in place. This keeps your tree stable and upright.
Securing The Base
The base holds the entire tree steady. Spread the legs of the stand wide for balance. Insert the trunk into the base’s center hole. Tighten screws or clamps to secure the trunk. Test the tree’s firmness by gently shaking it. A steady base prevents tipping and accidents.
Fluffing The Branches
Fluffing the branches of your artificial Christmas tree makes it look natural and full. This step brings life to the tree and helps the lights and ornaments shine. Taking time to shape each branch creates a beautiful and inviting holiday centerpiece.
Separating Branch Tips
Start by gently pulling apart each branch tip. Spread the needles outward to avoid clumps. This simple step makes the tree look wider and less flat. Work from the bottom to the top for best results.
Shaping For Fullness
Bend each branch slightly upward and outward. This opens the branches and gives the tree more volume. Use your hands to adjust the shape as you go. The goal is a balanced, round look on every side.
Fixing Sparse Areas
Look for spots where the tree looks thin. Pull out and separate nearby branches to cover those areas. Add small branches if your tree has extras. Filling gaps makes the tree look lush and well-kept.
Adding Lights
Adding lights to your artificial Christmas tree brings it to life. Lights create a warm, festive glow that everyone loves. Proper lighting makes the tree stand out beautifully. Follow simple steps to light your tree perfectly.
Choosing The Right Lights
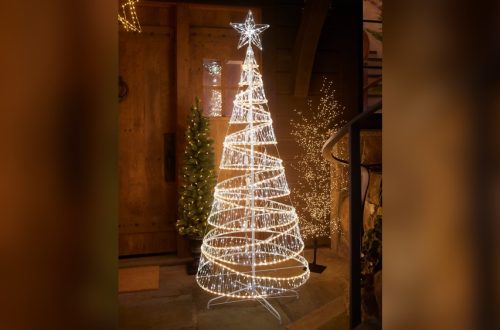
Pick lights that fit your tree size. LED lights save energy and last longer. White lights give a classic look. Colored lights add a playful touch. Check if the lights are safe for indoor use. Choose lights with a long cord for easy reach.
Wrapping Techniques
Start at the bottom of the tree. Wrap lights around each branch gently. Move upward in a spiral pattern. Push lights deep into the branches for a natural look. Avoid clumping lights in one area. Space lights evenly for balanced brightness.
Testing The Lights
Plug in the lights before wrapping. Check for any bulbs that do not work. Replace broken or missing bulbs immediately. Test the whole string to avoid dark spots. Keep spare bulbs and fuses handy. Testing saves frustration later.

Credit: www.webechristmas.com
Decorating The Tree
Decorating an artificial Christmas tree is a joyful part of holiday preparation. It brings life and charm to your home. Simple steps make your tree look beautiful and festive. Focus on three key areas: the theme, the ornaments, and the garland with toppers. Each step adds style and personality.
Choosing A Theme
Selecting a theme helps create a clear, stylish look. Traditional red and green, snowy white, or colorful fun are popular choices. Decide what fits your space and mood. A theme guides your choice of decorations and colors. It keeps your tree looking balanced and neat.
Placing Ornaments
Start hanging ornaments from the inside branches outward. Mix large and small decorations evenly around the tree. Spread shiny and matte ornaments for texture and shine. Use hooks or strings to secure ornaments well. Step back often to check the overall look.
Adding Garland And Toppers
Drape garlands loosely for a natural, flowing effect. Choose beads, ribbons, or popcorn for garland styles. Place the garland evenly around each tree layer. Finish with a topper that matches your theme. Stars, angels, or bows make perfect crowning touches.
Maintaining The Tree
Maintaining your artificial Christmas tree keeps it looking fresh and beautiful each year. Proper care helps the tree last longer and saves money. Simple steps can keep your tree clean and ready for the holidays. Follow these tips for cleaning, storing, and caring for your tree all year.
Cleaning Tips
Dust your tree regularly with a soft cloth or feather duster. Use a vacuum with a brush attachment for deep cleaning. Avoid harsh chemicals that can damage the tree’s needles. A damp cloth can remove stubborn dirt. Clean each branch gently to keep the tree looking natural.
Storage Advice
Store your tree in a cool, dry place to prevent damage. Use the original box or a tree storage bag for protection. Separate the branches carefully before packing. Avoid placing heavy items on top of the tree. Label the box to find it easily next year.
Year-round Care
Keep your tree away from heat sources like heaters or direct sunlight. This prevents fading and warping of branches. Check the tree for dust or dirt every few months. Fluff the branches occasionally to keep their shape. Proper year-round care keeps your tree ready for the season.

Credit: www.youtube.com
Frequently Asked Questions
How Do I Assemble An Artificial Christmas Tree?
Start by unpacking all parts carefully. Connect the trunk sections securely. Fluff branches to create a full look. Attach branches starting from the bottom up. Ensure stability by securing the base firmly.
How To Fluff Artificial Christmas Tree Branches Properly?
Spread out each branch individually. Bend tips upward and outward for fullness. Avoid leaving branches flat or compacted. Fluffing creates a natural, lush appearance. Take your time for the best result.
What Is The Best Way To Secure The Tree Base?
Place the base on a flat, stable surface. Tighten screws or clamps firmly. Use additional weights if needed for extra stability. Ensure the tree stands upright without wobbling. This prevents accidents and damage.
How To Store An Artificial Christmas Tree After Use?
Disassemble the tree carefully by sections. Fluff branches before packing to avoid damage. Use original box or a sturdy storage bag. Store in a cool, dry place to prevent dust and moisture. Proper storage prolongs tree life.
Conclusion
Putting up an artificial Christmas tree can be simple and fun. Start by choosing the right spot and unpacking carefully. Assemble the tree step by step, making sure all parts fit well. Fluff the branches to make it look full and natural.
Add your favorite decorations to bring warmth and joy. Taking your time helps create a festive and cozy space. Enjoy the holiday spirit with your beautifully set tree. This easy process lets you focus on what matters most—celebrating with loved ones.