Are you looking to add a warm, natural touch to your space without spending a fortune? Making your own rattan pendant light could be the perfect solution.
Not only will it brighten up your room, but it will also give you a unique piece that reflects your style. Imagine the soft glow filtering through the woven rattan, creating a cozy atmosphere that guests will admire. Keep reading, and you’ll discover simple steps to craft this beautiful light fixture yourself, even if you’ve never tried a DIY project before.
Your home deserves that special glow, and you’re just a few easy moves away from making it happen.
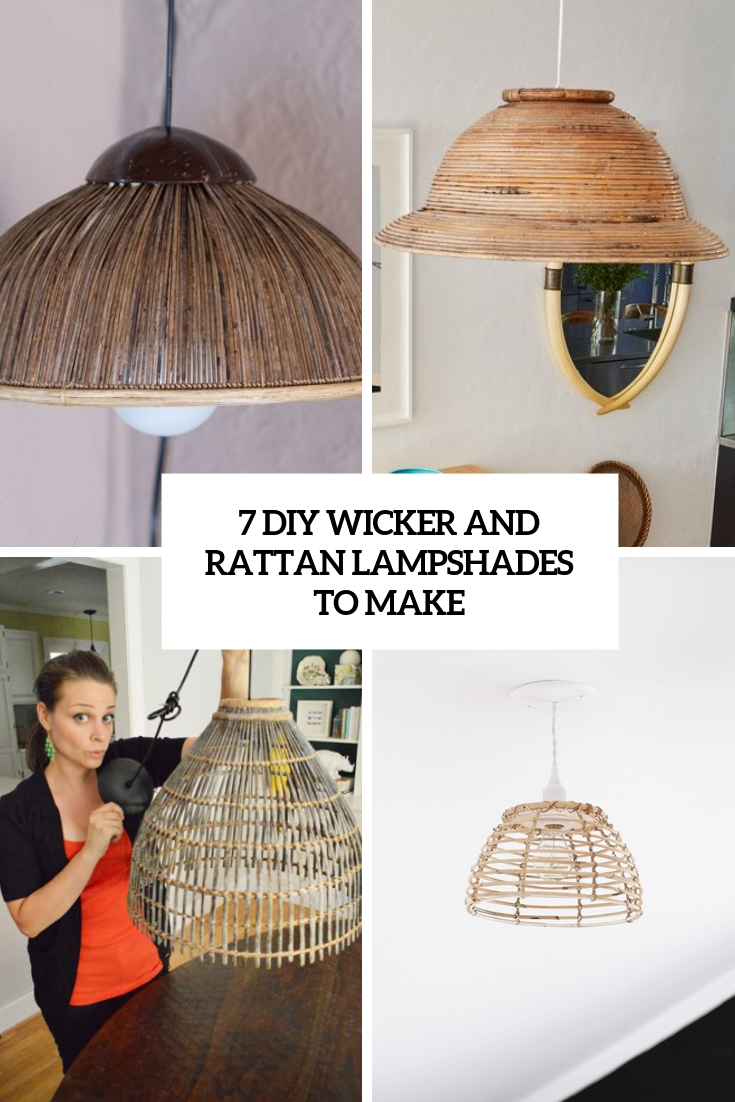
Credit: www.shelterness.com
Materials Needed
Before starting your rattan pendant light project, gather all the needed materials. This step ensures a smooth crafting process without interruptions. Knowing the right supplies helps you make a sturdy and beautiful light fixture.
Choosing The Right Rattan
Select rattan that is flexible and strong. Thin rattan strips work best for weaving. Avoid brittle or overly thick pieces. Natural color rattan gives a warm, cozy glow. You can find rattan at craft stores or online shops. Make sure it is clean and dry before use.
Essential Tools
Prepare basic tools for shaping and assembling. Scissors or garden shears help cut rattan cleanly. A measuring tape ensures accurate sizing. Pliers assist in bending and securing the rattan. A hot glue gun or strong adhesive holds parts firmly. Keep a pencil nearby for marking measurements.
Additional Supplies
Gather extra items to complete the pendant light. A light bulb socket with cord fits inside the rattan shade. Choose a bulb that matches your fixture size and style. Electrical tape keeps wires neat and safe. Sandpaper smooths any rough rattan edges. A protective finish spray can increase durability.
Preparing The Workspace
Preparing your workspace is the first important step to make a rattan pendant light. A clean, organized area helps you work faster and safer. Clear space and arrange everything before starting. This reduces stress and mistakes during the project.
Setting Up A Safe Area
Choose a well-lit place with enough room to move around. Remove any fragile or valuable items from the area. Make sure the floor is dry and free of clutter. Keep a fire extinguisher or first-aid kit nearby. Safety glasses and gloves protect your eyes and hands from sharp tools. Keep children and pets away to avoid accidents.
Organizing Materials
Gather all materials in one spot before you start. Lay out rattan strips, glue, scissors, and light fittings neatly. Use small containers for tiny parts like screws or hooks. Organizing helps you find tools quickly and keeps the workspace tidy. Check each item to ensure it is clean and ready to use. This saves time and prevents frustration during crafting.
Basic Rattan Techniques
Rattan is a flexible and strong material often used in making pendant lights. Learning basic rattan techniques helps create beautiful and durable designs. These skills make working with rattan easier and more enjoyable.
Understanding how to prepare and weave rattan properly is key to a perfect pendant light. The following techniques cover essential steps for beginners.
Soaking And Softening Rattan
Rattan needs to be soft before weaving. Soaking it in water makes it flexible and less likely to break. Use warm water and soak the rattan for 20 to 30 minutes.
Check the rattan often. It should bend easily without cracking. If it feels dry, soak a little longer. After soaking, keep it moist while working to avoid brittleness.
Weaving Patterns To Try
Simple weaving patterns work well for beginners. Start with a basic over-under weave. This pattern creates a strong and even surface.
Try circular weaving for a round pendant light shape. Another option is a diamond pattern for added texture. Practice these patterns to build confidence and skill.
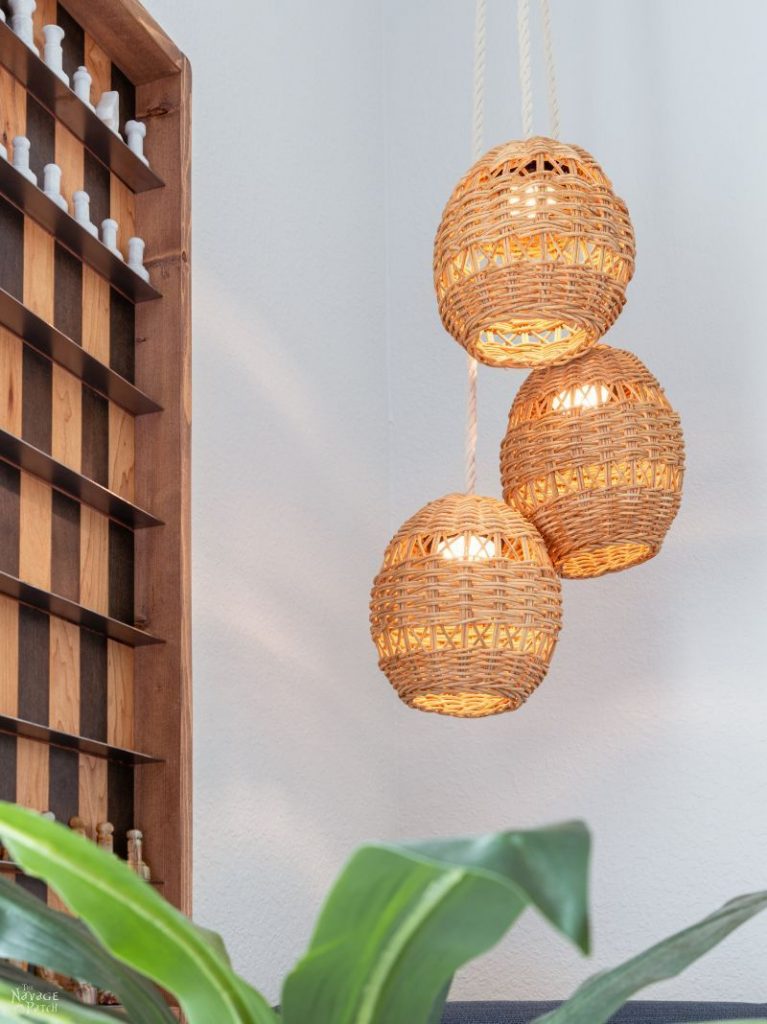
Credit: www.thenavagepatch.com
Creating The Frame
Creating the frame is the first step in making a rattan pendant light. This frame gives shape and support to the light. It must be strong yet light to hold the rattan weaves nicely. A well-made frame helps the pendant light look neat and stylish.
Shaping The Structure
Start by choosing flexible rattan rods. Bend them into the shape you want for your pendant light. Common shapes include round, oval, or cone. Use gentle, even pressure to avoid breaking the rods. Secure the ends with small nails or twine. This keeps the shape steady during the weaving process.
Securing The Base
Next, create a strong base for the frame. This base holds the entire pendant light together. Use thicker rattan or a wooden ring as the base. Attach the shaped rods firmly to this base with glue or strong twine. Make sure everything fits tightly. A secure base prevents the frame from wobbling or falling apart.
Weaving The Pendant Light
Weaving the rattan pendant light is a creative and calming process. It shapes the light’s look and feel. Each step helps build a unique and beautiful design. Follow simple steps to weave your pendant light effectively. Enjoy making something special with your hands.
Starting The Weave
Begin by preparing the rattan strands. Soak them in water to make them soft and flexible. Choose a base ring or frame to start weaving around. Attach the first strand securely to the frame. Use a simple over-and-under pattern for the first row. Keep the strands tight but not too tight. This forms a strong base for your pendant light.
Building The Shape
Weave the strands upwards to create the pendant’s shape. Add new strands as needed by tucking them into the weave. Shape the light by adjusting the tension of each strand. Create curves by bending the rattan gently. Check the symmetry often to keep the design even. Continue weaving until the pendant reaches the desired size.
Finishing Touches
Secure the last strands by tucking them neatly inside the weave. Trim any excess rattan with scissors for a clean look. Let the pendant dry completely to hold its shape. Add a clear varnish or sealant to protect the rattan. Attach the light fixture inside the pendant carefully. Your handmade rattan pendant light is ready to shine.
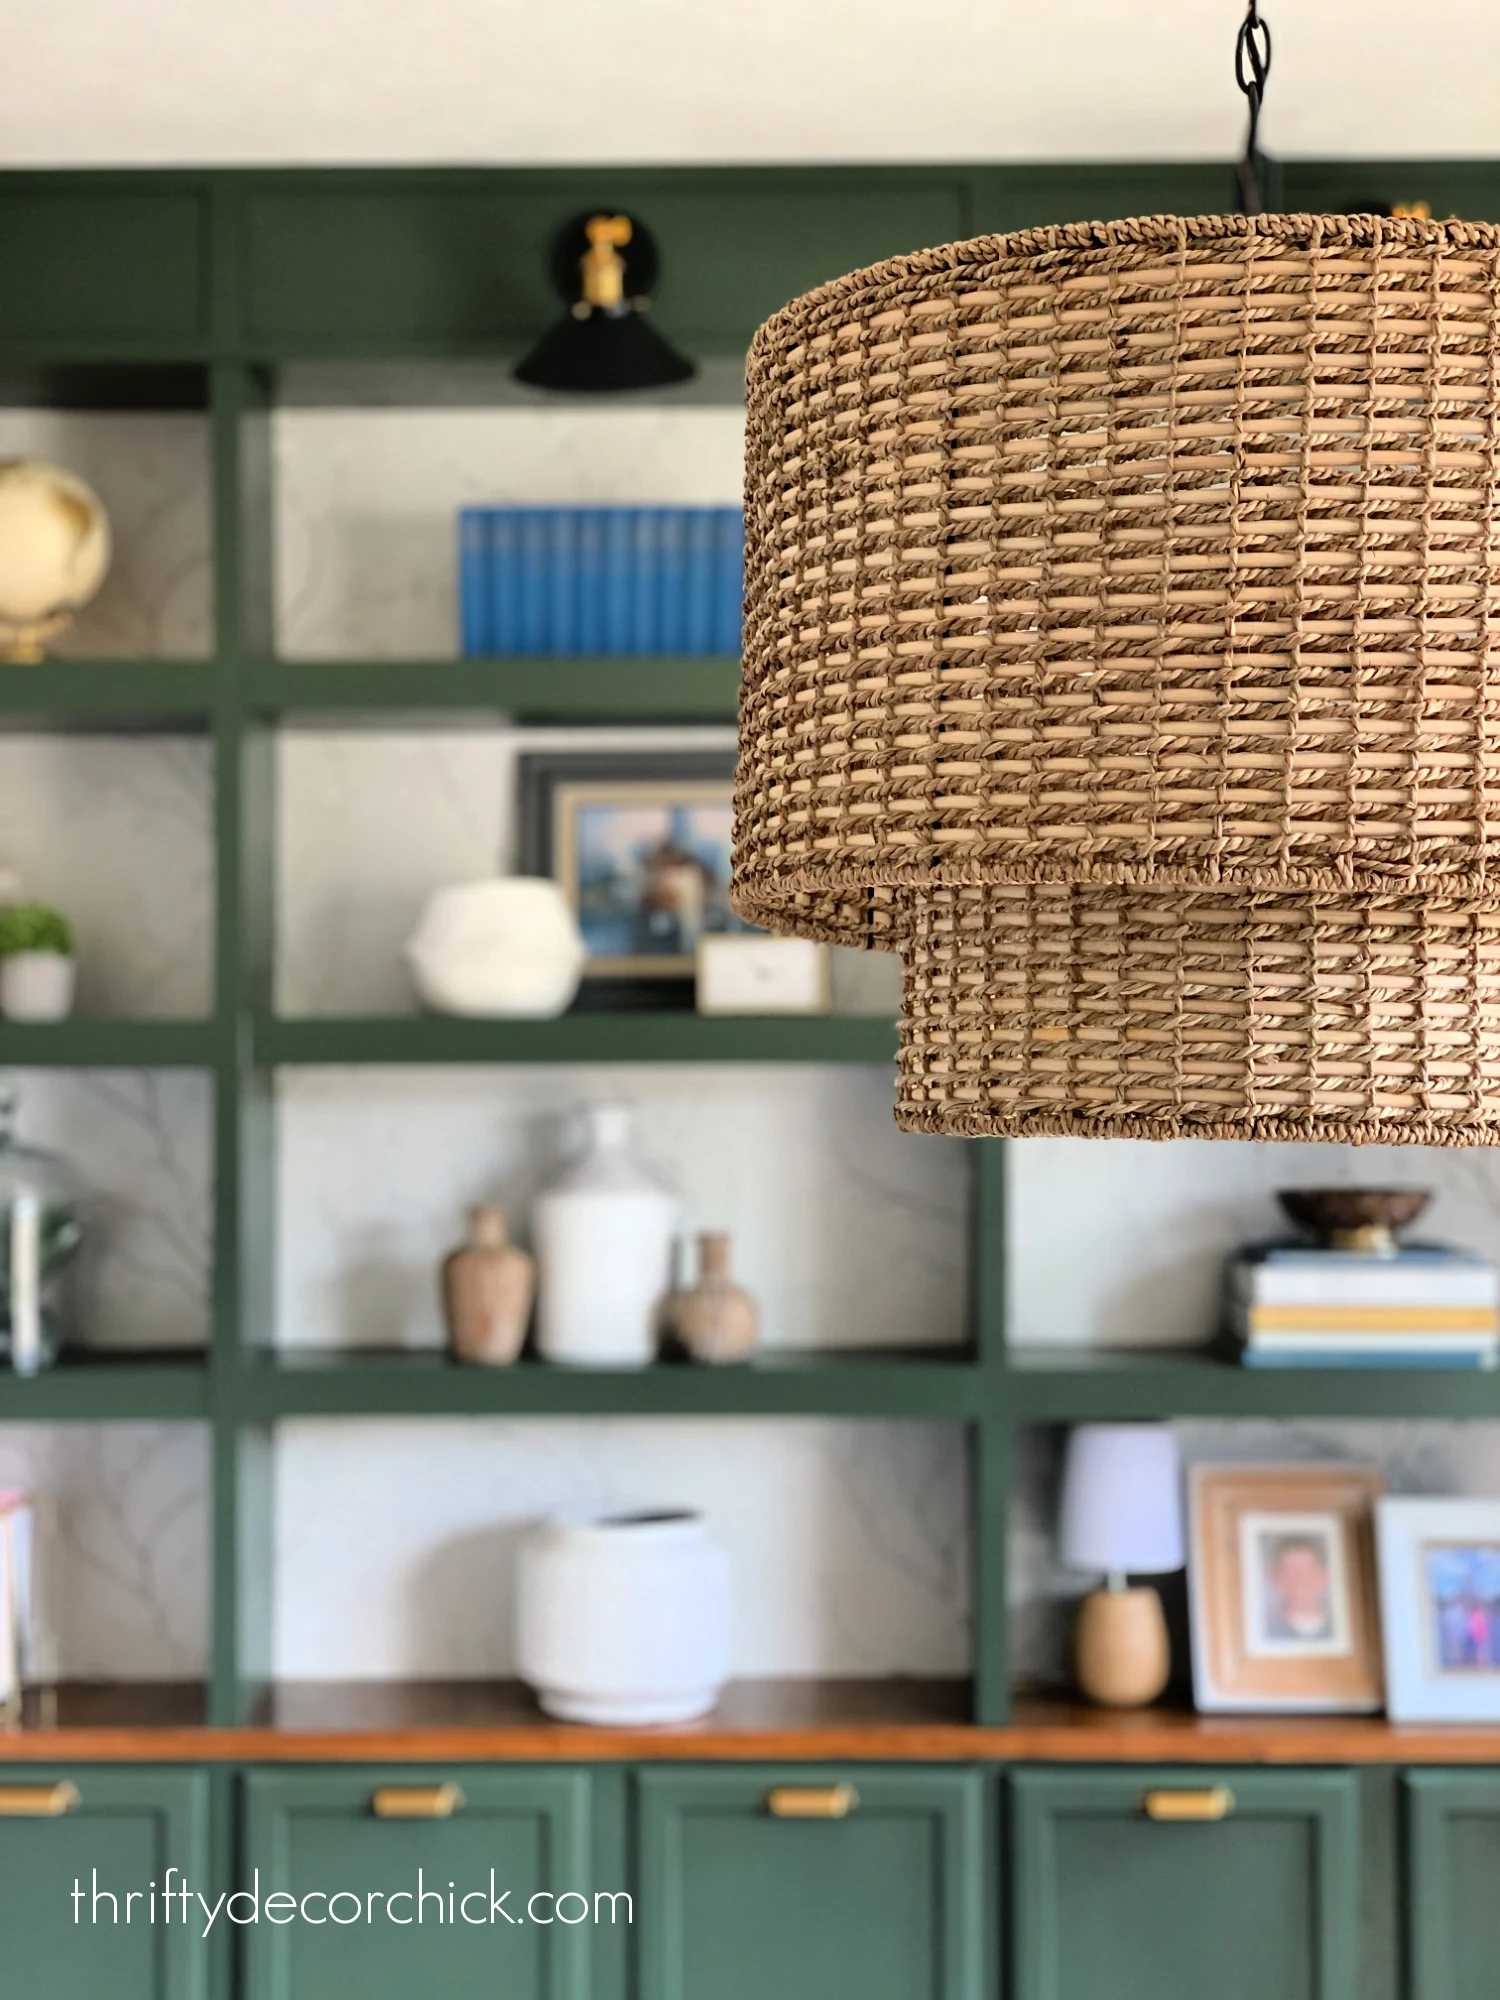
Credit: www.thriftydecorchick.com
Installing The Light Fixture
Installing the rattan pendant light is an exciting step in your project. This part brings your creation to life. Proper installation ensures safety and functionality. Follow the right steps for a smooth setup.
Choosing The Right Bulb
Select a bulb that fits the pendant’s size. LED bulbs work well. They use less energy and last longer. Choose a bulb with warm light for a cozy feel. Check the bulb’s wattage limit on the fixture to avoid damage.
Wiring And Safety Tips
Turn off the power before starting any wiring work. Use a voltage tester to confirm no electricity flows. Connect wires by matching colors: black to black, white to white. Secure connections with wire nuts and electrical tape. Use a sturdy ceiling hook or bracket to support the pendant’s weight. Double-check all fittings before turning the power on. Safety first keeps your home safe and your light shining bright.
Styling And Maintenance
Styling and maintaining your rattan pendant light keeps it beautiful and lasting longer. Small touches can make it fit well in your space. Proper care ensures it stays clean and safe to use.
Adding Decorative Elements
Try wrapping thin fairy lights around the rattan frame. It creates a warm glow at night. You can also hang small dried flowers or feathers from the edges. These add a natural, cozy feel.
Paint parts of the rattan with soft colors for a fresh look. Use light tones like white, cream, or pastel shades. Avoid heavy or dark paints to keep the natural texture visible.
Change the light bulb to a vintage-style Edison bulb. It adds charm and a soft, warm light. Choose bulbs with low wattage to avoid heating the rattan.
Cleaning And Care
Dust your rattan pendant light weekly using a soft brush or cloth. This stops dust from building up in the crevices. Avoid using water or harsh cleaners, as they may damage the fibers.
For deeper cleaning, use a damp cloth with mild soap. Wipe gently and dry quickly with a clean towel. Keep the light in a dry room to prevent mold or mildew.
Check the wiring and bulb regularly. Replace any damaged parts immediately for safety. Proper care helps your pendant light stay bright and beautiful for years.
Troubleshooting Common Issues
Troubleshooting common issues helps you create a better rattan pendant light. Small problems can affect the final look and strength. Fixing these quickly keeps your project smooth and enjoyable.
Fixing Weave Gaps
Weave gaps happen when rattan strips do not sit tightly. These gaps make the pendant light look uneven. To fix gaps, gently push the strips closer using your fingers or a small tool. Avoid forcing them too hard. Tighten loose strips by weaving a thin rattan piece through the gap. This fills spaces and adds strength. Regularly check the weave to catch gaps early.
Strengthening Weak Spots
Weak spots appear where the rattan bends or joins. These spots may break or bend out of shape. Wrap thin rattan strips around weak areas to add support. Use a small dab of glue for extra hold. Let glue dry before moving the light. Reinforce weak spots during the weaving process to prevent damage later. This keeps your pendant light sturdy and long-lasting.
Frequently Asked Questions
What Materials Are Needed To Make A Rattan Pendant Light?
You need rattan cane, a pendant light kit, glue, scissors, and a light bulb. These basic materials help create a sturdy, stylish light fixture.
How Do You Shape Rattan For A Pendant Light?
Soak rattan in warm water for 30 minutes to make it flexible. Then bend it carefully into the desired shape and let it dry to hold form.
Can I Use Any Light Bulb With A Rattan Pendant?
Use LED bulbs or low-heat bulbs to prevent fire hazards. Choose bulbs that fit your pendant’s socket size for safety and efficiency.
How Do You Hang A Rattan Pendant Light Securely?
Install a ceiling hook or bracket rated for the pendant’s weight. Attach the pendant light cord securely and ensure all connections are tight.
Conclusion
Creating a rattan pendant light is a fun and rewarding project. You can add a warm, natural touch to any room. The steps are simple and easy to follow. Using basic materials keeps the cost low. Handmade lights bring charm that store-bought ones often lack.
Try different shapes and sizes to fit your style. Enjoy the soft, cozy glow from your new light. This DIY project makes your home feel more personal and inviting. Give it a try and brighten your space with your own hands.