
Have you ever wanted to give your artificial Christmas tree that magical, fresh-from-the-forest look? Snow flocking your tree is the perfect way to create a cozy, winter wonderland right in your home.
Imagine your tree covered in soft, white snow that stays put all season long. It’s easier than you think, and you don’t need special skills or expensive tools. In this guide, you’ll discover simple, step-by-step tips to transform your tree into a stunning snowy centerpiece.
Ready to make your holiday decorations stand out? Let’s get started!
Materials Needed
Getting ready to snow flock your artificial Christmas tree? Knowing exactly what materials you need can save you time and frustration. The right supplies make the process smoother and give you that beautiful, snowy look that feels just right for the holidays.
Choosing The Right Flocking Powder
Not all flocking powders are created equal. You want a powder that sticks well but doesn’t weigh down your branches. Look for a powder labeled specifically for artificial trees—it should be lightweight and easy to spray or sprinkle.
Some powders come with added glitter for extra sparkle. Think about whether you want a classic snow effect or a bit of shimmer. Also, check if the powder is safe for indoor use and won’t cause allergies in your home.
Essential Tools And Supplies
You’ll need more than just the flocking powder to get the job done. Grab a spray adhesive or glue designed for artificial trees to help the powder stick better. A spray bottle or a small paint sprayer works well to apply the adhesive evenly.
Don’t forget protective gear like gloves and a mask to avoid inhaling any powder. Lay down a drop cloth or old sheets to catch the mess. If you want to add texture, a small brush can help you spread the flocking powder evenly on tricky branches.

Credit: fancybloom.net
Preparing The Tree
Preparing your artificial Christmas tree is the first step in snow flocking. It helps the flocking material stick better. Cleaning and setting up the tree properly makes the process easier. It also gives the best snowy effect.
Take time with this step. It will save effort later. A clean, well-prepared tree looks more natural and beautiful.
Cleaning The Branches
Dust and dirt can stop the flock from sticking well. Use a soft cloth or brush to clean each branch. Remove any old decorations or dust. Check for loose needles and fix them gently.
Cleaning helps the flock look fresh and bright. Make sure every part is clean before moving on.
Setting Up A Workspace
Choose a space that you can easily clean later. Lay down newspapers or a plastic sheet to catch extra flock. Good lighting helps you see where to apply the snow.
Keep all materials close by. Prepare gloves and a mask to protect yourself. A tidy workspace makes the task faster and safer.
Applying The Flock
Applying the flock to your artificial Christmas tree brings a magical snow-covered look. This step requires care and patience. Proper application makes the tree look natural and festive. Follow the simple steps below for a beautiful snowy effect.
Mixing The Flocking Solution
Start by preparing the flocking solution. Use white glue and water as the base. Mix two parts glue with one part water. Stir well until smooth. Add white paint for extra whiteness if desired. The mixture should be thick but spreadable. Keep the solution ready in a spray bottle or a bowl.
Techniques For Even Coverage
Work in small sections of the tree. Spray or brush the flocking solution gently. Hold the tree branches steady to avoid damage. Apply the flock evenly on all sides of the branches. Avoid soaking the tree to prevent dripping. Use a soft brush to spread the flock if needed. Let each section dry before moving to the next.
Tips For Layering The Snow Effect
Layering creates depth and realism. Apply a light first coat and let it dry. Add more layers slowly for a fluffy look. Focus on the tips of branches for a natural snow touch. Use less flock on the inner branches. Stop layering when the tree looks full but not heavy. Allow the final layer to dry completely before decorating.
Drying And Setting
After applying the snow flock to your artificial Christmas tree, the drying and setting process is essential. This step ensures the flock stays in place and looks natural. Proper drying helps avoid mess and keeps your tree beautiful all season.
Optimal Drying Conditions
Place the tree in a cool, dry area with good air flow. Avoid direct sunlight to prevent fading or melting. Keep the room temperature between 60 and 75 degrees Fahrenheit. Let the tree dry for at least 24 hours. This time allows the flock to harden and stick well. Do not move or touch the tree during this period.
Avoiding Clumps And Drips
Check the tree during drying to spot any wet spots or clumps. Use a soft brush to gently separate any stuck branches. If you see drips, blot them lightly with a paper towel. Avoid rubbing or pressing hard. This stops the flock from coming off. Proper drying stops the flock from falling or clumping later.
Finishing Touches
After applying the snow flock to your artificial Christmas tree, the finishing touches bring the magic to life. These steps enhance the look and protect your work. Small details make a big difference in the tree’s charm and durability.
Adding Glitter Or Sparkle
Sprinkle some glitter on the flock for extra shine. Use fine glitter to keep the look natural. Spray a light mist of adhesive before adding glitter. This helps it stick well and stay in place. Be careful not to overdo it; a little sparkle goes a long way. The glitter catches the light and adds a festive glow.
Protecting The Flock For Longevity
Seal the flock with a clear spray to keep it safe. Choose a spray designed for artificial trees or crafts. Hold the spray about 12 inches away and apply a light coat. This protects the flock from falling off and dust buildup. Allow the tree to dry completely before moving it. Proper sealing helps your tree look fresh year after year.
:strip_icc()/JF_How-to-Flock-a-Christmas-Tree-3107-Primary-330d2fb1e5c0404f8d508b0a49116315.jpg)
Credit: www.bhg.com
Safety Tips
Snow flocking your artificial Christmas tree can create a magical winter look. Safety is very important during this process. Chemicals and sprays need careful handling. Protect yourself and your home for the best experience.
Handling Chemicals Safely
Read all labels before use. Use chemicals in a well-ventilated area. Wear gloves to protect your skin. Avoid touching your face or eyes. Keep children and pets away from the work area. Store chemicals in a cool, dry place after use. Dispose of empty containers properly.
Preventing Allergic Reactions
Wear a mask to avoid breathing in dust or fumes. Test a small area first to check for reactions. Stop immediately if you feel itchy or sneezy. Wash your hands and face after finishing. Keep windows open to let fresh air in. Choose hypoallergenic products if possible.
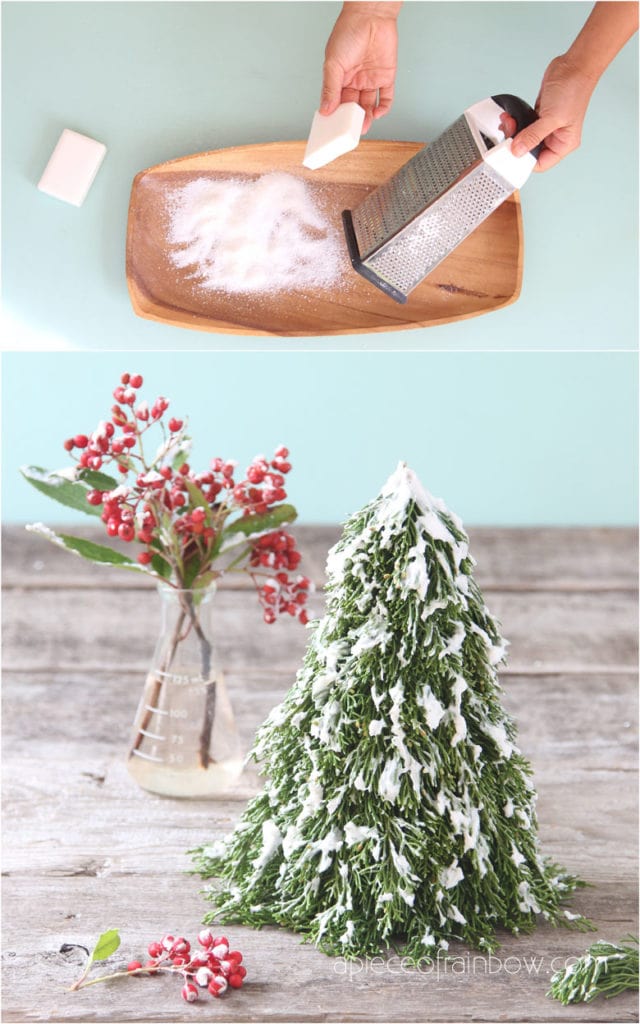
Credit: www.apieceofrainbow.com
Frequently Asked Questions
How Do I Prepare My Artificial Tree For Snow Flocking?
Start by setting up your tree in a well-ventilated area. Remove all ornaments and lights. Cover the floor to catch excess flock. Make sure the tree is clean and dry before application.
What Materials Are Needed For Snow Flocking An Artificial Tree?
You will need flocking powder or spray, water, a spray bottle, gloves, and a protective mask. Optional items include a plastic sheet and a brush for touch-ups.
Can I Flock My Tree Indoors Safely?
Yes, but ensure proper ventilation to avoid inhaling flock particles. Use a protective mask and cover nearby surfaces to prevent mess. Choose low-dust flocking products for safer indoor use.
How Long Does Snow Flocking Take To Dry On An Artificial Tree?
Flocking usually dries within 2 to 4 hours. Drying time depends on humidity and temperature. Avoid touching or moving the tree until it is fully dry.
Conclusion
Snow flocking your artificial Christmas tree adds a cozy, winter touch. It is a fun and simple way to refresh your holiday decor. You only need a few supplies and some patience. Take your time and apply the flock evenly for best results.
Let the tree dry fully before decorating. Enjoy the soft, snowy look that feels warm and festive. This easy project helps create a special holiday atmosphere at home. Try it this season and see the difference yourself!