Are you looking to brighten up your space with a table lamp that has two bulbs? Wiring a lamp with two bulbs might sound tricky, but it’s easier than you think.
Imagine having the power to control each bulb separately or both at once—giving you the perfect lighting for any mood or task. In this guide, you’ll discover simple, step-by-step instructions that anyone can follow, even if you’ve never done electrical work before.
Keep reading, and by the end, you’ll have a stylish, functional lamp wired exactly the way you want it.

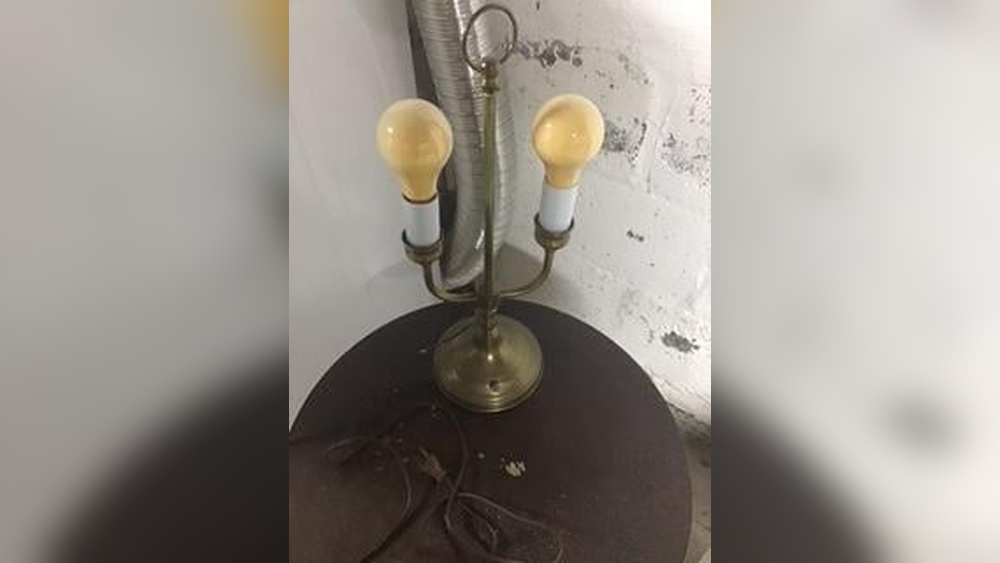
Credit: www.reddit.com
Choosing The Right Materials
Choosing the right materials is the first step to wire a table lamp with two bulbs. Good materials ensure safety and help the lamp work well. Picking proper parts also makes the wiring process easier and faster.
Each part must fit the lamp and handle the electricity safely. Using the wrong materials can cause damage or even fire. This section explains how to select bulbs, sockets, wires, and tools.
Selecting Bulbs And Sockets
Choose bulbs that match the lamp’s design and power limits. LED bulbs are a good choice because they use less energy and last longer. Check the bulb’s wattage and voltage. Make sure they fit the lamp sockets.
Select sockets that can hold two bulbs safely. Double sockets are designed for this purpose. They keep the bulbs stable and connected well. Use sockets made of heat-resistant materials for safety.
Picking Suitable Wire And Tools
Pick wires that handle the lamp’s electrical load. Copper wires are common and work well. Use wire thickness suitable for the current, usually 18 or 16 gauge for lamps.
Gather basic tools like wire strippers, screwdrivers, and electrical tape. A voltage tester helps check the wiring after assembly. Using the right tools makes the job safer and cleaner.
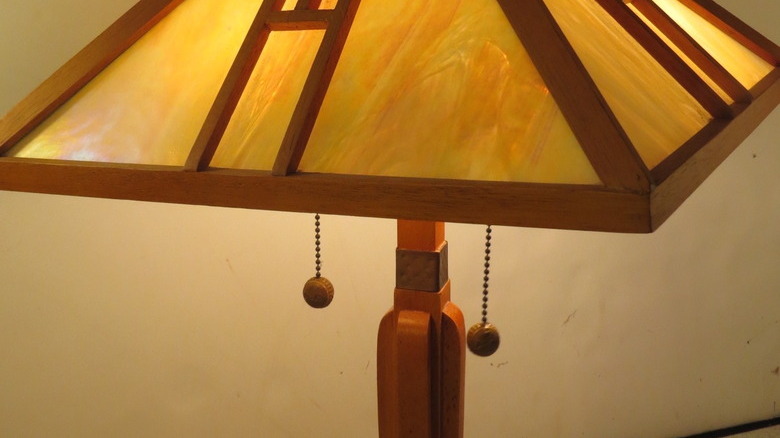
Credit: www.hunker.com
Preparing The Lamp Base
Before wiring a table lamp with two bulbs, prepare the lamp base carefully. This step helps ensure safety and proper function. Start by removing old parts and checking the base for damage. A clean, sound base makes wiring easier and safer.
Take your time with this step. It sets the foundation for the entire project. A well-prepared base improves the lamp’s look and performance.
Removing Old Components
Unplug the lamp from the power source. Use a screwdriver to remove screws holding the socket and wiring. Gently pull out the old sockets and wires. Keep all screws and small parts safe for reuse. Dispose of damaged or unsafe parts properly.
Careful removal avoids damage to the lamp base. Check that all old wiring is out before continuing. This makes room for new wiring and sockets.
Cleaning And Inspecting
Use a soft cloth to wipe dust and dirt from the base. Clean the socket areas with a small brush. Check the base for cracks or rust. Look inside the lamp for loose parts or worn wires. Fix or replace any damaged parts before wiring.
A clean and strong base ensures the lamp works well. It also helps prevent electrical problems later.
Wiring Basics For Two Bulbs
Wiring a table lamp with two bulbs requires basic knowledge of electrical wiring. Understanding how to connect the bulbs correctly ensures the lamp works safely and efficiently. This section breaks down the wiring basics for two bulbs.
Knowing the right wiring method helps prevent common problems like flickering or one bulb not working. It also keeps your lamp safe from electrical issues. Let’s explore the important concepts you need to know.
Understanding Parallel Wiring
Two bulbs in a lamp usually connect in parallel wiring. This means each bulb has its own path to the power source. If one bulb burns out, the other still works. Both bulbs get the same voltage, so they shine equally bright.
Parallel wiring uses separate wires for each bulb’s positive and negative terminals. This setup is simple and safe for household lamps. It also allows easy bulb replacement without affecting the other bulb.
Safety Precautions
Always unplug the lamp before starting any wiring work. Avoid touching bare wires to prevent electric shock. Use insulated tools for protection.
Check that the bulbs and wiring match the lamp’s voltage and current ratings. Avoid overloading the circuit, which can cause overheating. Secure all wire connections with wire nuts or electrical tape to prevent shorts.

Credit: www.youtube.com
Step-by-step Wiring Process
Wiring a table lamp with two bulbs requires careful steps. Follow each part closely for safety and function. This process involves connecting wires, securing parts, and testing the lamp.
Connecting The Wires To Sockets
Start by stripping about half an inch of insulation from each wire. Identify the live (usually black or brown) and neutral (white or blue) wires. Attach the live wire to the brass screw on the socket. Connect the neutral wire to the silver screw. Tighten screws firmly but do not over-tighten. Repeat the steps for the second bulb socket.
Attaching The Sockets To The Lamp Base
Place each socket into its holder on the lamp base. Ensure sockets fit snugly and align with the lamp’s design. Use screws or clips provided to fix sockets securely. Check sockets do not move or wobble. Proper attachment prevents electrical hazards and supports bulbs well.
Securing The Wiring
Arrange the wires neatly inside the lamp base. Use wire clamps or ties to keep wires organized. Avoid sharp bends or pinching the wires. Make sure wires do not touch metal parts directly. Proper wire management reduces risks of shorts and damage.
Testing The Connections
Plug the lamp into a power source carefully. Switch on the lamp to check if both bulbs light up. If a bulb does not light, turn off power and recheck connections. Ensure no wires are loose or crossed. Confirm both sockets work before final assembly.
Final Assembly And Testing
The final assembly and testing step is crucial for your table lamp with two bulbs. This stage ensures your lamp works correctly and safely. Follow the steps carefully to complete the wiring and prepare the lamp for use.
Reassembling The Lamp
Start by placing all the parts back into their original positions. Carefully fit the socket assembly into the lamp base. Make sure the wires are not pinched or twisted. Attach the lamp shade and secure it properly. Tighten all screws to hold everything firmly. Double-check that the bulbs are screwed in correctly.
Performing A Safety Check
Inspect all connections to ensure they are tight. Look for any exposed wires or loose parts. Use a voltage tester to check the wiring before plugging in. Make sure the lamp switch works smoothly. Turn on the lamp and test both bulbs. Confirm the lamp does not flicker or spark. Safety first. If anything seems wrong, fix it before using the lamp.
Troubleshooting Common Issues
Troubleshooting common issues with a table lamp that has two bulbs can save time and prevent frustration. Understanding simple fixes helps keep your lamp working well. Many problems have easy solutions. This section covers two frequent issues: flickering bulbs and loose connections. Both affect how your lamp lights up and feels.
Fixing Flickering Bulbs
Flickering bulbs cause annoying light changes. They might flicker due to a bad bulb or poor wiring. First, check if the bulb is tight in its socket. Loose bulbs often flicker. Next, try replacing the bulb with a new one to see if flickering stops. If the flicker continues, inspect the wiring for damage or poor contacts. Use a voltage tester to check for power issues. Replacing worn wires or bulbs usually solves flickering problems.
Dealing With Loose Connections
Loose connections stop your lamp from working properly. They cause bulbs to turn off or flicker. To fix this, unplug the lamp and open the wiring area. Look for any wires that are not firmly attached. Tighten all wire nuts and screws. Make sure the wires are connected to the right terminals. If any wire looks damaged, cut and strip it again before reconnecting. Secure connections keep your lamp safe and bright.
Frequently Asked Questions
How Do I Wire A Table Lamp With Two Bulbs Safely?
To wire a table lamp with two bulbs safely, turn off power first. Use proper wire connectors and follow wiring diagrams. Ensure connections are secure and insulated to prevent shorts or shocks. Test the lamp before regular use for safety assurance.
Can I Use Different Wattage Bulbs In A Two-bulb Lamp?
Yes, you can use different wattage bulbs in a two-bulb lamp. However, check the lamp’s maximum wattage rating. Using bulbs exceeding this limit can cause overheating or damage. Always use bulbs compatible with your lamp’s specifications for safety.
What Type Of Wiring Is Needed For A Dual Bulb Table Lamp?
A dual bulb table lamp typically requires parallel wiring. This wiring allows both bulbs to operate independently. Use insulated copper wires suited for household lamps. Properly connect wires to the socket terminals following the wiring diagram for correct operation.
How To Test If Both Bulbs Are Wired Correctly?
To test dual bulbs, insert both bulbs and turn on the lamp. If both light up, wiring is correct. If one or both bulbs don’t light, check connections and wiring. Use a multimeter to verify electrical continuity if needed.
Conclusion
Wiring a table lamp with two bulbs is simple and useful. Follow the steps carefully for a safe setup. Double-check all connections before plugging in the lamp. This project can brighten your room with more light. You save money by doing it yourself.
Enjoy your new lamp and the soft glow it gives. Keep safety first and take your time. Now, your lamp is ready to shine bright.