
Are you ready to add a unique touch to your holiday decorations this year? Making an artificial Christmas tree at home is easier than you might think.
Imagine creating a beautiful, personalized tree that fits perfectly in your space and matches your style. In this guide, you’ll discover simple steps and clever tips to craft your own festive centerpiece. Keep reading, and you’ll be amazed at how fun and rewarding this project can be!
Materials Needed
Gathering the right materials is the first step to make an artificial Christmas tree. Choosing good supplies helps your tree look great and last long. It saves money and lets you create a unique decoration for your home.
Choosing The Right Base
The base holds your tree steady. Use a strong stand or pot that won’t tip over. Wood blocks or metal stands work well. Make sure the base is wide enough to support the tree’s height. Stability is key to avoid accidents.
Selecting Branch Materials
Branches give your tree shape and fullness. Use green craft wire, pine branches, or thick twigs. Plastic or paper strips can mimic pine needles. Bend and attach the branches to the base firmly. This step creates the classic Christmas tree look.
Additional Decorative Supplies
Decorations add charm and sparkle. Use string lights, small ornaments, and fake snow. Glue or tape helps fix decorations in place. Ribbons, beads, and glitter can also enhance your tree. Choose colors that match your holiday style.
Preparing The Base
Preparing the base is the first key step to making an artificial Christmas tree. A strong base keeps the tree steady and safe. It supports the whole structure and stops it from tipping over. Spend time on the base to make your tree last longer and look better.
Building A Sturdy Frame
Start by choosing strong materials like wood or metal rods. Cut them to the right size for your tree height. Arrange the rods in a triangle or square shape for good support. Join the rods tightly with screws or glue. A solid frame holds all tree parts firmly in place.
Securing The Base For Stability
Fix the frame to a wide, flat surface like a wooden board. Add weight by attaching sandbags or heavy stones under the base. Check the base is level and does not wobble. Use clamps or brackets to hold the frame steady if needed. A secure base stops accidents and keeps your tree upright.
Creating The Tree Branches
Creating the branches is a key step in making your artificial Christmas tree. The branches give the tree its shape and fullness. This process needs some care and patience. You will work mainly with wire and greenery. The goal is to make branches that look natural and strong enough to hold decorations.
Start by shaping the branches. Then, add the leaves or pine needles. Each branch should look full and balanced. This way, your tree will appear lush and festive.
Shaping Branches With Wire
Use thick wire to form the main branch shape. Cut the wire into pieces of different lengths. Longer wires for bottom branches, shorter for the top. Bend the wire gently to create natural angles. Twist smaller wires around the main wire to make twigs. This adds detail and strength. Make sure the branches can hold some weight without bending.
Attaching Foliage Or Greenery
Choose artificial pine needles or leaves for your branches. Attach the greenery by wrapping it tightly around the wire. Use floral tape or green tape to cover the wire. This hides the wire and holds the foliage in place. Add more layers to make the branch look thick. Trim any uneven parts to keep a clean look. The goal is to create branches that look full and green.
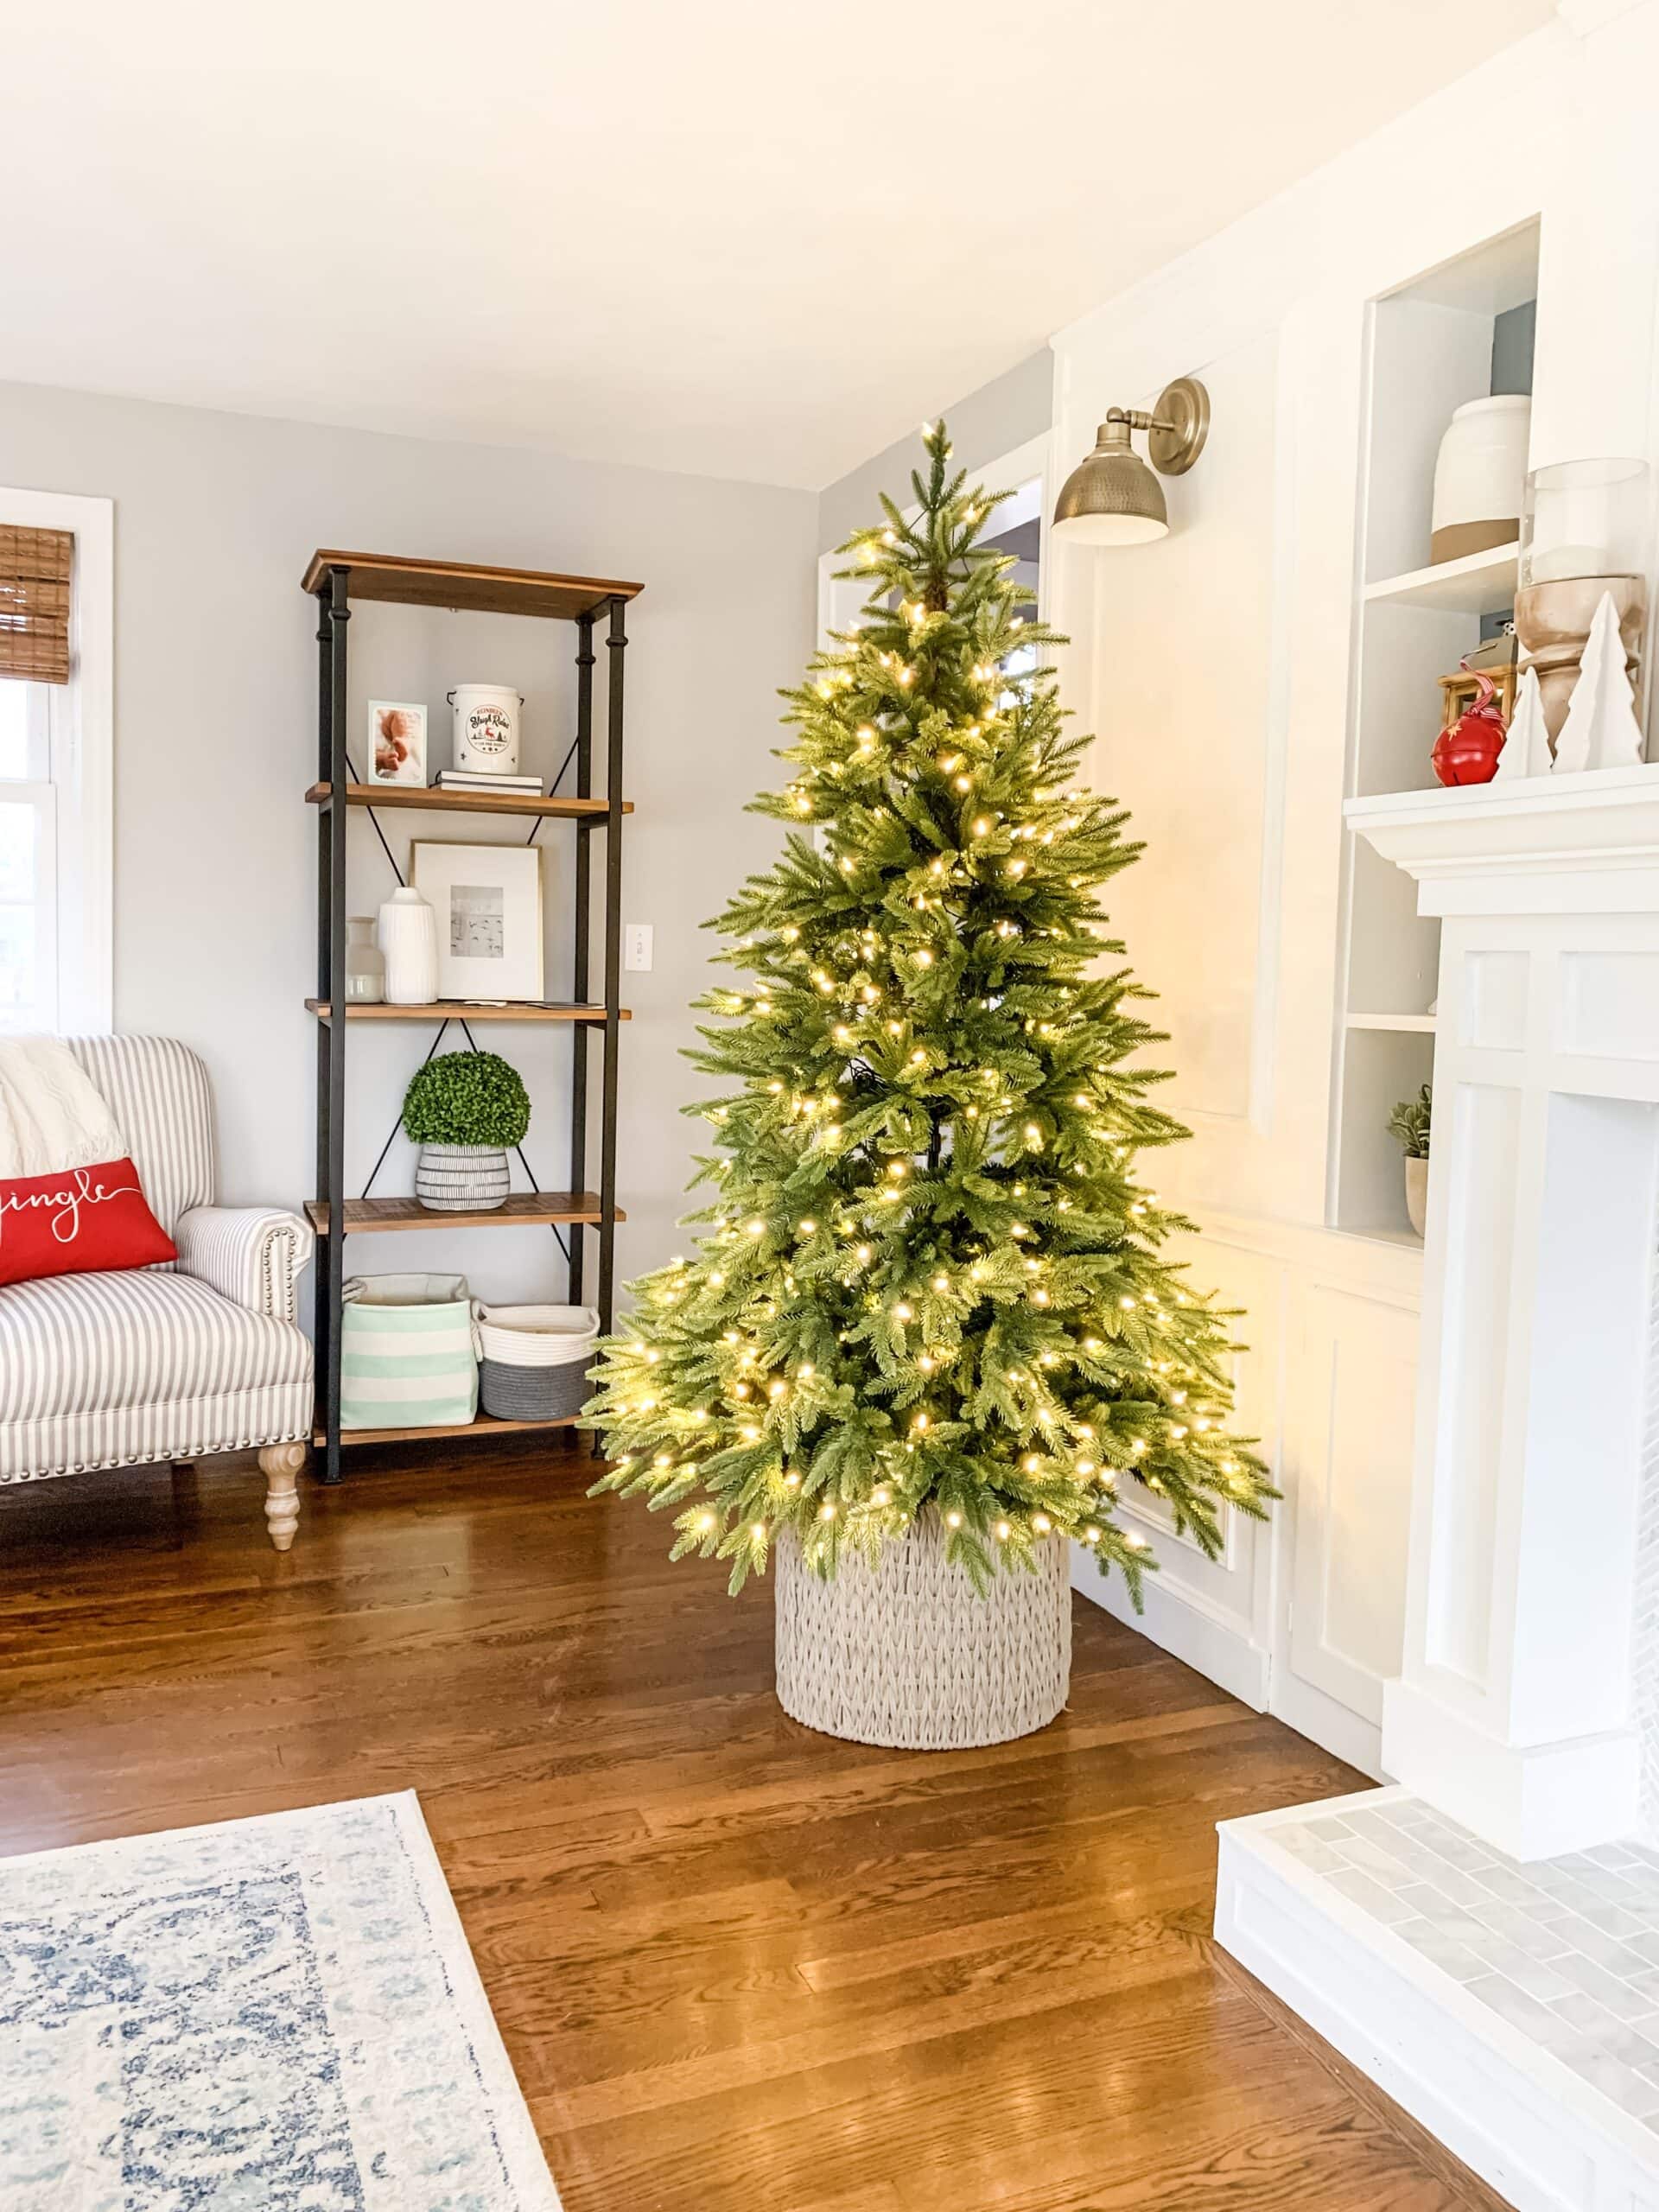
Credit: jennakateathome.com
Assembling The Tree
Assembling the tree is an exciting step in making your artificial Christmas tree. It brings your creation to life. This part takes patience and care. Proper assembly ensures your tree looks full and natural. Follow these simple steps to put your tree together with ease.
Arranging Branches On The Frame
Start by placing the main frame upright. Take each branch and attach it to the frame. Push the branches firmly into the slots or hooks. Spread the branches out evenly around the frame. Face the tips outward to mimic a real tree. Work from the bottom up for better balance. Adjust branches to avoid gaps and overlaps.
Ensuring Balanced Coverage
Check the tree from all sides after attaching branches. Look for empty spaces or thin areas. Add extra branches or fluff existing ones to fill gaps. Turn the tree slowly to spot uneven spots. Make sure branches are spread evenly at every level. Proper coverage gives the tree a natural, full look. Take your time to get a balanced shape.
Adding Decorations
Adding decorations brings your artificial Christmas tree to life. It makes the tree look festive and bright. Choosing the right decorations creates a warm holiday mood. Careful placement of ornaments and lights enhances the tree’s beauty. This section helps you pick and place decorations with care and style.
Choosing Ornaments And Lights
Select ornaments in different sizes and colors. Mix shiny, matte, and textured ornaments for interest. Use a color theme that matches your room or holiday style. Pick LED lights for energy savings and safety. Warm white or multicolor lights create different moods. Choose lights with a long cord to cover the whole tree.
Placing Decorations Strategically
Start with lights, wrapping them evenly around branches. Place larger ornaments near the tree’s bottom and center. Hang smaller ornaments on branch tips and higher areas. Space decorations to avoid clutter and show each piece. Add a tree topper last, like a star or angel. Step back often to check balance and adjust as needed.
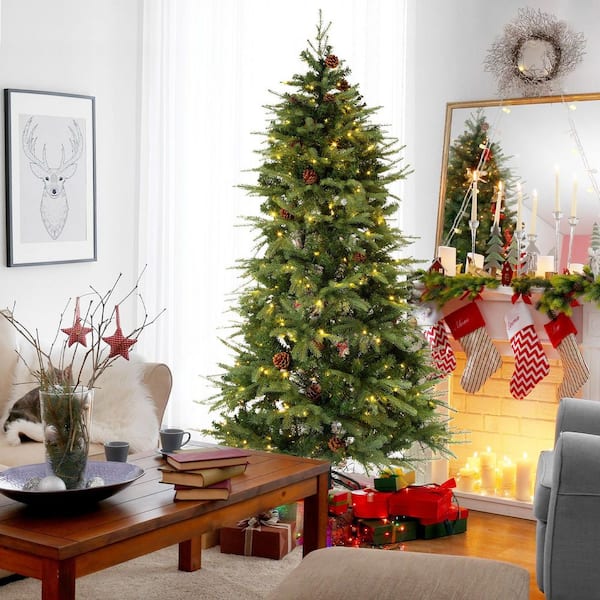
Credit: www.homedepot.com
Finishing Touches
The finishing touches on your artificial Christmas tree bring it to life. These small steps make the tree look neat and full. A well-finished tree adds warmth and joy to your home during the holidays.
Paying attention to details helps your tree stand out and feel special. It also makes sure your tree lasts for many seasons to come.
Securing Loose Elements
Check the branches and needles for any loose parts. Use glue or tape to fix them gently. Tighten any wires or ties holding branches in place. This keeps the tree looking full and tidy. Secure ornaments carefully so they do not fall off.
Maintaining The Tree For Longevity
Keep your tree clean by dusting it regularly. Store it in a cool, dry place after the holidays. Use a tree bag or box to protect it from damage. Avoid crushing the branches during storage. Proper care helps the tree stay fresh and beautiful for years.
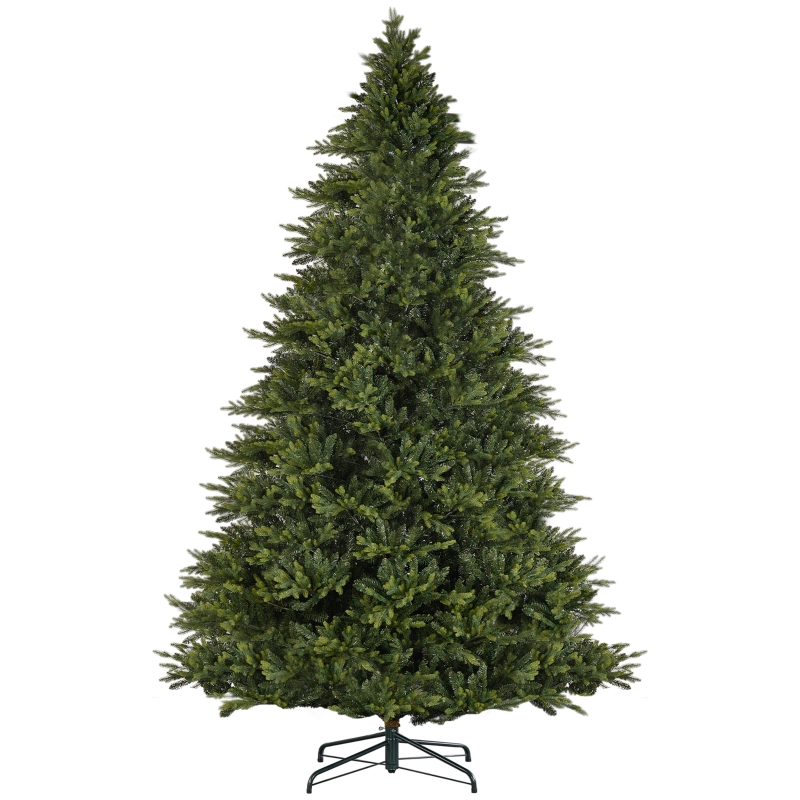
Credit: www.aosom.com
Frequently Asked Questions
How Can I Make An Artificial Christmas Tree At Home?
You can create one using wire, green tape, and craft paper. Shape branches from wire, wrap them with green tape, and attach paper leaves. Assemble branches around a central stick to form the tree. This DIY method is budget-friendly and customizable.
What Materials Are Needed For A Homemade Christmas Tree?
Essential materials include wire for branches, green floral tape, craft paper or felt, scissors, and glue. You may also use a wooden stick or pole as the trunk. These simple items help you build a realistic, eco-friendly artificial tree.
How Do I Shape Branches For An Artificial Tree?
Cut wire into various lengths and bend them into branch shapes. Wrap each wire with green floral tape for a natural look. Attach small paper or felt leaves to mimic pine needles. This technique creates flexible, lifelike branches.
Can I Customize My Diy Christmas Tree Easily?
Yes, you can adjust size, color, and decoration style. Use different shades of green paper or add glitter for sparkle. Personalize it with small ornaments or LED lights. This flexibility makes your tree unique and festive.
Conclusion
Making an artificial Christmas tree at home is fun and rewarding. You can choose materials that suit your style and budget. Each step is simple and lets you add a personal touch. This project brings holiday cheer without spending much.
Enjoy the process and the cozy feeling it creates. Your handmade tree will shine brightly every festive season. Give it a try and make your holidays special.