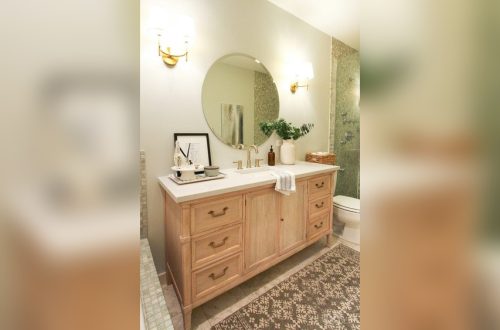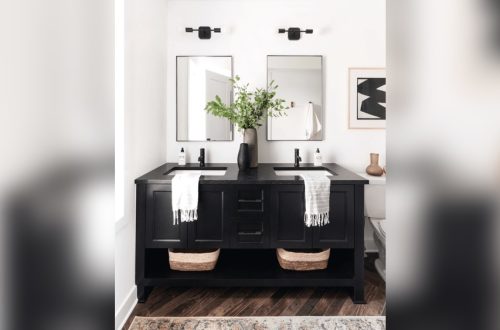
Looking to add a stylish touch to your bathroom without drilling holes or making a mess? Hanging a decorative mirror with Liquid Nails is a simple and effective way to transform your space quickly.
If you want your mirror to stay securely in place while keeping your walls damage-free, this guide is exactly what you need. Keep reading to discover step-by-step tips that make the process easy and stress-free—so you can enjoy your new bathroom look in no time.
Credit: www.ppgpaints.com
Choosing The Right Mirror
Choosing the right mirror for your bathroom is important before using Liquid Nails to hang it. The mirror must fit well with your space and style. It should also be safe and durable. Selecting the right mirror helps create a beautiful and functional bathroom area.
Size And Shape Considerations
Measure your bathroom wall space carefully. Pick a mirror size that fits the area without crowding. Shapes like round, square, or oval change the room’s feel. Choose a shape that matches your bathroom’s style. Small mirrors suit tiny spaces. Large mirrors open up the room and add light.
Material And Frame Options
Mirrors come in different materials and frames. Glass with a metal or wooden frame works well in bathrooms. Look for frames that resist moisture and humidity. Plastic or resin frames can handle wet conditions better. Avoid materials that may warp or rust over time.
Weight And Safety Factors
Consider the mirror’s weight before hanging. Heavy mirrors need stronger adhesive or support. Liquid Nails works best on lightweight to medium-weight mirrors. Use wall anchors or studs for extra safety with heavy pieces. Always check that the mirror is secure to prevent accidents.
Preparing The Bathroom Wall
Preparing the bathroom wall is an important step before hanging a decorative mirror with Liquid Nails. A clean and dry surface helps the adhesive stick better. It also keeps the mirror safe and secure on the wall.
Take time to prepare the wall well. This makes sure the mirror stays in place for a long time.
Cleaning And Drying The Surface
Start by removing dust, dirt, and grease from the wall. Use a mild cleaner and a soft cloth. Wipe the area where the mirror will go. Let the wall dry completely. A wet or damp surface can stop the glue from working properly.
Checking For Moisture And Mold
Bathrooms often have moisture and mold problems. Look closely at the wall for any signs of mold or damp spots. Use a moisture meter if possible. Fix any mold or water damage before hanging the mirror. Mold weakens the wall and can ruin the adhesive.
Selecting The Ideal Location
Choose a spot that suits the bathroom layout. Think about where the light hits and how you use the mirror. Avoid areas with constant water splashes. Pick a flat and smooth part of the wall. This helps the mirror stick better and look good.
Selecting Liquid Nails Adhesive
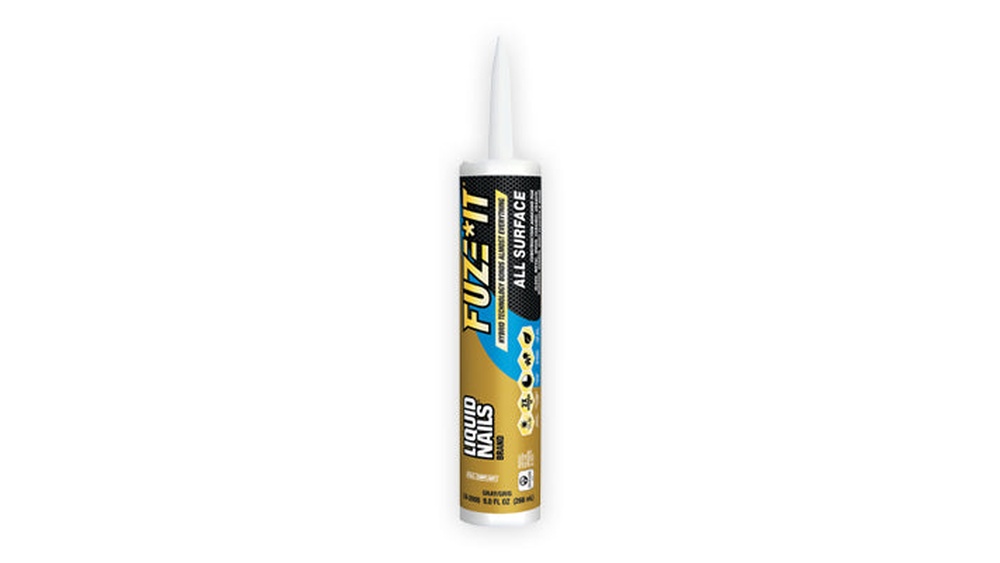
Selecting the right Liquid Nails adhesive is key for hanging a decorative mirror in your bathroom. The bathroom environment is moist and humid. Not all adhesives work well under these conditions. Choosing the correct type ensures the mirror stays safe and secure on the wall.
Types Suitable For Bathroom Use
Some Liquid Nails adhesives are made for wet spaces. Look for products labeled “waterproof” or “bathroom safe.” These adhesives resist moisture and prevent the mirror from falling. Silicone-based and construction-grade adhesives are good options. Avoid regular glues that weaken with water exposure.
Curing Time And Strength
Check the curing time on the product label. It tells how long the glue takes to fully set. Faster curing means less waiting before hanging the mirror. Strong adhesives offer a firm hold and long-lasting support. Choose one that reaches full strength in 24 to 48 hours.
Safety Precautions
Use Liquid Nails in a well-ventilated room. Some adhesives release strong fumes. Wear gloves to protect your skin. Avoid contact with eyes and mouth. Keep the adhesive out of reach of children and pets. Follow all instructions on the packaging carefully.

Credit: www.reddit.com
Applying Liquid Nails
Applying Liquid Nails is a key step to hang a decorative mirror in your bathroom safely. The right process ensures the mirror stays firmly in place. This guide covers the tools you need, how to apply the adhesive correctly, and common mistakes to avoid. Follow these tips to get a strong, lasting hold.
Tools Needed For Application
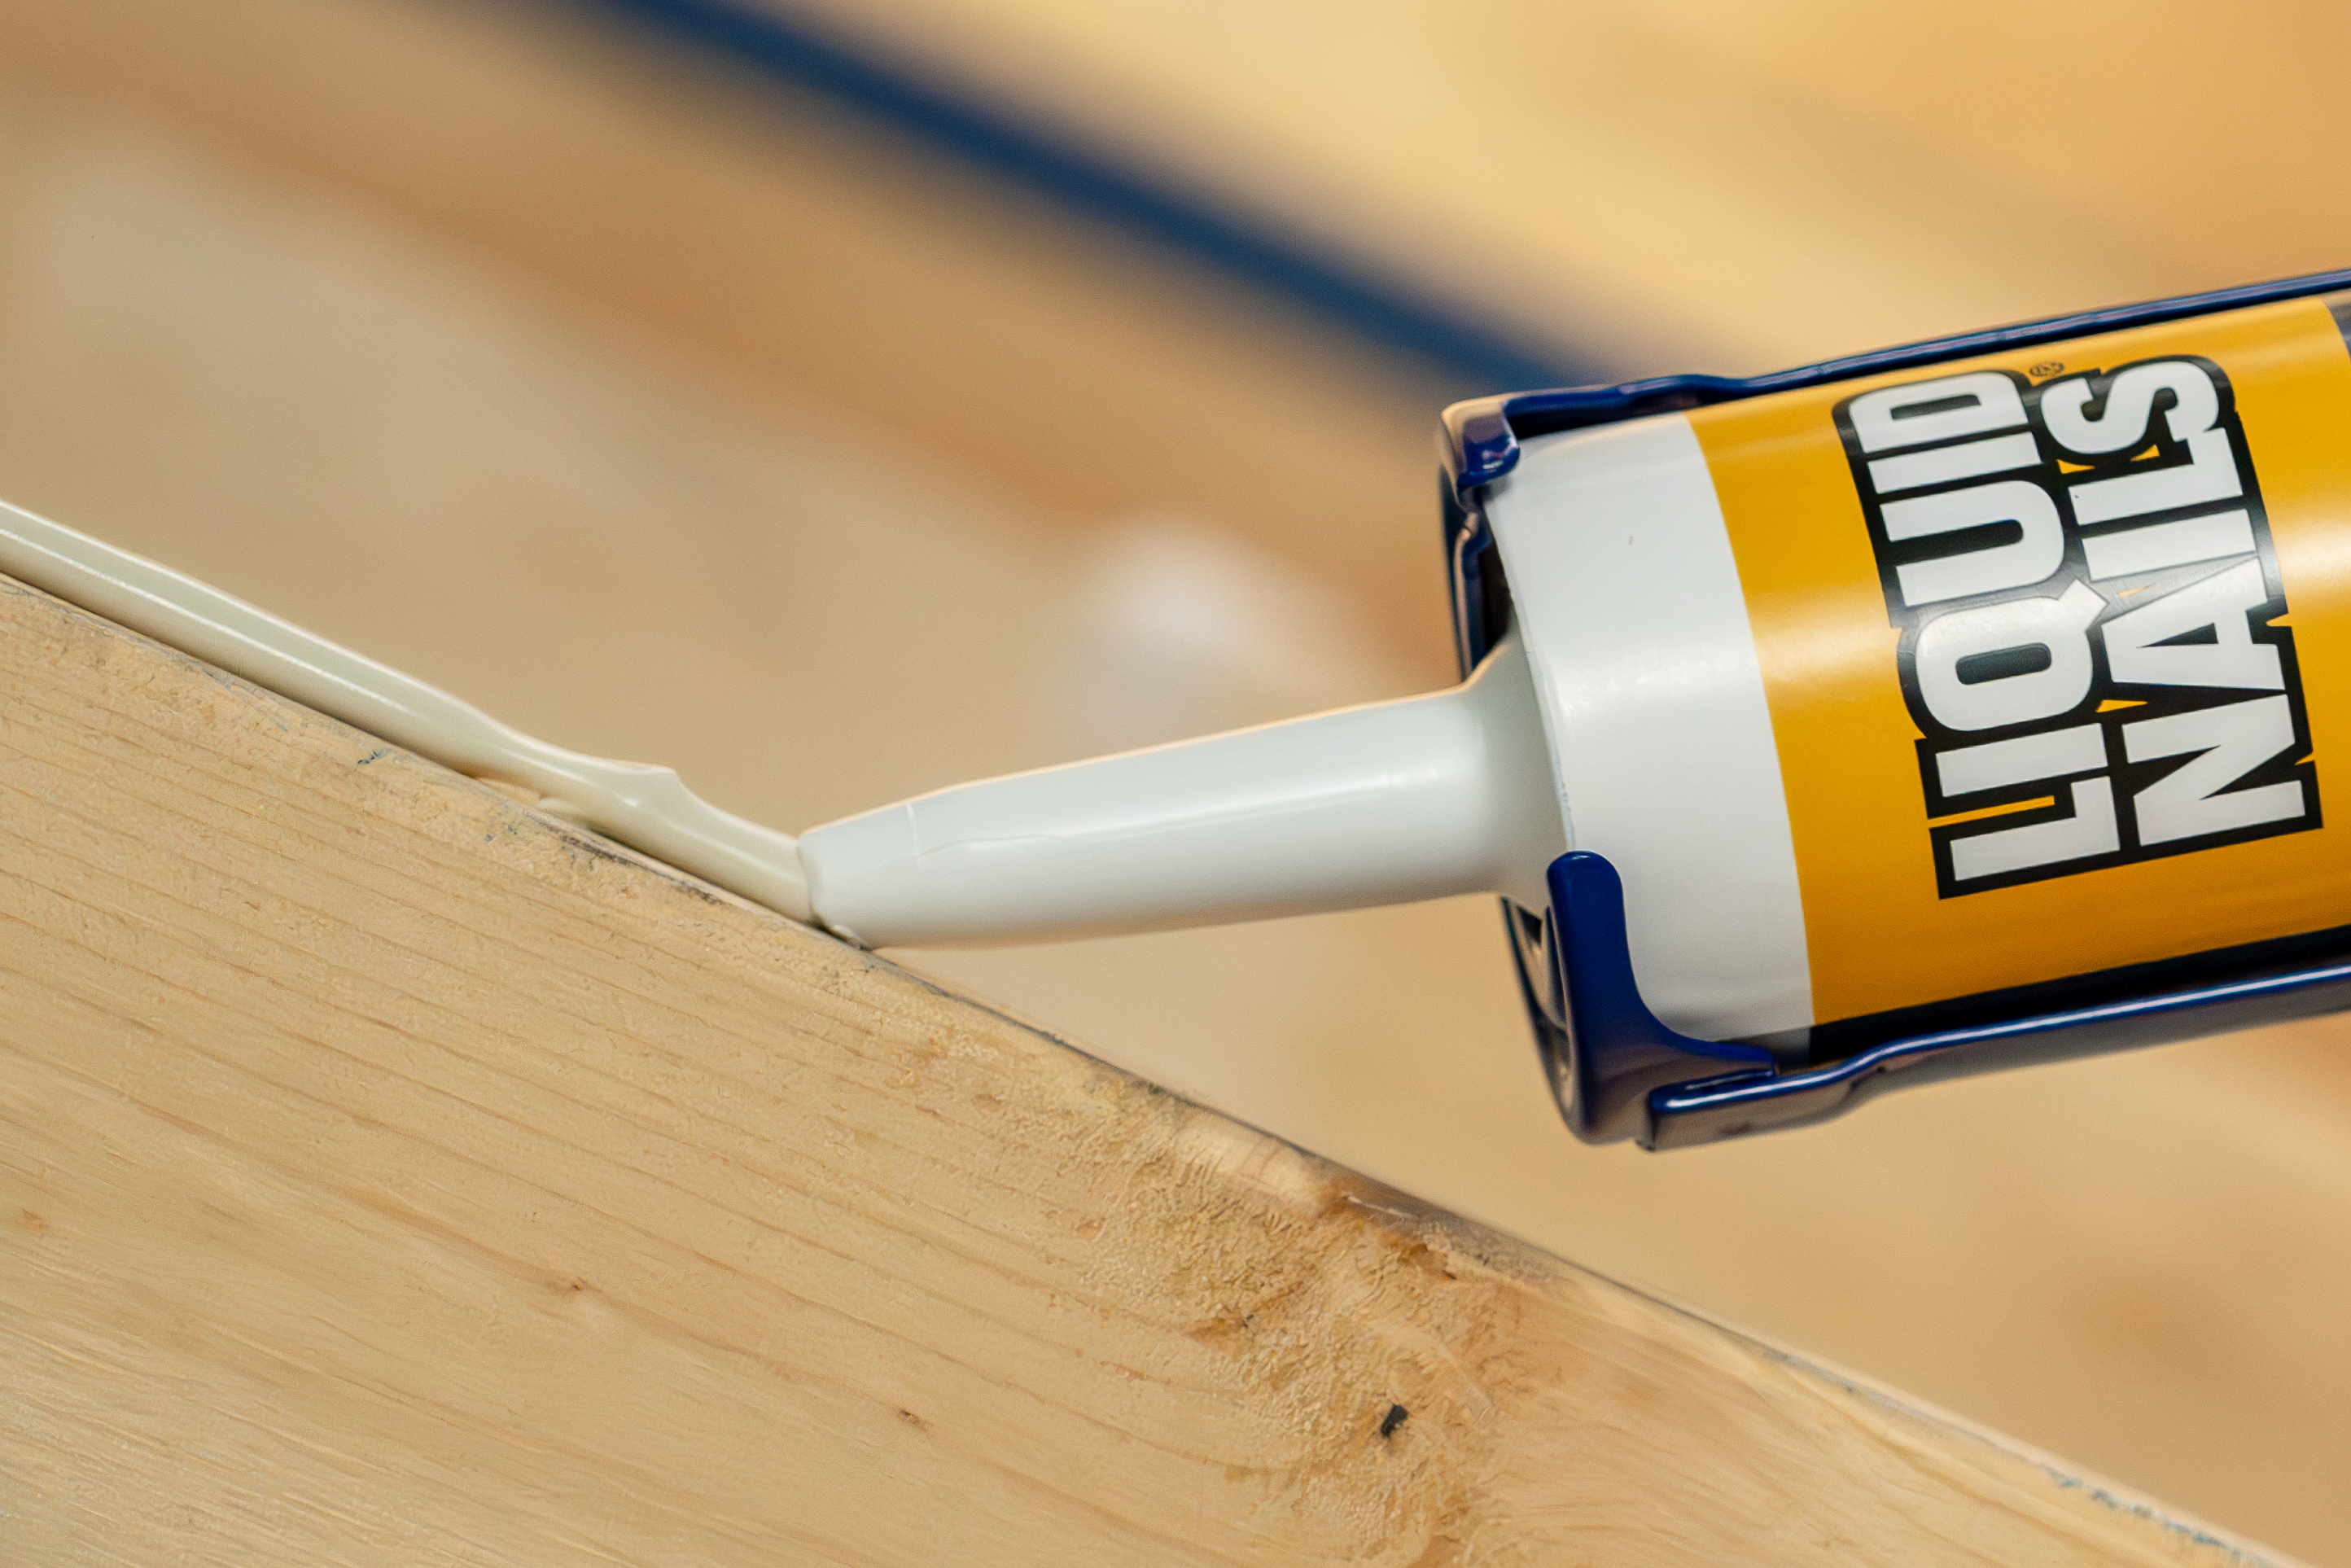
Gather all tools before starting. You will need a caulking gun to apply Liquid Nails smoothly. Use a utility knife to open the adhesive tube. Have a level to check mirror alignment. Also, keep a clean cloth handy to wipe excess glue. Gloves protect your hands from sticky residue.
Proper Adhesive Application Techniques
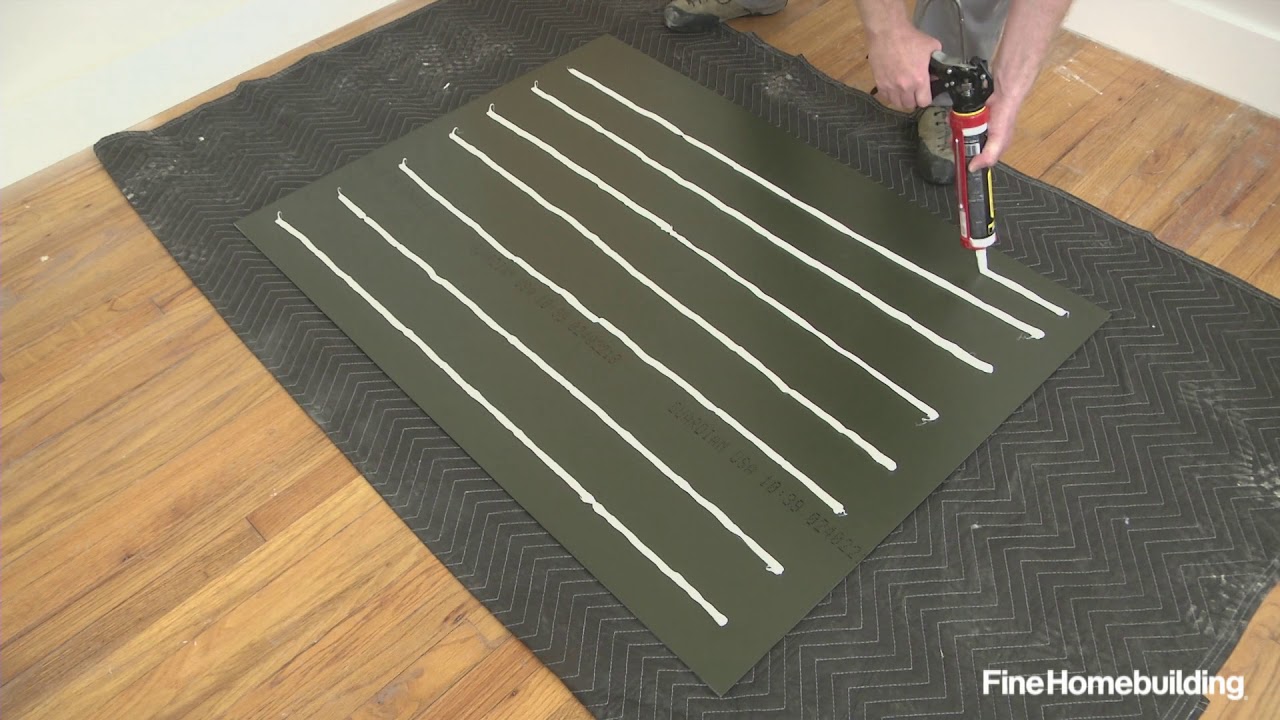
Cut the tube tip at a 45-degree angle. Load it into the caulking gun. Apply the adhesive in a zigzag pattern on the mirror back. Do not apply too much glue. A thin, even layer works best. Press the mirror firmly against the wall. Hold it for a few minutes to set. Use the level to make sure it is straight.
Avoiding Common Mistakes
Do not skip cleaning the wall surface. Dirt or moisture weakens the glue bond. Avoid applying Liquid Nails on uneven surfaces. It can cause poor adhesion. Do not rush the drying time. Let the adhesive cure fully before touching the mirror. Avoid using too much adhesive, which can cause mess and weak hold.
Mounting The Mirror
Mounting the mirror in your bathroom is a key step for a clean, stylish look. Using Liquid Nails makes the process strong and reliable. This guide helps you place your decorative mirror safely and neatly. Follow the steps carefully for the best results.
Aligning And Positioning The Mirror
Start by choosing the right spot on the wall. Use a tape measure to find the center or desired height. Mark the edges lightly with a pencil. Hold the mirror up to check how it looks. Make sure it is straight and balanced before sticking it.
Securing The Mirror In Place
Apply Liquid Nails to the back of the mirror frame in small dots or lines. Spread the adhesive evenly but avoid too much. Press the mirror firmly against the wall. Keep steady pressure for a few minutes. Use painter’s tape to hold the mirror while it dries.
Allowing Adhesive To Set
Liquid Nails needs time to bond fully. Leave the mirror undisturbed for 24 hours. Avoid touching or moving it during this time. Check the adhesive instructions for exact drying time. This ensures your mirror stays safe and secure on the wall.
Post-installation Care
After hanging your decorative mirror with Liquid Nails, proper care is key. Post-installation care keeps the mirror secure and looking great. It helps avoid damage and ensures long-lasting adhesion.
Cleaning Around The Mirror
Clean gently near the mirror edges. Use a soft cloth and mild cleaner. Avoid harsh chemicals that can weaken the adhesive. Pat dry with a clean towel. Keep water and moisture away from the bonding area.
Checking Adhesive Bond Over Time
Check the mirror bond regularly. Look for any loosening or gaps. Press lightly to test if it feels secure. Early detection prevents accidents. Reapply adhesive if the bond weakens.
Tips For Long-term Maintenance
Keep the bathroom well ventilated to reduce moisture. Avoid hanging heavy items on the mirror frame. Wipe the mirror gently with a microfiber cloth. Inspect the edges monthly for any signs of wear.
Credit: www.youtube.com
Frequently Asked Questions
How Do I Prepare The Bathroom Wall For Hanging A Mirror?
Clean the wall surface thoroughly. Remove any dust, grease, or moisture. Ensure the wall is dry and smooth before applying Liquid Nails.
Can Liquid Nails Support Heavy Decorative Mirrors In Bathrooms?
Yes, Liquid Nails is strong enough for heavy mirrors. Choose a product designed for bathroom use and heavy-duty adhesion.
How Long Does Liquid Nails Take To Dry Fully?
Liquid Nails typically dries within 24 hours. For best results, avoid touching or hanging the mirror until fully cured.
Is Liquid Nails Safe To Use In Humid Bathroom Environments?
Yes, Liquid Nails is moisture-resistant. It bonds well in humid conditions, making it ideal for bathroom mirror installation.
Conclusion
Hanging a decorative mirror with Liquid Nails is simple and strong. Clean the wall and mirror well before applying the glue. Press the mirror firmly and hold it in place for a few minutes. Let the glue dry fully for the best hold.
This method keeps your bathroom stylish and safe. No need for nails or drills. Enjoy your new mirror easily and securely. A small effort for a big change in your space.