Wiring a table lamp holder might sound tricky, but with the right steps, you can do it safely and easily. Imagine having a stylish lamp that lights up your room just the way you want.
You don’t need to wait or pay someone else to set it up. In this guide, you’ll learn exactly how to wire your table lamp holder, even if you’ve never done it before. By the end, you’ll feel confident and ready to bring new light into your space.
Let’s get started and make your lamp work perfectly!
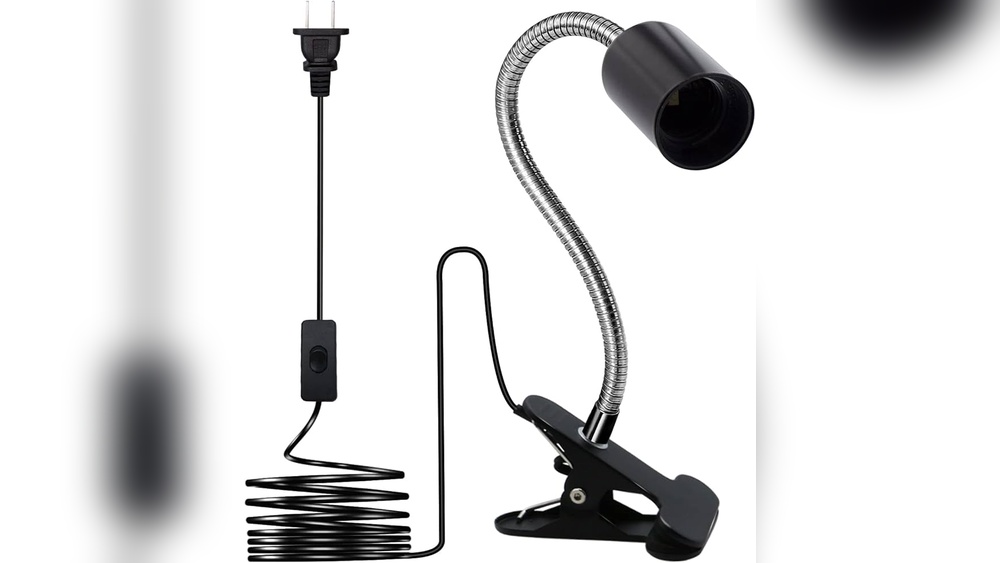
Credit: www.ebay.com
Gathering Materials
Gathering the right materials is the first step to wire a table lamp holder safely. Having everything ready helps you work smoothly and avoid mistakes. This section covers the essential tools, choosing the lamp holder, and picking the right wiring for your project.
Tools Needed
Start by collecting basic tools for wiring a lamp holder. You will need a screwdriver, wire strippers, and pliers. A voltage tester is important to check power safety. Electrical tape and a utility knife can also help with insulation and cutting wires.
Choosing The Right Lamp Holder
Pick a lamp holder that fits your lamp size and bulb type. Most table lamps use standard E26 or E27 holders. Check if the holder matches your lamp’s voltage and wattage. A sturdy, heat-resistant holder ensures safety and long use.
Selecting Appropriate Wiring
Select wiring that supports your lamp’s power needs. Use copper wires with enough thickness, usually 18 or 16 gauge. Make sure the wire insulation is rated for indoor use. Proper wiring prevents electrical shorts and keeps your lamp working well.
Preparing The Lamp Holder
Preparing the lamp holder is the first step to wiring a table lamp safely. It helps ensure the lamp works well and lasts long. Taking time to prepare the parts makes the wiring process easier and safer.
Disassembling The Holder
Start by unplugging the lamp from power. Remove the bulb if it is still in the holder. Use a screwdriver to take off any screws holding the holder together. Gently pull apart the pieces. Keep screws and small parts in a safe place. Be careful not to break any plastic or metal parts.
Inspecting Components
Look closely at each part of the holder. Check for cracks or damage in the plastic or metal. Make sure the wires are not frayed or loose. The metal contacts should be clean and shiny. Dirty or rusty contacts can stop the lamp from working. Replace any broken parts before wiring the holder.
Cutting And Stripping Wires
Cutting and stripping wires is a key step in wiring a table lamp holder. It prepares the wires for safe connection and ensures the lamp works properly. Doing this step carefully prevents electrical problems and keeps the setup neat.
Using the right tools and measuring accurately helps to avoid mistakes. The process is simple but needs attention to detail. Follow these steps to cut and strip wires correctly.
Measuring Wire Length
Measure the wire length before cutting. Leave enough wire to reach the lamp holder comfortably. Too short wires cause tension and loose connections. Too long wires create clutter inside the lamp base.
Use a ruler or tape measure to get the right length. Mark the wire at the point where you will cut. This step saves time and keeps the wiring clean and safe.
Stripping Wire Insulation
Strip the insulation without damaging the wire inside. Use a wire stripper tool for best results. Place the wire in the correct notch of the stripper. Pull the insulation off gently to expose the metal wire.
Expose about half an inch of wire for a good connection. Avoid cutting the wire strands as this weakens the wire. Clean and straight wire ends make wiring easier and safer.
Connecting The Wires
Connecting the wires of a table lamp holder is a key step in the wiring process. It ensures the lamp works safely and correctly. Each wire has a specific place. Knowing where to connect each one helps avoid electrical problems.
Identifying Wire Terminals
First, find the terminals on the lamp holder. Usually, there are three terminals: live, neutral, and ground. The live terminal often has a brass or gold color. The neutral terminal is silver. The ground terminal is green or marked with a grounding symbol. Identifying these terminals correctly is important for safe wiring.
Attaching Live And Neutral Wires
Next, connect the live wire to the live terminal. The live wire is usually brown or red. Tighten the screw firmly to hold the wire in place. Then, attach the neutral wire to the neutral terminal. The neutral wire is often blue or black. Secure it well to ensure good contact. Loose wires can cause sparks or failure.
Securing Ground Wire
Lastly, connect the ground wire to the ground terminal. This wire is green or bare copper. The ground wire protects from electric shocks. Make sure the connection is tight and stable. If your lamp has no ground wire, check local safety rules before proceeding. Proper grounding is essential for safe use.
Reassembling The Lamp Holder
Reassembling the lamp holder is the final step in wiring a table lamp. It brings all parts back together to make the lamp work safely. Care and attention are important to avoid loose parts or poor connections.
Take your time and follow each step carefully. A well-assembled lamp holder ensures a secure fit and proper electrical contact. This helps the lamp last longer and reduces risks of electrical problems.
Ensuring Proper Fit
Check all parts before putting them back. The socket, wires, and base must line up correctly. The socket should slide smoothly into the holder without forcing. If parts do not fit well, the lamp might not work or could be unsafe.
Make sure wires are not pinched or bent at sharp angles. Keep wires away from metal parts that can cause shorts. Position each component so it matches the original setup. Proper fit protects the lamp and user from damage.
Tightening Screws
Use a screwdriver to tighten all screws firmly. Screws hold the socket and wires in place. Loose screws can cause electrical faults or the lamp to fall apart. Do not overtighten as this may crack plastic parts.
Check each screw after tightening to confirm it is secure. Tight screws keep the lamp stable and safe. Always handle screws gently but firmly to finish the assembly properly.

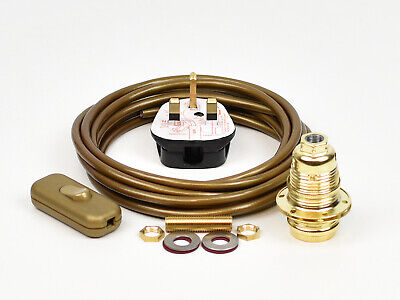
Credit: www.amazon.com
Testing The Lamp
Testing the lamp is the final step after wiring the table lamp holder. This step ensures the lamp works correctly and safely. It helps spot wiring errors or faults before regular use.
Safety Precautions
Always unplug the lamp before testing. Avoid touching wires or metal parts. Use insulated tools to prevent electric shock. Make sure your hands are dry. Test in a well-lit area to see clearly.
Powering On
Plug the lamp into a power outlet. Switch on the lamp using its switch or the socket switch. Watch if the bulb lights up immediately. A bright, steady light means the wiring is correct. If the light flickers or does not turn on, check connections again.
Troubleshooting Common Issues
If the lamp does not work, first check the bulb. Replace it with a new one if needed. Check the wires for loose connections or damage. Tighten all wire nuts and screws. Test the socket with a voltage tester. Replace the socket if it shows no power.
Maintenance Tips
Proper maintenance keeps your table lamp holder safe and working well. Small checks stop big problems. Follow these simple tips to care for your lamp holder.
Regular Inspections
Check the lamp holder often for loose wires or parts. Look for signs of wear like cracks or rust. Make sure the bulb fits tightly and the socket is clean. Turn off power before inspecting. Regular checks help spot issues early and keep the lamp safe.
Replacing Damaged Parts
Replace any broken or worn parts right away. Use parts that match your lamp holder exactly. Damaged sockets, wires, or switches can cause shorts or fires. Turn off power before replacing parts. Proper replacements keep your lamp working well and safe to use.

Credit: www.familyhandyman.com
Frequently Asked Questions
How Do I Wire A Table Lamp Holder Safely?
Turn off power before wiring. Connect live, neutral, and earth wires to correct terminals. Use insulated tools and secure connections to avoid hazards.
What Tools Do I Need To Wire A Lamp Holder?
You need a screwdriver, wire stripper, electrical tape, and a voltage tester for safe and efficient wiring.
Can I Replace A Lamp Holder Myself?
Yes, with basic electrical knowledge and safety precautions, you can replace a lamp holder at home easily.
What Type Of Wire Is Best For Lamp Holders?
Use flexible, insulated copper wire rated for household voltage, typically 18-20 gauge, for safe and reliable connections.
Conclusion
Wiring a table lamp holder is simple with the right steps. Take your time and follow the instructions carefully. Always ensure the power is off before starting work. Use the right tools and check your connections twice. A well-wired lamp holder keeps your space safe and bright.
Practice makes perfect, so don’t rush. Enjoy your newly wired lamp and the warm light it brings. Safety and patience matter most in any electrical task. Keep learning and stay confident with small projects like this.