Looking to create the perfect workspace right in your own home? Building your own office desk is easier than you might think, and it gives you a chance to design a desk that fits your style, space, and needs perfectly.
Imagine having a sturdy, custom desk crafted just for you—one that boosts your productivity and makes working from home a pleasure. In this guide, you’ll discover simple steps, smart material choices, and handy tips to build a desk that looks great and lasts long.
Ready to turn your workspace dreams into reality? Let’s get started!
Choosing Desk Materials
Choosing the right materials is key to building a sturdy and attractive office desk at home. The material affects the desk’s durability, look, and feel. It also impacts the ease of construction and cost. Understanding different wood types helps make the best choice for your workspace.
Hardwood Options
Hardwoods like oak, maple, and walnut offer great strength. These woods last long and resist dents. They have a rich, natural look that improves with age. Hardwood desks feel solid and provide a classic style. They require some tools but are worth the effort for a durable desk.
Budget-friendly Woods
Softwoods such as pine and fir are easier on the wallet. They are light and simple to work with. These woods can be painted or stained to match your decor. Softwoods may dent more easily but still create a nice desk. Perfect for beginners or those on a tight budget.
Plywood Benefits
Plywood is a strong and stable material made from layers of wood veneer. It resists warping better than solid wood. Plywood offers a smooth surface ideal for painting or laminating. It is affordable and widely available. Plywood works well for desk tops and shelves that need extra support.
Planning Your Desk Design
Building a desk at home starts with a clear plan. Design choices shape how your desk will function and fit in your space.
Planning helps avoid mistakes and saves time. It ensures your desk looks good and meets your needs.
Measuring Your Space
Measure the area where you want to place your desk. Note the width, depth, and height of the space.
Check for obstacles like doors, windows, and power outlets. Leave some extra room for movement and comfort.
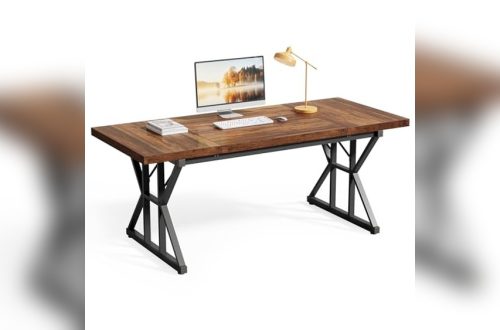
Selecting Desk Style
Choose a style that matches your room and work habits. Options include simple tables, L-shaped desks, or standing desks.
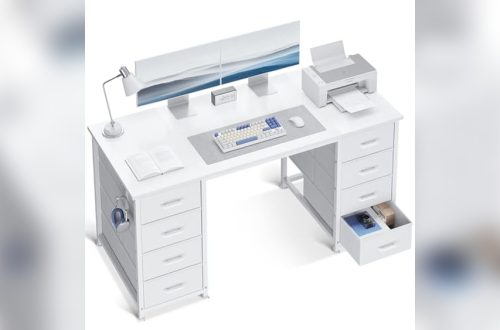
Think about storage needs. Some desks have drawers or shelves, which add convenience but take more space.
Deciding Desk Dimensions
Pick desk dimensions that fit your space and tasks. A standard desk is about 24 inches deep and 48 inches wide.
Adjust the height for comfort. Most desks are around 29 to 30 inches tall. Consider your chair height too.
Gathering Tools And Supplies
Gathering the right tools and supplies is the first step to build your office desk at home. Having everything ready saves time and avoids frustration. It also helps you work safely and precisely. This section covers the key tools, hardware, and finishing materials needed for your project.
Essential Power Tools
Power tools make cutting and assembling faster and easier. A circular saw is perfect for cutting plywood or wood boards. A drill helps create holes and drive screws quickly. An electric sander smooths rough surfaces and edges. A jigsaw is useful for cutting curves or shapes. These tools reduce effort and improve the quality of your desk.
Hardware And Fasteners
Choose strong screws and brackets to hold your desk together firmly. Wood screws come in various lengths; pick ones that fit your wood thickness. Corner brackets add stability to the frame. Drawer slides are needed if your desk includes drawers. Make sure the fasteners match your desk design and materials for durability.
Finishing Materials
Finishing materials protect your desk and enhance its look. Sandpaper helps smooth the wood before finishing. Wood stain or paint adds color and style. A clear sealant or varnish protects the surface from scratches and spills. Choose a finish that matches your room decor and offers easy cleaning.
Cutting And Preparing Wood
Cutting and preparing wood is a key step in building your home office desk. It sets the foundation for a strong and neat desk. Precise cuts and smooth surfaces help the pieces fit well. This makes assembly easier and improves the desk’s look and durability. Take time to prepare your wood carefully. Use the right tools and methods. Safety is important too.
Safe Cutting Techniques
Wear safety goggles and ear protection before cutting. Use clamps to hold wood steady on a flat surface. Measure twice and mark clearly with a pencil. Cut slowly and steadily, following your marks. Keep hands away from the blade at all times. Use a push stick for narrow cuts. Turn off power tools before adjusting blades or bits. Clean the workspace to avoid slips.
Sanding And Smoothing
After cutting, wood edges may be rough or splintered. Sand these edges with medium-grit sandpaper. Move in the wood grain direction for a smooth finish. Switch to fine-grit sandpaper to remove small scratches. Wipe dust off with a damp cloth. Smooth wood feels better to touch. It also helps paint or stain stick evenly. Take your time for the best surface.
Pre-drilling Holes
Pre-drilling prevents wood from splitting when you add screws. Choose a drill bit slightly smaller than the screw diameter. Drill straight holes at marked points before assembly. For deep holes, drill halfway from one side, then finish from the other. This keeps holes clean and accurate. Countersink holes if screws should sit flush with wood. Pre-drilled holes make your desk stronger and easier to build.
Assembling The Desk Frame
Assembling the desk frame is a crucial step in building your home office desk. This stage sets the foundation for a sturdy and durable workspace. Focus on precision and follow simple steps to ensure your desk stands strong and lasts long. The frame includes the legs, support structure, and the desk surface attachment.
Building The Legs
Start by cutting the wood pieces for the legs. Each leg should be the same length for balance. Sand the edges to avoid splinters. Attach the legs firmly with screws or bolts. Check that each leg stands straight and supports weight evenly. Use a level tool to confirm proper alignment. Strong legs are essential to hold the entire desk steady.
Constructing The Support Frame
Connect the legs with horizontal support beams. This frame prevents wobbling and adds strength. Measure the space carefully before cutting the beams. Use wood glue and screws to secure the joints. Reinforce corners with metal brackets for extra durability. Make sure the frame is square by measuring diagonals. A solid support frame keeps the desk stable during use.
Attaching Desk Surface
Choose a smooth, flat desktop surface like plywood or MDF. Position it evenly over the frame. Drill pilot holes to avoid splitting the wood. Secure the surface with screws through the frame below. Countersink screws to keep the surface even. Double-check that the desk top does not move or rock. A well-attached surface completes the sturdy desk frame.

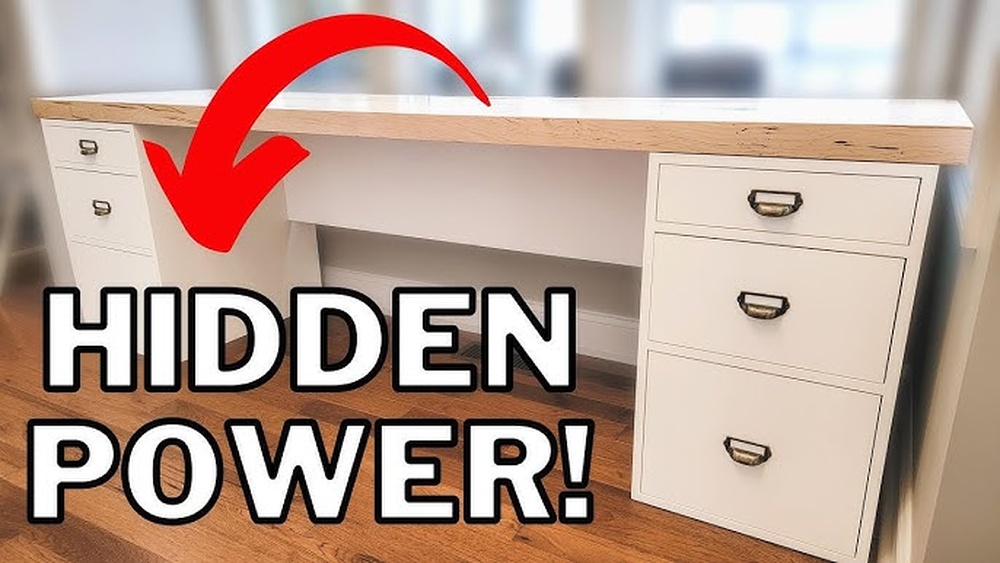
Credit: www.youtube.com
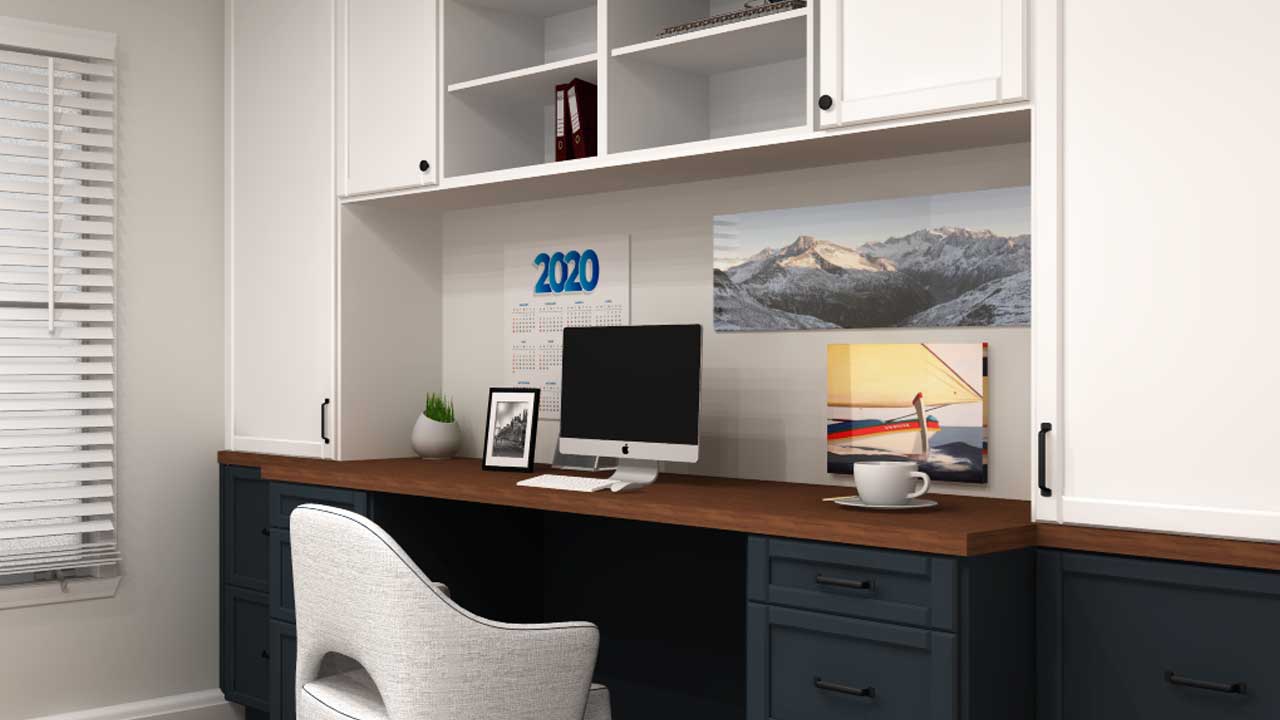
Adding Functional Features
Adding functional features to your home office desk improves usability and comfort. These elements keep your workspace organized and efficient. Thoughtful features help reduce clutter and make daily tasks easier. Simple additions can transform a basic desk into a practical workstation.
Installing Drawers Or Shelves
Drawers provide storage for office supplies and documents. They keep items within reach but out of sight. Shelves offer extra space for books, files, or decor. Choose sizes that fit your desk dimensions and storage needs. Install smooth sliders for easy access to drawers. Secure shelves firmly to avoid wobbling or sagging.
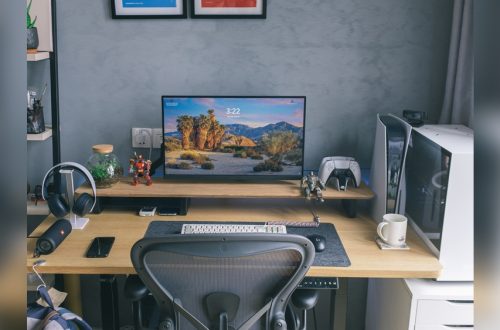
Cable Management Solutions
Cables create a messy look and can cause accidents. Use cable trays or clips under the desk to hold wires neatly. A grommet hole in the desktop lets cables pass through cleanly. Velcro straps bundle cables to prevent tangles. Organizing cables improves safety and keeps your desk tidy. It also makes cleaning easier and faster.
Adding Keyboard Trays
A keyboard tray saves desktop space and improves typing posture. Install a sliding tray below the main surface of your desk. This position reduces strain on your wrists and shoulders. Choose a tray size that fits your keyboard and mouse comfortably. Some trays include adjustable height for better ergonomics. A keyboard tray creates more room for writing or other tasks.
Finishing Touches
Finishing touches transform a simple desk into a polished workspace. This stage enhances the desk’s look and protects it from daily wear. Proper finishing also extends the desk’s life and keeps it looking new. Focus on stain or paint, sealing, and decorative elements for the best results.
Applying Stain Or Paint
Choose a stain or paint color that matches your room’s style. Stain shows the wood grain and adds warmth. Paint hides imperfections and offers many color choices. Use a brush or cloth for smooth, even coats. Let each coat dry fully before applying the next. Light sanding between coats helps the finish stick better.
Sealing For Durability
Seal the desk to protect it from scratches and spills. Use polyurethane or varnish for a hard, clear finish. Apply thin coats with a brush, allowing drying time between layers. Sand lightly before the final coat for a smooth surface. Sealing keeps the desk strong and easy to clean.
Decorative Elements
Add simple decorations to personalize your desk. Consider drawer knobs, metal legs, or a patterned edge. Use washi tape or decals for a quick style update. Keep decorations functional and not too busy. These small details create a unique and inviting workspace.
Credit: inspiredkitchendesign.com
Maintaining Your Desk
Keeping your home office desk in great shape helps it last longer and stay functional. Regular care prevents damage and keeps the desk looking fresh. Small efforts can make a big difference in your workspace comfort and appearance.
Cleaning Tips
Use a soft cloth to wipe dust from the desk daily. Avoid harsh chemicals that can damage the wood or finish. A mix of mild soap and water works well for deeper cleaning. Dry the surface immediately to prevent water marks. Clean spills quickly to avoid stains or warping.
Repairing Scratches
Minor scratches can be fixed with a wood touch-up marker or crayon. Match the color of your desk for the best results. For deeper scratches, use fine sandpaper to smooth the area gently. Apply wood filler if needed, then stain or paint over it. Finish with a clear coat to protect the repair.
Regular Upkeep
Check screws and bolts monthly to keep the desk sturdy. Tighten any loose parts to avoid wobbling. Use coasters to protect the surface from heat and moisture. Avoid placing heavy objects that may cause dents or cracks. Apply furniture polish every few months to nourish the wood and maintain shine.
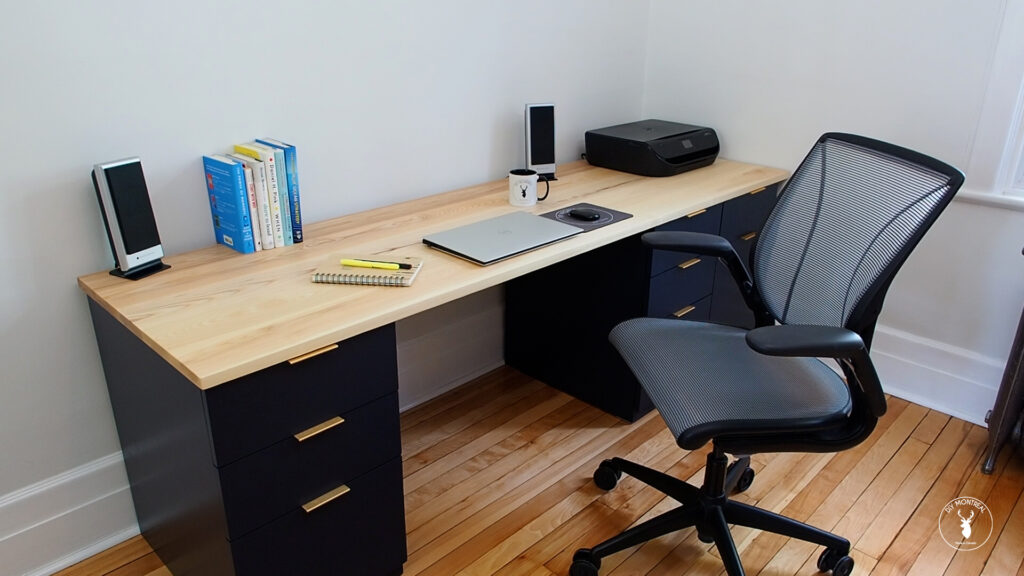
Credit: www.diymontreal.com
Frequently Asked Questions
Is Plywood Strong Enough For A Desk?
Yes, plywood is strong enough for a desk. Its layered construction provides excellent strength and durability for daily use.
Can I Build A Desk By Myself?
Yes, you can build a desk by yourself using basic tools and materials like plywood. It’s beginner-friendly and budget-friendly.
What Is The Best Wood To Use For A Desk?
The best wood for a desk is durable hardwood like oak, maple, or walnut. Bamboo offers a sustainable, budget-friendly alternative. Choose based on durability, budget, and style preferences. Oak is strong and scratch-resistant, maple is hard with a smooth grain, and walnut provides a rich, dark finish.
What Is A Good Size For A Home Office Desk?
A good home office desk size is at least 48 inches wide and 24 inches deep. This provides enough space for a computer, documents, and comfortable working. Adjust size based on room space and work needs to ensure productivity and comfort.
Conclusion
Building a home office desk is simple and rewarding. Choose strong, affordable materials like plywood or hardwood. Measure your space carefully to ensure a good fit. Use basic tools and follow clear steps for safety. Personalize your desk with paint or accessories to match your style.
Enjoy the comfort and productivity that comes with a custom workspace. Keep learning and improving your skills with each project. Your perfect desk is just a few steps away.