If you’re looking to create a workspace that’s both stylish and highly functional, building a T-shaped home office desk might be the perfect project for you. This design offers plenty of surface area to spread out your work, organize your tools, and stay productive without feeling cramped.
Imagine having a dedicated spot for your computer, space for writing or crafting, and room to store everything you need—all in one custom-built desk tailored to your space and style. Keep reading, and you’ll discover step-by-step how to build your own T-shaped desk that fits your home office perfectly, saves you money, and adds a personal touch to your workspace.

Credit: www.amazon.com
Planning Your T Shaped Desk
Planning your T shaped home office desk is the first step to a successful build. This stage ensures your desk fits your space and meets your needs. Careful planning saves time and prevents costly mistakes. Consider your work habits and available room before starting. A clear plan guides the entire project smoothly.
Choosing The Right Dimensions
Measure your office space accurately to find the ideal desk size. Think about how much surface area you need for your computer, documents, and accessories. A T shaped desk should fit well without crowding the room. Make sure the desk height suits your chair and posture. Plan for enough legroom and storage space below the desk.
Selecting Materials
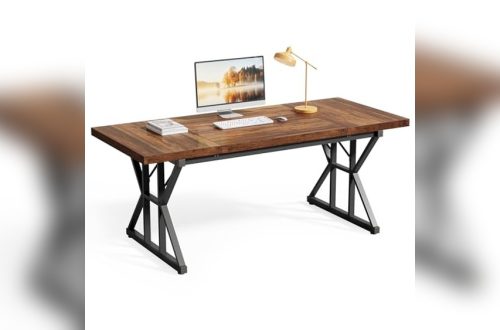
Choose materials that balance durability and budget. Solid wood offers strength and a classic look but costs more. Plywood or MDF are affordable and easier to work with. Consider a laminate finish for easy cleaning. Use quality screws and brackets for sturdy assembly. Pick materials that match your room’s style and lighting.
Tools Needed
Gather essential tools before starting your build. A measuring tape and pencil are must-haves for precise cuts. A saw, such as a circular or jigsaw, will help shape your wood. Use a drill and screwdriver to fasten parts securely. Sandpaper smooths rough edges for safety. Clamps keep pieces steady while assembling.
Preparing The Workspace
Preparing your workspace is the first step to building a T shaped home office desk. A well-prepared area helps you work smoothly and stay organized. It also keeps your tools and materials safe during the build process.
Clear the space where you want to place the desk. Make sure there is enough room for all parts and tools. This will prevent accidents and give you freedom to move around.
Clearing And Measuring The Area
Remove any furniture, boxes, or clutter from the workspace. Sweep or vacuum the floor to avoid slipping on dust or debris. Use a tape measure to check the length and width of the area. Compare this with your desk design to ensure a perfect fit. Mark the spot where each part of the desk will go. This helps you visualize the final setup before starting.
Safety Precautions
Wear safety glasses to protect your eyes from dust and wood chips. Use gloves to avoid splinters or cuts. Keep a first aid kit nearby in case of minor injuries. Ensure good lighting so you can see clearly while working. Keep electrical cords away from walkways to avoid tripping. Have a fire extinguisher close in case of emergencies. Follow tool instructions carefully to prevent accidents. Taking these steps makes your workspace safer and more efficient.
Cutting And Assembling The Frame
Cutting and assembling the frame is a key step in building your T shaped home office desk. This phase shapes the desk’s strength and stability. Precise measurements and careful assembly ensure your desk fits perfectly in your workspace.
Each part of the frame must be cut accurately to avoid gaps or misalignment. Solid joints help the desk support your work equipment safely. Follow the steps below to create a sturdy and lasting frame.
Measuring And Cutting Wood Pieces
Begin by measuring all wood pieces according to your desk plan. Use a tape measure for accuracy. Mark each piece clearly with a pencil. Cut the wood using a saw, following the marks closely. Smooth edges with sandpaper to prevent splinters. Double-check all pieces before moving to assembly.
Constructing The Desk Frame
Lay out the cut wood pieces on a flat surface. Start by joining the legs to the long frame sections. Use wood screws and wood glue for strong holds. Check that all corners are square using a carpenter’s square. Tighten screws evenly to avoid warping. Let the glue dry fully before the next step.
Joining The Two Desk Sections
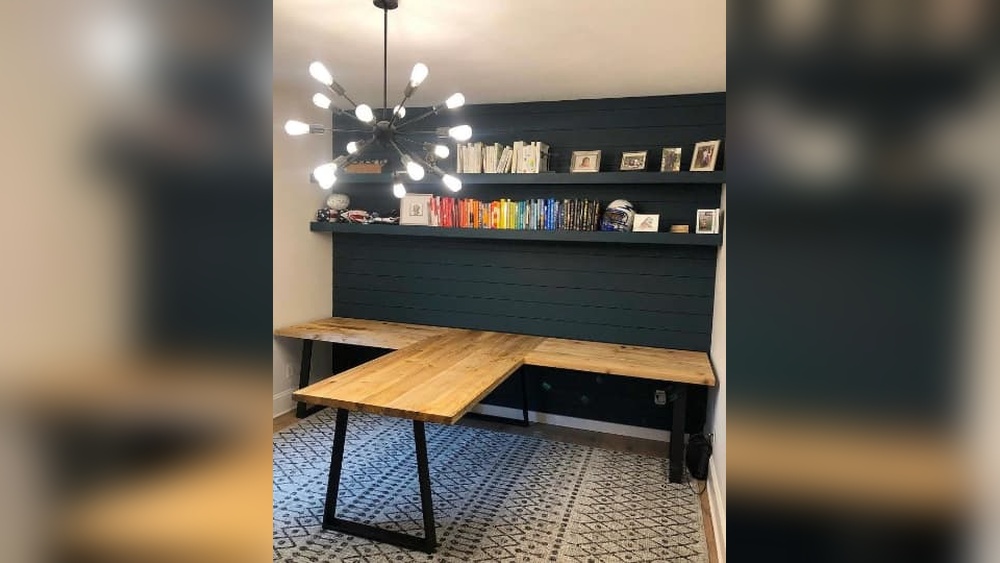
Position the two desk parts in a T shape on the floor. Align the connecting edges carefully to avoid gaps. Attach the two frames using metal brackets or wood blocks inside the corner joint. Secure with screws from both sides for extra strength. Test the frame stability before adding the tabletop.

Credit: www.reddit.com
Building The Desktop Surface
Building the desktop surface is a key step in creating your T shaped home office desk. The desktop must be sturdy and smooth for daily use. It should fit perfectly on the frame and support your work items well.
This section covers how to select the right material, cut the surface to size, and attach it securely to the desk frame. Careful attention to these details ensures a durable and attractive desktop.
Choosing Desktop Material
Select a material that balances strength and appearance. Common choices include plywood, MDF, or solid wood boards. Plywood offers good strength at a lower cost. MDF is smooth and easy to paint but less strong. Solid wood looks great and lasts long but costs more.
Consider your budget and style when picking the material. Also, think about the desktop thickness. A thickness of ¾ inch is usually strong enough for a home desk.
Cutting And Finishing The Surface
Measure the desired desktop dimensions carefully. Mark the cut lines clearly on your material. Use a circular saw or jigsaw for straight, clean cuts. Smooth the edges with sandpaper to avoid splinters.
Finish the surface with paint, stain, or sealant. This protects the wood and makes cleaning easier. Apply finish in thin, even coats and let it dry fully before assembly.
Attaching The Desktop To The Frame
Place the desktop on the frame to check the fit. Align edges so the desktop sits evenly. Use wood screws or brackets to attach the desktop securely. Pre-drill holes to prevent splitting the wood.
Ensure the screws are flush or slightly countersunk. This prevents catching on clothes or papers. Double-check the stability before using your new desk.
Adding Functional Features
Adding functional features to your T shaped home office desk enhances both usability and organization. Thoughtful additions make your workspace efficient and comfortable. Focus on storage, cable management, and stability to create a practical desk that suits daily needs.
Installing Drawers And Shelves
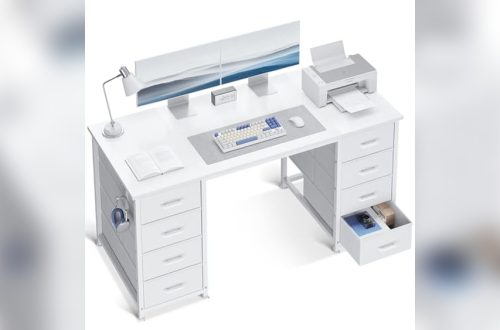
Drawers provide handy storage for office supplies. Install them under the desk surface for easy access. Shelves add extra space for books or décor. Place shelves on the desk’s return section to keep essentials nearby. Choose sturdy materials and smooth glides for drawers. This setup keeps your workspace tidy and clutter-free.
Cable Management Solutions
Keep cables neat with simple cable management tools. Use cable trays or clips under the desk to hold wires. Drill small holes with grommets for cables to pass through cleanly. This prevents tangling and improves desk appearance. Organized cables reduce distractions and hazards in your workspace.
Adding Support And Stability
Strong support is vital for a large T shaped desk. Reinforce corners with metal brackets or wooden braces. Use thick legs or sturdy panels to hold weight evenly. Check stability by gently shaking the desk before final assembly. A solid desk provides a safe and comfortable work area without wobbling.

Credit: www.amazon.com
Finishing Touches
Finishing touches bring your T shaped home office desk to life. This step creates a smooth, polished surface that looks great and lasts long. Proper finishing protects the wood from damage and wear. It also improves the desk’s overall feel and comfort. Follow these simple steps for a professional finish.
Sanding And Smoothing Edges
Start by sanding all surfaces carefully. Use medium-grit sandpaper to remove rough spots and bumps. Then switch to fine-grit sandpaper for a smooth finish. Pay special attention to edges and corners. Rounded edges feel nicer to the touch and prevent splinters. Clean off dust with a dry cloth before moving on.
Applying Paint Or Stain
Choose paint or stain based on your style and desk material. Paint gives a solid, colorful look and hides imperfections. Stain enhances the natural wood grain and adds warmth. Apply with a brush or cloth in thin, even coats. Let each coat dry fully before adding the next. Lightly sand between coats for a smooth surface.
Sealing For Durability
Seal the desk to protect it from spills and scratches. Use a clear polyurethane or varnish for strong, lasting coverage. Apply thin coats with a clean brush and allow drying time. Sand lightly between coats to avoid bubbles or rough spots. A good seal keeps your desk looking new for years.
Cost Considerations
Cost plays a big role in building a T shaped home office desk. Planning your budget early helps avoid surprises. Every choice, from materials to labor, affects the final price. Understanding where your money goes makes the project easier and more affordable.
Budgeting Materials
Start by listing all materials needed for the desk. Include wood, screws, brackets, and finishes. Check prices at local stores and online. Compare costs to find the best deals. Buying in bulk or using recycled wood can save money. Set a clear limit to keep spending in control.
Comparing Hardwood And Softwood
Hardwood like oak or maple lasts longer but costs more. Softwood like pine is cheaper but less durable. Hardwood looks more elegant and resists dents better. Softwood is easier to work with for beginners. Choose wood based on your budget and how long you want the desk to last.
Diy Vs. Professional Help
Building the desk yourself saves labor costs. You only pay for materials and tools. Learning new skills can be rewarding. Hiring a pro costs more but saves time and effort. Professionals ensure a strong, polished finish. Balance cost with your skill level and available time.
Optimizing Desk Layout
Optimizing the layout of your T shaped home office desk is key to creating a productive workspace. A well-planned desk arrangement helps save space and boosts comfort. It also supports better organization and workflow. Use the desk’s unique shape to your advantage for a more efficient setup.
Maximizing Corner Space
The corner area of a T shaped desk offers valuable space. Position your main work area in the corner for easy access to both sides. Use shelves or small drawers in the corner to store supplies. This setup keeps everything within reach without cluttering your desk surface. It turns an often wasted corner into a functional hub.
Ergonomic Setup Tips
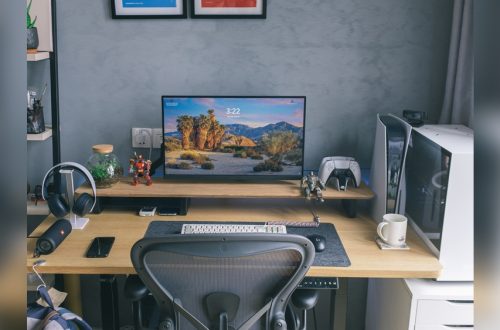
Comfort matters for long work hours. Place your monitor at eye level to avoid neck strain. Keep your keyboard and mouse close to maintain a natural arm position. Use a chair that supports your back well. Leave enough legroom under the desk to sit comfortably. Small changes can prevent pain and improve focus.
Personalizing Your Workspace
Make your desk feel inviting and unique. Add personal items like photos or plants to brighten the area. Choose desk accessories that match your style and keep tools organized. Good lighting also enhances mood and productivity. A personalized desk helps you enjoy work and stay motivated.
Frequently Asked Questions
Is It Cheaper To Build Your Own Standing Desk?
Building your own standing desk usually costs less than buying one. Using basic materials and simple designs keeps expenses low. Custom features and premium woods increase the price. Labor costs rise with complex builds. DIY projects save money but require time and skills.
What Is The Most Efficient Desk Shape?
The L-shaped desk is the most efficient shape. It maximizes corner space and enhances workflow and storage capacity.
How Much Does It Cost To Build Your Own Desk?
Building your own desk typically costs between $50 and $500. Costs vary by materials, size, and design complexity. Basic desks use affordable wood; premium hardwoods and custom features increase expenses. Larger, intricate desks require more materials and labor, raising the overall cost.
What Is The Best Wood To Use For A Desk?
The best wood for a desk combines durability and appearance. Oak, maple, and cherry are top hardwood choices. Pine suits budget builds but is less durable. Choose wood based on style, strength, and budget for a long-lasting, attractive desk.
Conclusion
Building a T shaped home office desk can save space and boost productivity. Follow simple steps and use basic tools for best results. Choose materials that fit your budget and style. Personalize your desk with shelves or drawers for extra storage.
A well-made desk creates a comfortable work area at home. Take your time, measure carefully, and enjoy the process. This project adds value to your workspace and makes working easier. Start building today and create the perfect desk for your needs.