Are you looking to add a warm, natural touch to your home lighting? Making your own rattan pendant light is easier than you might think.
Imagine creating a beautiful, handcrafted piece that not only lights up your space but also reflects your personal style. In this guide, you’ll discover simple steps to transform rattan into a stunning pendant light. By the end, you’ll have the confidence and know-how to craft a unique light fixture that draws attention and creates a cozy atmosphere.
Ready to brighten your home with your own creation? Let’s get started!
Materials Needed
Gathering the right materials is the first step to making a rattan pendant light. Each item plays a key role in shaping your light fixture. Choosing quality materials ensures a sturdy and beautiful final product.
Choosing The Right Rattan
Select rattan that is flexible yet strong. Thin rattan strands work best for weaving. Look for rattan that is smooth and free of cracks. Natural color rattan gives a warm, classic look. You can also find rattan in white or black for a modern style.
Essential Tools
You need a few basic tools to work with rattan. A sharp pair of scissors helps cut the rattan cleanly. Use pliers to bend and shape the strands. A hot glue gun fixes parts securely. A measuring tape keeps your design even and balanced.
Additional Supplies
Other supplies make the process easier and safer. Cotton gloves protect your hands from cuts. Sandpaper smooths rough edges for a neat finish. A strong cord or wire holds the pendant light in place. Finally, a light bulb socket and bulb complete your project.
Credit: www.thehandcraftedhaven.com
Preparing The Rattan
Preparing the rattan is the first step in making a beautiful pendant light. This process makes the rattan easier to shape and work with. Proper preparation helps avoid cracks and breaks during crafting. It also ensures a smooth, polished look for your light fixture.
Soaking And Softening
Start by soaking the rattan in warm water. This softens the fibers and makes them flexible. Soak it for about 30 minutes to one hour. Avoid soaking too long, or the rattan might weaken. After soaking, gently bend the rattan to check its flexibility. Soft rattan is easier to twist and shape into the desired form.
Cutting To Size
Measure the rattan pieces based on your design. Use sharp scissors or pruning shears for clean cuts. Cut slowly to avoid splintering the fibers. Cutting to the right size prevents waste and helps the assembly process. Keep extra pieces for practice or adjustments later on.
Creating The Frame
Creating the frame is the first step to make a rattan pendant light. This part shapes the light and gives it strength. A good frame holds the rattan tightly and looks neat. Start by deciding the size and shape you want. Keep the design simple for best results.
Use flexible rattan rods or thin bamboo sticks. These materials bend easily but stay strong. You will form the base shape and then secure it firmly. This process builds the skeleton of your pendant light.
Forming The Base Shape
Begin by bending the rattan rods into circles or ovals. Use a hot water bath to soften the rattan. This makes bending easier and prevents cracks. Shape the rods into the desired frame outline. Make sure the base is even and smooth.
Use more rods to add height or depth. Connect these rods by weaving small pieces around the frame. This step creates a 3D shape for your light. Work slowly to keep the shape balanced and steady.
Securing The Structure
After shaping, tie the ends tightly with rattan strips or thin wire. This keeps the frame from loosening or falling apart. Wrap the strips several times for extra strength. Trim any extra ends to keep it clean.
Check all joints to make sure they are firm. Add extra binding at weak spots. A strong frame helps the rattan weaving stay in place. Now the frame is ready for the next step—adding the rattan weave.

Credit: www.rowabi.com
Weaving Techniques
Weaving techniques form the heart of making a rattan pendant light. This process shapes the light’s style and strength. Each weave adds texture and character. Understanding basic patterns helps create a solid base.
Decorative touches bring charm and uniqueness. Small changes in weaving change the look completely. Let’s explore simple patterns and ways to decorate your light.
Basic Weave Patterns
Start with the plain weave. It is the simplest and strongest. Weave the rattan strands over and under evenly. This pattern creates a firm frame that lasts long.
The twill weave is next. It has a diagonal look. Weave two strands over, then under one. This pattern adds a stylish twist to your light.
Try the basket weave for a bold look. Use two or more strands side by side. Weave them over and under in blocks. This style gives a thick, textured feel.
Adding Decorative Elements
Decorations make the pendant light stand out. Use thinner rattan strands to add loops or knots. These small details create visual interest.
Combine colors by using dyed rattan strands. Weave colored pieces into the basic pattern. This adds a splash of color and liveliness.
Try wrapping the edges with a different weave. It frames the light and hides rough ends. This finishing touch looks neat and professional.
Finishing Touches
Finishing touches give your rattan pendant light a clean, polished look. They help your light last longer and stay beautiful.
Focus on trimming and sealing to complete your project perfectly. These steps protect the rattan and improve its appearance.
Trimming Excess Rattan
Cut off any extra rattan strands carefully. Use sharp scissors for a smooth cut. Avoid pulling or tearing the rattan. Trim close to the frame but leave a little space to prevent unraveling.
Check all sides for uneven or loose ends. A neat trim makes your pendant light look tidy and well-made.
Sealing And Protecting
Apply a clear sealant to protect the rattan from dust and moisture. Use a brush to spread the sealant evenly. Let it dry fully before hanging the light.
Sealing keeps the rattan strong and prevents damage. Choose a sealant that is safe for natural materials and indoor use.
Installing The Pendant Light
Installing a rattan pendant light brings a warm, natural look to any room. This step is important for safety and style. Proper installation ensures the light hangs securely and shines beautifully. Follow clear instructions to get the best result without trouble.
Choosing The Right Bulb
Select a bulb that fits your rattan pendant light socket. LED bulbs are energy-saving and last long. Choose a warm white color for a cozy glow. Avoid bulbs that are too bright to keep a soft light. Check the wattage limit on your fixture before buying.
Hanging Safely
Turn off the power before starting the installation. Use a sturdy hook or ceiling box to hang the pendant. Secure all wires with wire nuts and electrical tape. Make sure the pendant hangs straight and at the right height. Test the light once installed to confirm it works well.
Maintenance Tips
Keeping your rattan pendant light in good shape helps it last longer and look great. Regular care prevents damage and keeps the light bright. Simple steps can make a big difference in maintaining its natural beauty and strength.
Cleaning The Rattan
Dust the rattan gently using a soft cloth or a feather duster. Avoid harsh chemicals that can weaken the fibers. Use a damp cloth with mild soap for deeper cleaning. Wipe carefully and let it dry completely before use. Do this often to stop dust buildup and keep the light fresh.
Handling Repairs
Check the rattan for cracks or loose strands regularly. Use wood glue to fix small breaks quickly. Press the glued parts together and hold until dry. For bigger damage, replace broken pieces with new rattan strips. Take care not to stretch the material too much during repairs to keep the shape intact.
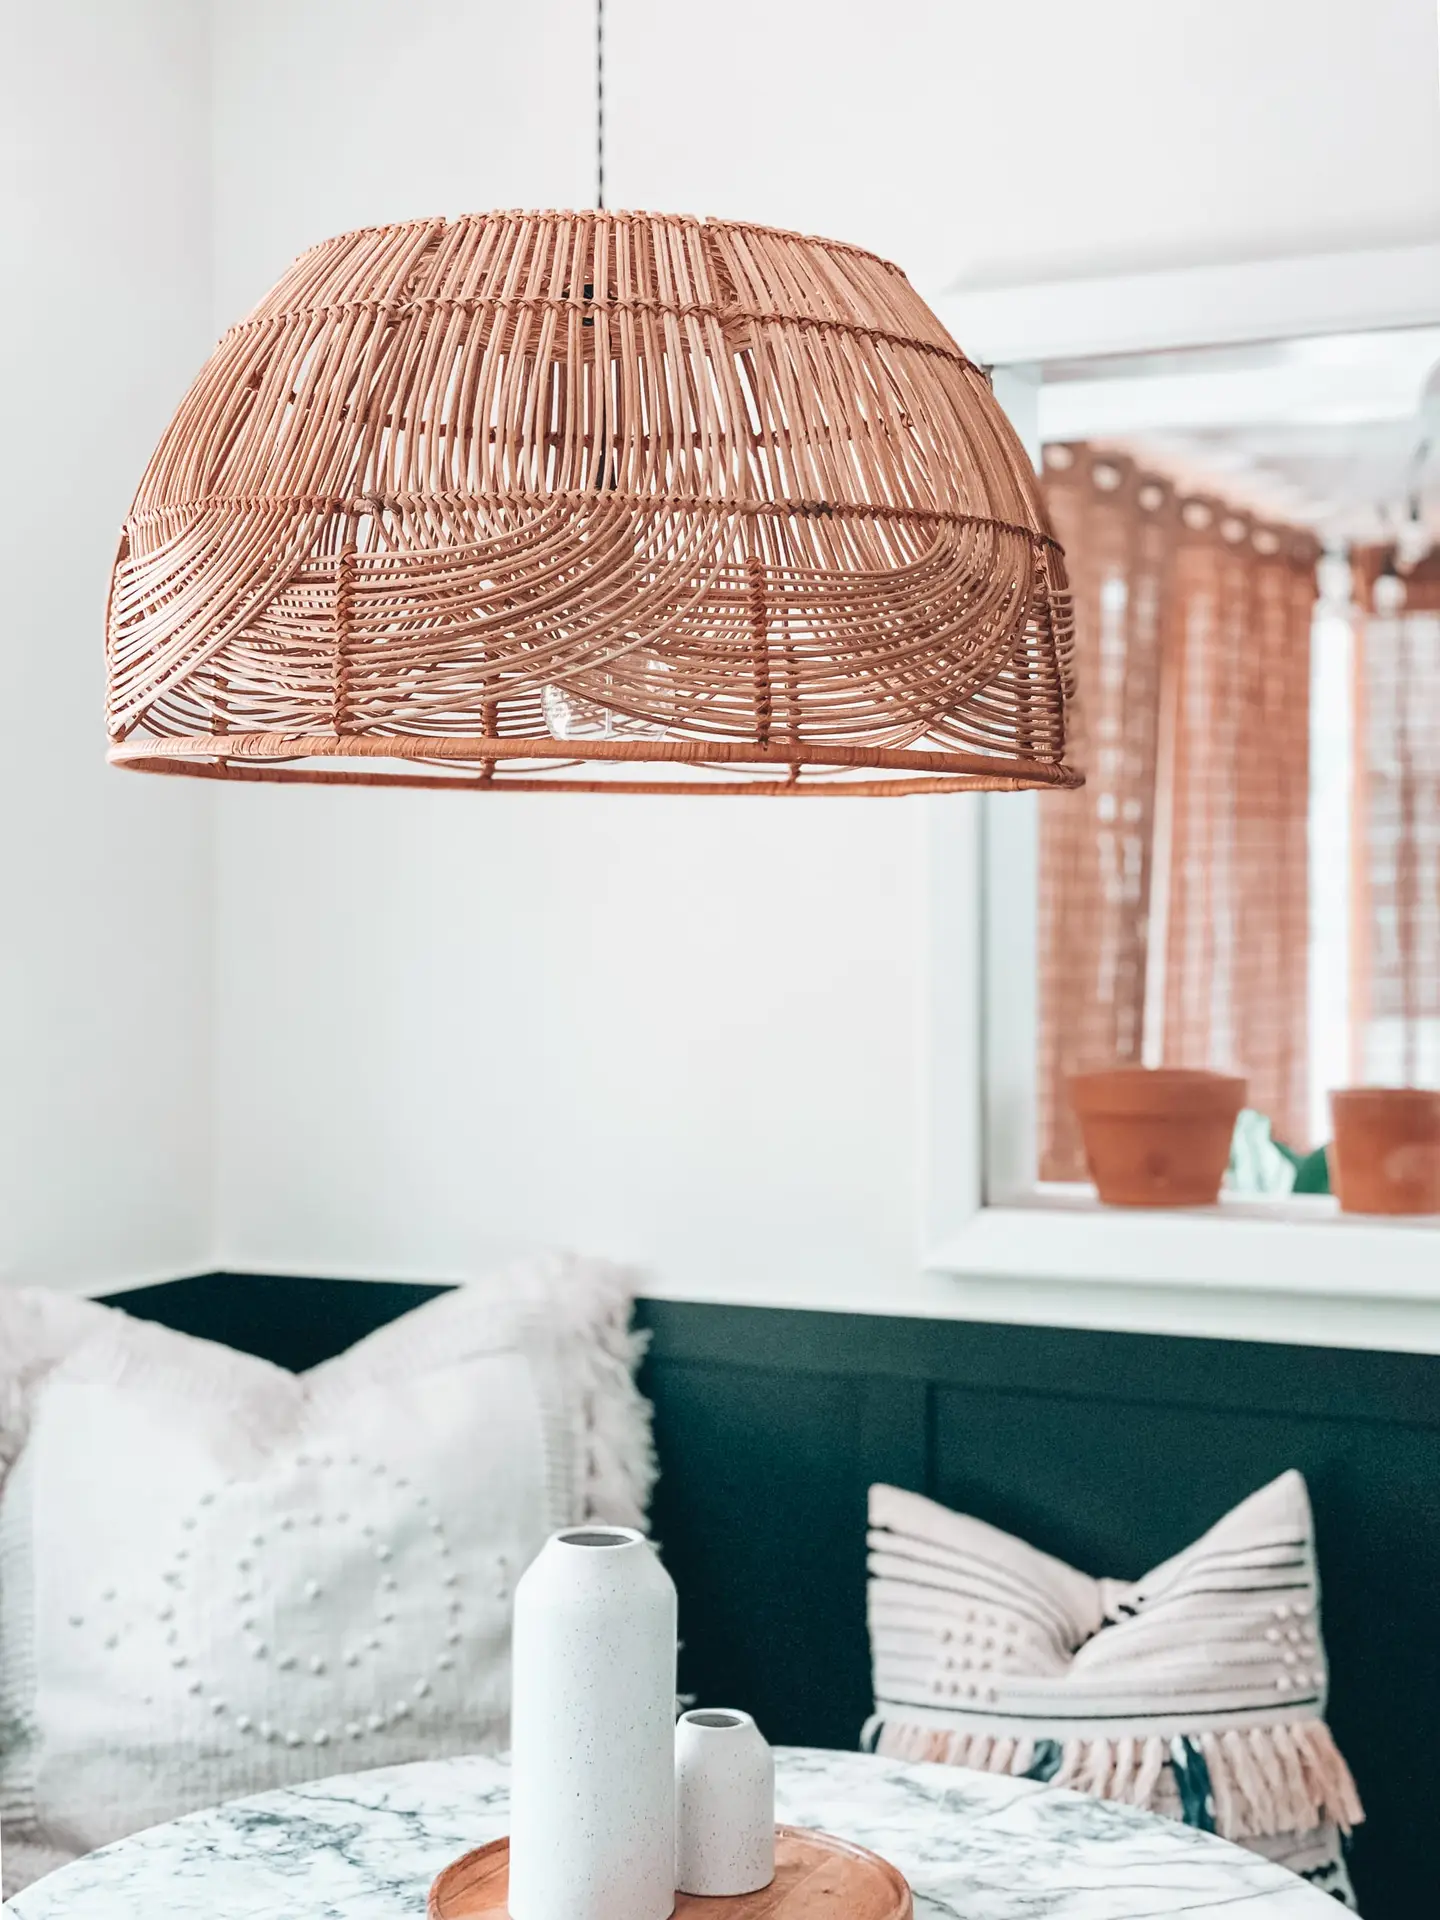
Credit: blushingbungalow.com
Frequently Asked Questions
What Materials Are Needed For A Rattan Pendant Light?
You need rattan strips, a light socket, electrical wire, a bulb, and mounting hardware. Optional tools include scissors and glue. These materials are affordable and easy to find, making the project accessible for beginners and DIY enthusiasts.
How Do I Shape The Rattan For The Light?
Soak the rattan strips in warm water for 30 minutes to make them flexible. Then, bend and weave the strips into your desired shape. Allow them to dry completely to hold the form before assembling the pendant light.
Is It Safe To Install A Rattan Pendant Light?
Yes, if you follow electrical safety guidelines. Use proper wiring techniques and secure connections. Avoid placing the light near flammable materials. If unsure, consult a professional electrician to ensure safe installation.
How Long Does It Take To Make A Rattan Pendant Light?
The process usually takes 2 to 4 hours. This includes soaking, shaping, drying, weaving, and assembling. Drying time may vary based on humidity and rattan thickness. Planning ahead ensures a smooth crafting experience.
Conclusion
Creating a rattan pendant light adds charm to any room. It’s a simple project anyone can try at home. Just gather materials, follow the steps, and take your time. The natural look fits many styles and brings warmth. Enjoy the glow from your handmade light every evening.
Crafting your own light also saves money. Give it a go and brighten your space today!