Have you ever wanted to add a warm, cozy glow to your home without spending a lot? Making a candle lamp at home is easier than you think.
With just a few simple materials, you can create a beautiful light that brightens any room. Imagine the soft flicker of your own handmade lamp, perfect for relaxing evenings or special moments. Keep reading, and you’ll discover step-by-step how to make your very own candle lamp quickly and safely.
Your space—and your mood—will thank you.

Credit: www.amazon.com
Materials Needed
Gathering the right materials is the first step to make a beautiful candle lamp. The choices you make here affect how your candle burns and looks. Each item plays a key role in creating a safe and bright lamp. Prepare your workspace with clean surfaces and good light. This section helps you understand what materials to pick for your candle project.
Choosing The Right Wax
Wax is the main part of your candle lamp. Paraffin wax is easy to use and melts well. Soy wax burns cleaner and lasts longer. Beeswax is natural and has a nice scent. Pick wax that suits your needs and budget. Avoid wax that is hard to melt or smells bad.
Selecting Wicks
Wicks control how the candle burns. Cotton wicks are common and burn steadily. Wooden wicks give a soft crackling sound. The wick size must match the container size. A wick too small makes a weak flame. A wick too big causes smoke and soot.
Picking Containers
Containers hold the wax and wick safely. Glass jars are popular and heat resistant. Metal tins are light and portable. Choose containers that do not break easily. Make sure the container fits the wick and wax volume. Avoid plastic containers as they can melt.
Optional Scents And Colors
Add scents to make your candle smell nice. Use candle-safe fragrance oils only. Essential oils work but may change the burn. Use color dyes made for candles. Avoid regular paint or markers for coloring. Add small amounts to keep the candle safe.
Preparing The Workspace
Preparing your workspace is the first step to making a candle lamp at home. A clean and organized area helps you work safely and easily. It also keeps your materials ready and avoids messes. Follow simple steps to prepare a good workspace.
Safety Tips
Choose a well-ventilated space to avoid smoke and fumes. Keep a fire extinguisher nearby just in case. Avoid loose clothes or long hair near open flames. Work on a stable surface to prevent spills or accidents. Always have water or sand handy to put out small fires.
Setting Up Tools
Gather all your tools before starting. You will need a candle wick, wax, a container, and a double boiler. Use a thermometer to check wax temperature. Keep scissors, a stirring stick, and gloves nearby. Organize tools so you can reach them easily while working.
Protecting Surfaces
Cover your workspace with newspaper or old cloth. This protects your table from hot wax spills and stains. Use a silicone mat if available for extra protection. Clean spills immediately to avoid hard wax patches. Prepare a trash bin for waste and leftover materials.
Melting The Wax
Melting the wax is a key step in making a candle lamp at home. The wax must be melted gently to avoid burning. Proper melting helps the wax pour smoothly into the mold or container. Use safe methods to melt the wax evenly and safely.
Using A Double Boiler
A double boiler is a safe way to melt wax. Fill the bottom pot with water and place it on the stove. Put the wax in the top pot or bowl. Heat the water to melt the wax slowly. Stir the wax gently to help it melt evenly. This method stops the wax from getting too hot.
Microwave Method
You can melt wax in a microwave using a microwave-safe container. Cut the wax into small pieces for quick melting. Heat the wax in short bursts of 30 seconds. Stir the wax between heating to spread heat evenly. Stop heating when the wax is mostly melted. Be careful not to overheat or burn the wax.
Monitoring Temperature
Check the wax temperature to avoid overheating. Use a thermometer for the best results. Ideal melting temperature is usually between 130°F and 180°F. Keep the wax below 200°F to prevent fire risk. If the wax is too hot, it can burn or smell bad. Cooling the wax slightly before pouring helps the candle set well.
Adding Colors And Scents
Adding colors and scents makes your candle lamp more special. Colors give your candle a unique look. Scents create a nice smell in your room. Both these elements bring life to your homemade candle lamp. Simple steps help you pick the right colors and scents.
Choosing Fragrance Oils
Pick fragrance oils made for candles only. These oils burn safely and smell strong. Choose scents you like, such as lavender or vanilla. Use small amounts at first. Too much oil can make the candle unsafe. Mix the oil well with the melted wax. This helps the scent spread evenly.
Mixing Dye Properly
Use candle dye, not regular paint or food coloring. Candle dye melts easily in hot wax. Add a little dye at a time. Stir the wax gently to mix the color. Too much dye can make the wax thick. Test a small candle to see the color. Adjust the amount of dye for your next candle.
Pouring The Wax
Pouring the wax is an important step in making a candle lamp at home. It shapes the candle and holds the wick in place. You need to be careful and patient to get a smooth, even surface. Proper pouring helps the candle burn well and look beautiful.
Securing The Wick
Start by fixing the wick in the center of the container. Use a wick holder or tie the wick to a pencil placed across the top. This stops the wick from moving while the wax cools. A centered wick ensures the candle burns evenly.
Pouring Techniques
Pour the melted wax slowly into the container. Hold the container at an angle to reduce splashing. Pour near the wick but avoid disturbing it. Fill the container up to the desired level. Pouring slowly helps the wax settle without cracks.
Avoiding Air Bubbles
Air bubbles can create holes and rough spots in the candle. Pour wax gently to prevent bubbles from forming. Tap the container lightly on a flat surface to release trapped air. Let the wax cool at room temperature for best results.
Setting And Curing
Setting and curing are key steps in making a candle lamp at home. They help the wax harden and the scent to settle. Proper setting and curing improve the candle’s look and burn quality.
These steps require patience but are simple to follow. Focus on cooling, trimming, and curing for the best results.
Cooling Time
After pouring wax into the container, let it cool at room temperature. Avoid moving the candle during this time. Cooling usually takes 4 to 6 hours. This helps the wax to harden evenly and prevents cracks.
Trimming The Wick
Trim the wick to about ¼ inch before lighting the candle. A shorter wick creates a steady flame and less smoke. Trim the wick again after each use to keep the candle burning well.
Curing Duration For Best Burn
Allow the candle to cure for at least 48 hours. Curing helps the wax and fragrance blend well. Longer curing, up to 2 weeks, improves scent throw and burn time. Store candles in a cool, dry place during curing.
Decorating Your Candle Lamp
Decorating your candle lamp adds charm and personality to your creation. A plain candle lamp can become a beautiful piece of art with a little effort. Simple decorations can brighten any room and create a cozy atmosphere.
Adding Embellishments
Small decorations bring life to your candle lamp. Use ribbons, beads, or lace to wrap around the base or jar. Stick on tiny shells, dried flowers, or glitter for a unique look. Embellishments make your lamp stand out and add texture.
Creative Container Ideas
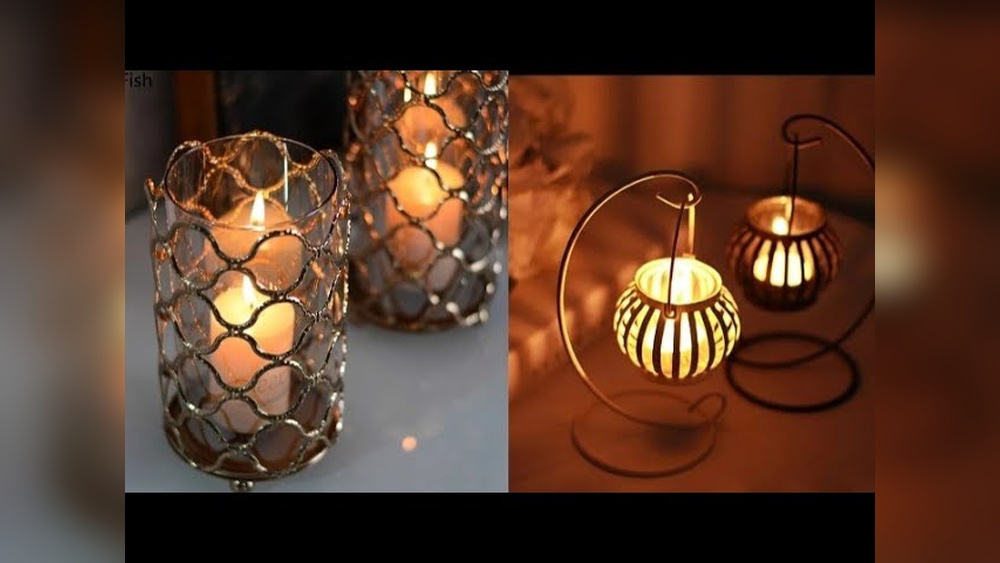
Choose unusual containers to hold your candle. Old jars, teacups, or even seashells work well. Glass containers show the candle’s flame beautifully. Metal tins or wooden boxes give a rustic feel. Pick containers that fit your style and space.
Personalizing For Gifts
Personal touches make candle lamps special gifts. Write a short message on the container with a marker or paint. Add the receiver’s favorite colors or scents. Attach a small tag with a warm note. These details show care and thoughtfulness.
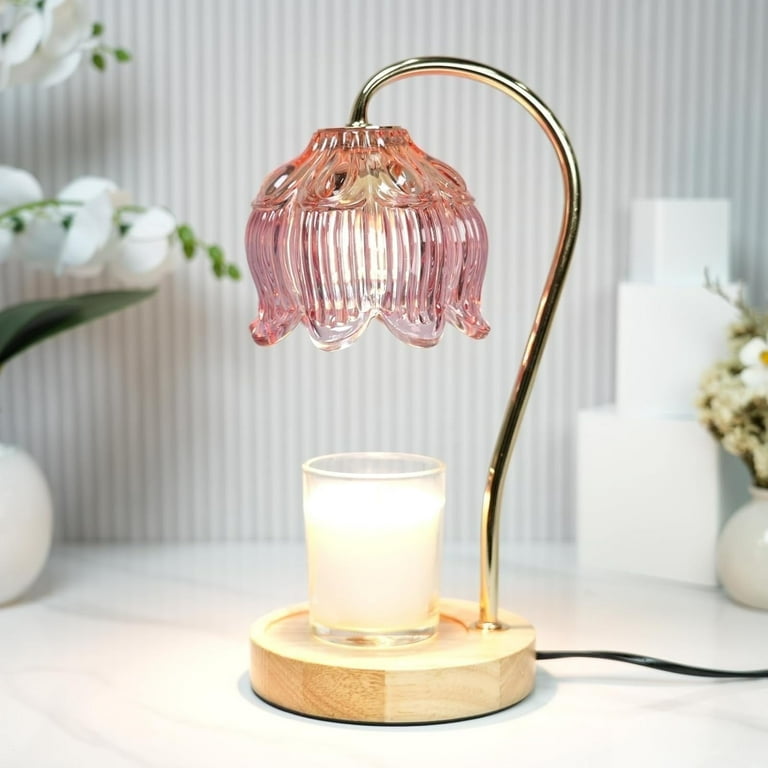
Credit: www.walmart.com
Tips For Safe Use
Using candle lamps at home adds warmth and charm. Safety must come first to prevent accidents. Follow simple tips to enjoy your candle lamp safely and confidently.
Burning Guidelines
Place your candle lamp on a flat, stable surface. Keep it away from curtains, papers, and flammable objects. Never leave a burning candle lamp unattended. Trim the wick to about 1/4 inch before lighting. This helps prevent large flames and smoke. Avoid burning the candle for more than 4 hours straight. Extinguish the flame gently to avoid splashing hot wax.
Storage Recommendations
Store candle lamps in a cool, dry place. Keep them out of direct sunlight to avoid melting or fading. Use airtight containers to protect from dust and dirt. Keep candles away from children and pets. Check for damage before use. Proper storage extends the life of your candle lamp and keeps it safe.

Credit: www.amazon.com
Frequently Asked Questions
What Materials Do I Need To Make A Candle Lamp At Home?
You need wax, a wick, a heat-safe container, and a double boiler. Optional items include fragrance oils and dyes for customization.
How Do I Safely Melt Wax For Candle Making?
Use a double boiler to melt wax gently. Avoid direct heat to prevent overheating and fire hazards.
Can I Use Recycled Candles For Candle Lamps?
Yes, you can melt old candles to reuse wax. Remove old wicks and debris before melting.
How Long Does It Take To Make A Candle Lamp?
It typically takes 30-60 minutes, including melting wax and cooling. Cooling time varies with wax type and container size.
Conclusion
Making a candle lamp at home is simple and fun. You only need a few materials and some patience. This project adds a warm, cozy light to any room. Plus, it saves money compared to store-bought lamps. You can customize the lamp to fit your style.
Try different shapes and colors for a unique look. Enjoy the soft glow and peaceful atmosphere it creates. Give it a try today and brighten your space easily.